12
Windows XP
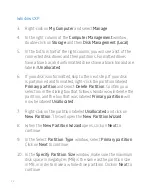
3. Right-click on
My Computer
and select
Manage
.
4. In the right column of the
Computer Management
window,
double-click on
Storage
and then
Disk Management (Local)
.
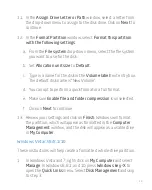
5. In the bottom half of the right column, you will see a list of the
connected disk drives and their partitions. Formatted drives
have a blue bar, and unformatted drives have a black bar and are
labeled
Unallocated
.
6. If your disk is unformatted, skip to the next step. If your disk
is partitioned and formatted, right-click the partition labeled
Primary partition
and select
Delete Partition
. Confirm your
selection in the dialog box that follows. Windows will delete the
partition, and the box that was labeled
Primary partition
will
now be labeled
Unallocated
.
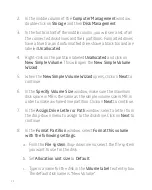
7. Right-click on the partition labeled
Unallocated
and click on
New Partition
. This will open the
New Partition Wizard
.
8. When the
New Partition Wizard
opens, click on
Next
to
continue.
9. In the Select
Partition Type
window, select
Primary partition
.
Click on
Next
to continue.
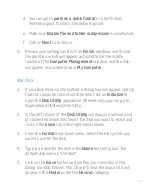
10. In the
Specify Partition Size
window, make sure the maximum
disk space in megabytes (MB) is the same as the partition size
in MB, in order to make a whole-drive partition. Click on
Next
to
continue.
Содержание HDD-202
Страница 1: ...User Manual...
Страница 20: ...GG2...

