12
3. The battery icon displays the loading progress until the battery is fully
charged. We strongly suggest to disable the remote control option to
maximize the charging time.
4. Navigate on the interface to the desired mode by pressing the M button.
See the respective section for each mode for the use of the buttons.
5. To use the VIEW mode, connect also the camera to a TV using the HDMI
cable. See the respective section of this mode to use the buttons.
When the battery is empty, the charging time is about 5 hours for the
battery to be fully charged using an USB power adaptor (XHD-A, sold
separately). Replacement batteries are also available (XHD-BATT, sold
separately).
When the battery of the camera is fully charged, it is possible to record
about 1hour and 50 minutes to 2.5 hours in the different videos resolutions.
Video resolution
Video recording hours
720p @ 30 fps
2.5 hours
1080p @ 30 fps and wireless option enabled
1 hour 50 minutes
1080p @ 30 fps and wireless option disabled
2 hours
WVGA @ 60 fps
2
hours 15 minutes
Power
Note
: During the battery charging (USB TRANSFER or CHARGE ONLY),
it is possible that the battery icon shows that it is full, even if the load is
not completed. By this fact, leave the battery connected for a minimum
of 5 hours for a maximum loading. To know the real battery charge,
see the battery icon shown in the upper right corner of the screen in all
camera modes.
The battery level is shown in the upper right corner of the screen in all
camera modes. When the battery level is low, we strongly suggest to charge
the battery before it is empty. If a video is being recorded and the battery
level reaches 0%, the camera saves the file before shutting down.
CHARGING THE BATTERY
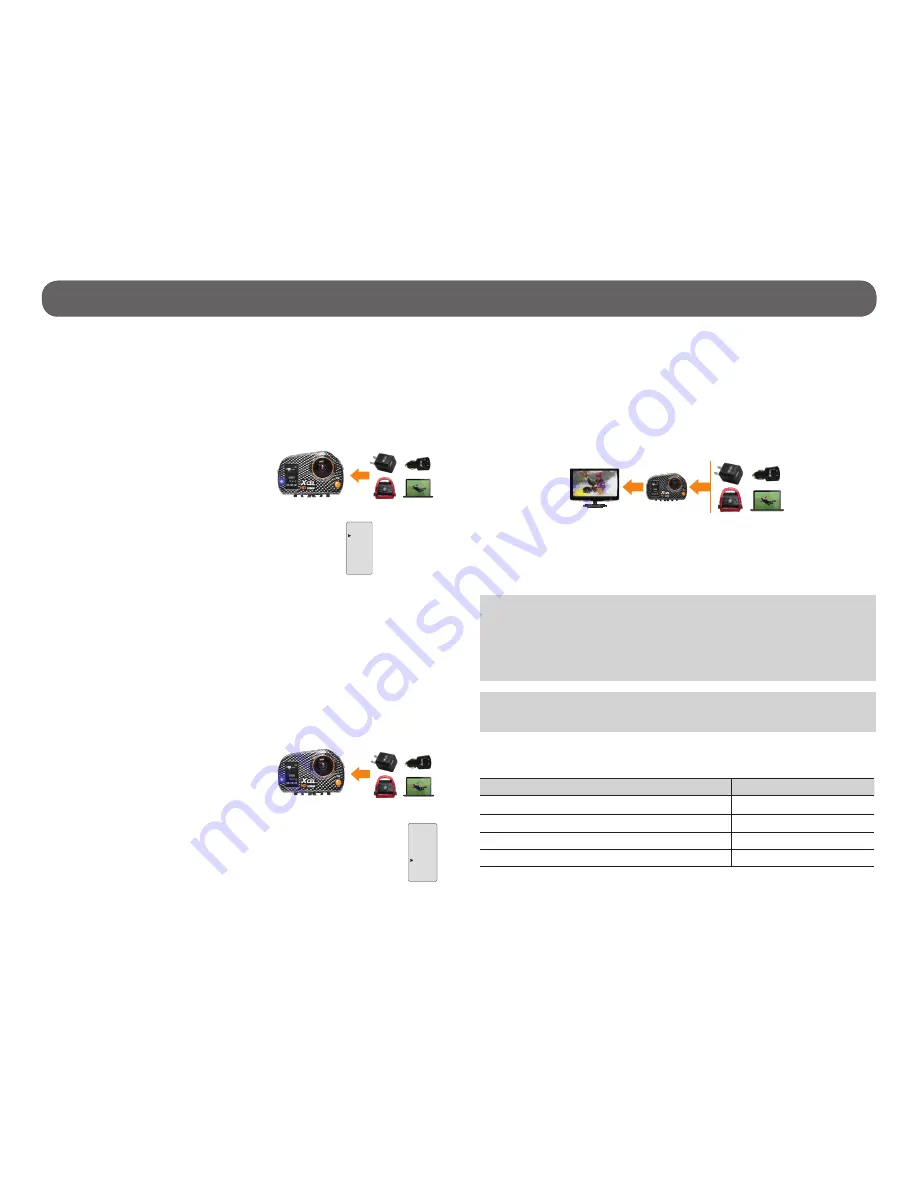
1. Using the included USB cable, connect the camera to a USB power
source:
-A computer
-A booster pack
-A car charger
(XHD-CUSB, sold separately)
-An USB power adaptor
(XHD-A, sold separately)
2. Select “USB TRANSFER” by pressing the OK button.
3. The USB icon appears on the screen to indicate that it is possible to
transfer files and the battery icon appears on the top right of the screen
to indicate that the battery is charging. We strongly suggest to disable
the remote control option to maximize the charging time.
USING THE CAMERA DURING THE CHARGING
While charging, it is possible to take pictures and videos and access the
setup menu. In addition, the mode VIEW can be used if the camera is also
connected to a TV using the HDMI cable.
1. Using the included USB cable, connect the camera to a USB power
source:
-A computer
-A booster pack
-A car charger
(XHD-CUSB, sold separately)
-An USB power adaptor
(XHD-A, sold separately)
2. Select “CHARGE ONLY” with the M button and press the OK
button.
CHARGE
ONLY
USB
TRANSFER
CAUTION:
When charging the battery, the camera may become very hot
if it is plugged in for many hours.
CHARGE
ONLY
USB
TRANSFER
USB
HDMI


