Step 8: Sending Serial Data
When using the ZNet 2.5 firmware, routers or end devices will communicate with the
coordinator by default. This makes point to point communication really easy. All you need to do
is send serial data to the XBee router connected to the Arduino and it will be received by the
coordinator where you can read it into your computer.
Connect the Arduino with the XBee Shield to your computer using a USB cable. The jumpers on
the XBee shield should still be disconnected. Load the following sketch on to the Arduino.
/* Serial Test code
Sends "testing..." over the serial connection once per second
while blinking the LED on pin 13. Used for testing serial devices
such as the XBee.
Adapted from the SoftSerial Demonstration code
*/
#define ledPin 13
byte pinState = 0;
void setup() {
pinMode(ledPin, OUTPUT);
Serial.begin(9600);
}
void loop() {
Serial.println("testing...");
// toggle an LED just so you see the thing's alive.
toggle(13);
delay(1000);
}
void toggle(int pinNum) {
// set the LED pin using the pinState variable:
digitalWrite(pinNum, pinState);
// if pinState = 0, set it to 1, and vice versa:
pinState = !pinState;
}
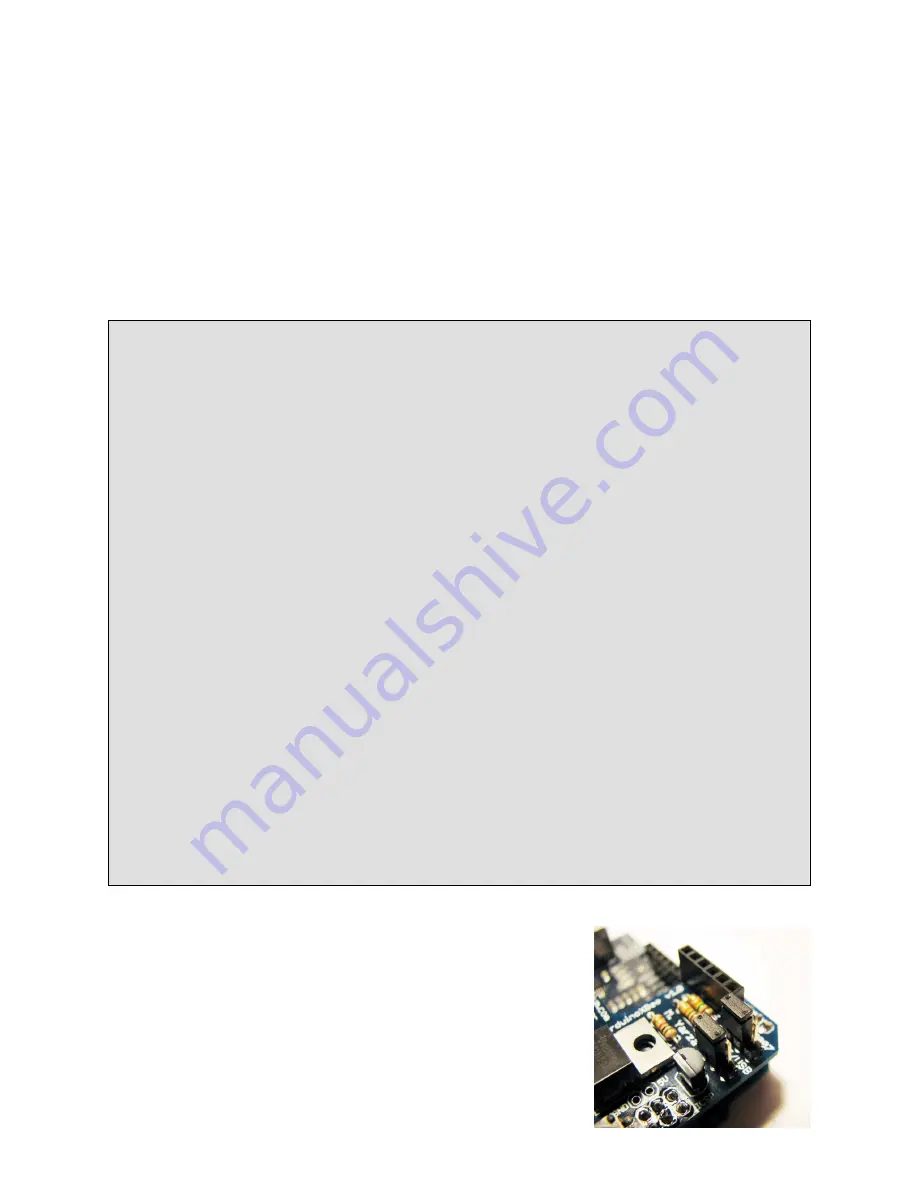
Once the sketch is loaded, unplug the Arduino and connect the
“XBEE/USB” jumpers on the XBee Shield to the XBee side of
the headers (see the photo to the right). Power the Arduino again
and wait for the “Associate” LED to begin blinking again and the
sketch to start.


