background image

XAC  170R User Manual Resources


15.6


Settings 

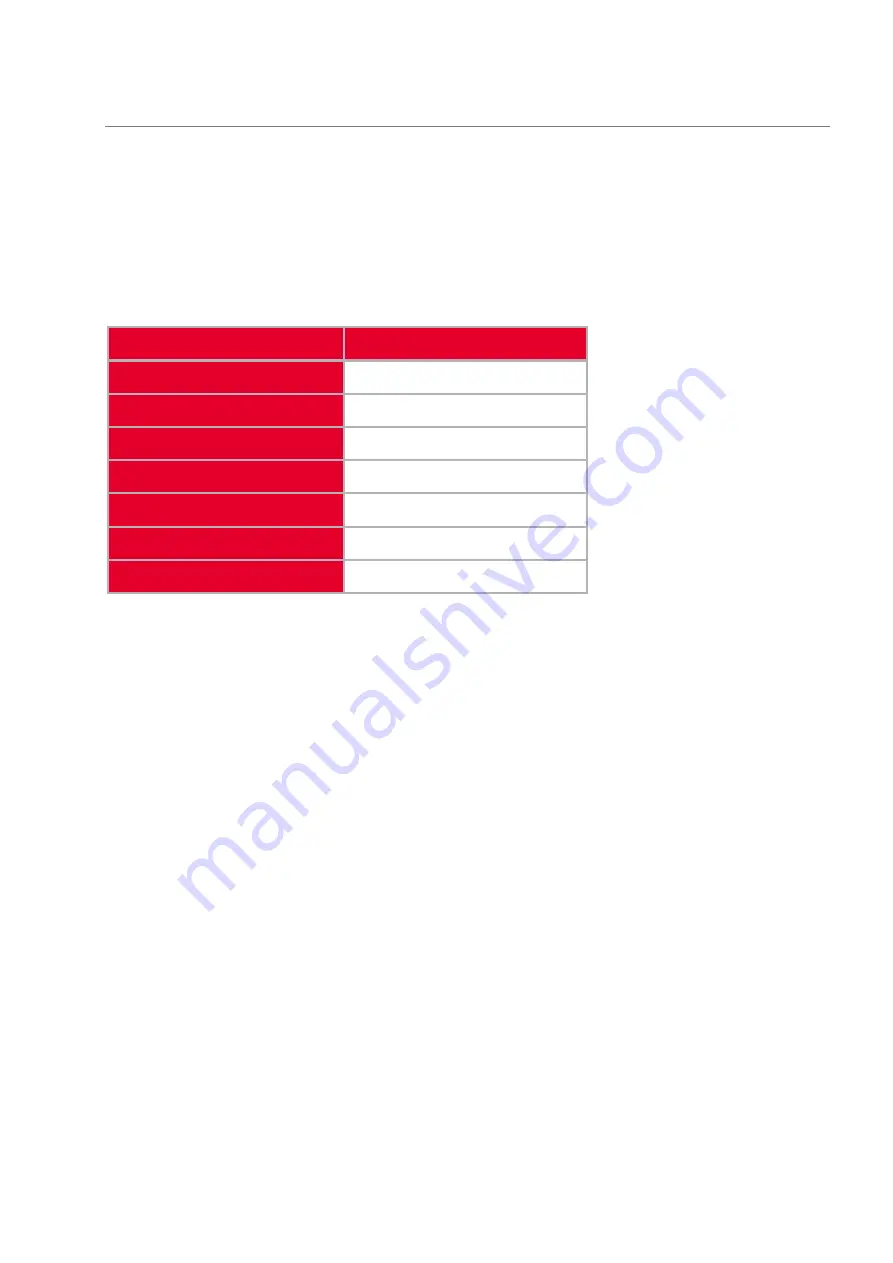
The settings that can be edited vary according to the logged-in level.  A manager can edit more 
settings than an operator, though neither has access to the full range of Android settings.  The 
table below lists the settings that are made available, with an indication of the log-in level that is 
required. 

Table Heading 

Login level 

Wifi 

Manager 

Bluetooth 

Manager 

SIM cards 

Manager or Operator 

Battery 

Manager 

Display 

Manager or Operator 

Notifications 

Manager or Operator 

About 

Manager 


The technician, when logged in, can access the full range of settings that is offered by the version 
of Android that is installed. 

For the sub-sets of the full Android settings that are made available to the Manager and/or 
Operator, the meaning and behaviour of each setting is identical to the standard for the version of 
Android that is on the device.    

Содержание 170R

Страница 1: ...1 XAC 170R USER MANUAL RESOURCES CONFIDENTIAL ...

Страница 2: ...Reader 11 8 Using the IC Card Reader 11 9 Using the Key Pad 12 10 Using the Contactless Card Reader 12 11 Changing the Battery 13 12 Insert SAM SIM card 14 13 Loading Paper 14 14 Installing the Strap 15 15 Operating the Terminal 16 15 1 Launcher Screen 16 15 2 Status Bar 17 15 3 Notifications 18 15 4 Navigation Bar 20 15 5 Logging in 20 15 5 1 Login Modes 20 15 5 2 Authorization Screen 21 15 6 Set...

Страница 3: ...narios 30 16 2 1 Simple Sale with Payment Card 30 16 2 2 Sale with a tip 37 16 2 3 Sale with Manual Card Entry 39 16 2 4 Pre authorization Only 40 16 2 5 Status Check 40 16 3 Common Transaction Exceptions 41 16 3 1 Cancelled Transaction 41 16 3 2 Card Removed 42 16 3 3 Timeout 43 16 3 4 Card Read Error 44 16 3 5 Communication Error 45 ...

Страница 4: ... resource of information about the XAC 107R Smart POS device The present version of this document describes the hardware and the Launcher software 2 References Document Publisher xCL_AT 170R Datasheet XAC Automation Corporation xCL_AT_170 Series Installation Guide XAC Automation Corporation ...

Страница 5: ...80x800 full color TFT IPS x Capacitive touch screen display Audio Audio Jack and Microphone Pin pad Touch PINPAD Magnetic Stripe Reader ISO 7811 compliant 3 track MSR Smart Card Reader x ISO7816 1 2 3 compliant Asynchronous Card protocol T 0 T 1 and SLE4442 Memory Card x Up to 2 SAM Support 3V SAM card Contactless Reader x ISO14443 type A B ISO18092 NFC x MiFare Felica x Global Contactless L2 ...

Страница 6: ...FM PCD x PayPass PayWave DPAS ExpressPay Quickpass JSpeedy MIR CB GBIC Thermal Printer 48 mm printing width with tear bar Communication x WI FI 802 11 a b g n 2 4GHz 5GHz x Bluetooth 4 2 dual mode x 4G wireless dual SIM or 1 SIM 1 eSIM Extension Ports USB Type C Connector x 1 Barcode Reader optional Support 1D 2D barcode scanning GPS optional GPS Tracking Power x 5V 2A Switching Power Adapter x Li...

Страница 7: ...dapter x USB cable type C to type A x Rechargeable battery x Paper roll x Quick user guide safety instruction x Cradle XC 70 x Charger Stand x Charger Stand Ethernet USB host x 2 RS232 x 2 x Charger Stand Ethernet USB host x 1 RS232 x 2 Modem 4 Package Content ...

Страница 8: ... Displa 2 Printer Paper Cover Contactless Card Tapping Area 3 Camera for barcode scanning Optional 4 Smart Card Reader SCR slot 5 Audio Jack Rear 6 Battery Compartment 7 Charging Contact Right 8 Magnetic Strip Reader MSR slot 9 Power Button Press 3 seconds to power on off 10 USB OTG port type C FRONT REAR Right Side ...

Страница 9: ... this device Use of any other AC adapter may cause a risk of fire or explosion x Operating Temperature x 0o C to 40o C 6 Power On Off the Device Power ON Press and hold the Power key for 3 seconds until the screen is activated Figure 2 Power OFF Press and hold the Power key for 3 seconds to shut down the device Figure 2 NOTE When device is in idle or suspend mode one short press power of the butto...

Страница 10: ...al Resources 7 Using the Magnetic Card Reader Swipe the card through the slot with magnetic stripe at the back side of the card 8 Using the IC Card Reader Insert an IC card into the slot with the chip side facing upward ...

Страница 11: ...he display to enter the password Press Cancel X key to terminate any current function and press the Enter O key to confirm a value or an option 10Using the Contactless Card Reader Tap the contactless card on top of the contactless logo which is shown on the paper cover The four green LED indicates the contactless card reading status ...

Страница 12: ...e the battery cover to close the compartment as Figure 7 STEP 6 Fasten the 2 screws Figure 7 Figure 8 Bottom Cover Removal Warning When removing the bottom cover and screws for the purposes of changing battery remember to put back the cover and screws before power on the POS CAUTION RISK OF EXPLOSION IF BATTERY IS REPLACED BY AN INCORRECT TYPE DISPOSE OF USED BATTERIES ACCORDING TO THE INSTRUCTION...

Страница 13: ... shown on the cover Figure 9 13Loading Paper STEP 1 Gen l pop he prin er co er s la ch hen pull the cover upward to open the paper roll cover STEP 2 Load a roll of thermal paper into the printer Please ensure the printing side of the paper will feed out facing the operator STEP 3 Close the cover by pressing on the center of the printer cover Use the serrated bar to tear off any excess paper ...

Страница 14: ...trap pin to the notches on AT 170 rear cover Press downward the strap pin into the notches than pull another pin of the strap to install another side as Figure 11 2 Note After pressing the pin make sure it is fixed into the notch of AT 170 Finished look of the strap assembly ...

Страница 15: ... 15 1 Launcher Screen The layout of the launcher screen will be customised It can have a number of styles and show any number of apps The following is an illustrative example which is unlikely to be exactly like the exact Launcher you see on your own device ...

Страница 16: ... that would be seen on an Android phone However they include icons that alert you to notifications that have been received from partocular apps including some apps that are provided pre loaded on the device such as these three in the example above From left to right the three notification icons relate to x Payment Processing Service which is the app also called App Flow that co ordinates the flow ...

Страница 17: ...central server I moni ors he de ice s heal h and ens res ha i s apps and s s em se ings are p o da e Most of the time two MDM Agent notifications are displayed as shown in the above example x An indication of the kind of user that is currently logged in one of Operator Manager and Technician See the sub section on logging in for more information about what happens if you click to log out x An indi...

Страница 18: ...ce is the app called App Flow that co ordinates the flow of processing between different apps to complwwete a transaction In its normal state it indica es ha i is Wai ing for ini ia ion req es s as shown above Another notification that is sometimes displayed from the Payment Processing Sservice is this one The notification above is displayed when the user minimises the payment app i e opens the ho...

Страница 19: ...n 15 5 1 Login Modes The device will have been configured by the system administrator to operate in one of two modes x Login not required The user can use the deice at the least privileged level Operator without entering a password Only higher levels Manager or Technican requier a password to be entered x Login required The user needs to know at least an Operator password ...

Страница 20: ... a echnical s ppor call The par of he ime ha begins UTC refers to an offset from Greenwich Mean Time so is indicating a time zone On he hird line do n he ersion DEV in his e ample is he ersion of the MDM Agent The long sequence of le ers and n mbers s ar ing c d in his e ample is called the Device Id On a technical support call you may be asked to read this Id out as it allows the device to be ide...

Страница 21: ...natively press Enter to submit a password The differences between the rights of an Operator and a Manager are explained in the Settings sub section below If you have forgotten your passwords contact your technical support team who will re generate a pair of passwords The passwords once generated centrally by the technical support team will be likely to take 5 or more minutes to be sent down to the...

Страница 22: ...you can enter a password Clicking the notification when the logged in user is the manager automatically demotes the log in level to operator no password entry required In addi ion o he opera or and manager pass ords here e is s a echnician s pass ord hich confers ma im m righ s on he de ice The echnician s pass ord hich is ime limited is available only to suitably qualified support personnel After...

Страница 23: ...required Table Heading Login level Wifi Manager Bluetooth Manager SIM cards Manager or Operator Battery Manager Display Manager or Operator Notifications Manager or Operator About Manager The technician when logged in can access the full range of settings that is offered by the version of Android that is installed For the sub sets of the full Android settings that are made available to the Manager...

Страница 24: ...gs will happen x If the logged in user is operator the screen displays the page that was displayed when the sleep mode started If the logged user is any level other than operator the login page is displayed with an option to Cancel in order to continue as an operator Or x The screen always displays the login page The actual Sleep timeout is set in Settings under Display Advanced The device offers ...

Страница 25: ...urces 15 8 Loss of WiFi If the device loses its Wi Fi connection for a period of time it displays this screen The period of time that triggers this is set by the administrators of your device and is not the same for all devices ...

Страница 26: ...a Wi Fi network On pressing it you will be asked for a password You must enter the manager password or a technician password if you are a support team member The operator password will not be accepted as setting WiFi requires a higher level login than operator After entering a password you will be presented with the WiFi Settings page After re connecting it and pressing the back or home button on ...

Страница 27: ...The page is opened from a notification from MDM Agent Clicking on the standard notification for MDM Agent opens the Configuring Device page When the device is being updated a different notification is added to the notifications panel and clicking on this notification too will open the Configuring Device Page though you are not required to click on any notification for the updates to be completed ...

Страница 28: ...e device to synchronize with the server to check that it has all the latest software updates A he op of he page he ersion DEV in his e ample is the version of the MDM Agent The long sequence of le ers and n mbers s ar ing c d in his e ample is called he Device Id On a technical support call you may be asked to read this Id out as it allows the device to be identified on the central Admin Portal If...

Страница 29: ...ribes the steps in the most common sales scenarios when using the payment app x A simple sale using a payment card x A sale with a tip using a payment card x A sale using manual card entry x A pre authorization of a payment card without a sale x A status check of a payment card 16 2 1 Simple Sale with Payment Card In this common scenario the POS initiates a sale and the customer pays by swiping in...

Страница 30: ...ay in some cases be presented with a screen to choose between a credit card and a debit card and sometimes also with other choices e g Us Debit Visa x Depending on the system configuration prior to the next step one or more other apps could be presented to offer pre sale services The apps presented if any will be any that the system administrator has selected Information about any such apps is not...

Страница 31: ...XAC 170R User Manual Resources x While the device reads the card the following screen is presented ...

Страница 32: ...XAC 170R User Manual Resources x If a PIN is required the PIN entry screen is presented x An incorrect PIN is notified on the same PIN screen ...

Страница 33: ...XAC 170R User Manual Resources x The card should be removed when the device prompts ...

Страница 34: ...XAC 170R User Manual Resources x While the payment app is authorizing the payment the following screen is displayed ...

Страница 35: ...XAC 170R User Manual Resources x If the transaction is successful this is reported x Receipts are printed on completion of the transaction a signature may be required ...

Страница 36: ...the goods are selected and the sale transaction has been requested by the POS app x Depending on the system configuration prior to the next step one or more other apps could be presented to offer pre sale services The apps presented if any will be any that the system administrator has selected Information about any such apps is not provided in this document x The payment app displays the total to ...

Страница 37: ...culated tips by tapping on the percentage amount that they want to give and then Pay Now x Select Custom which presents a page in which they can define an amount of their own and then Pay Now x From this point on the transaction is the standard one as defined in the scenario Simple Sale with Payment Card above ...

Страница 38: ...d x The POS application initiates the sale the goods are selected and the sale transaction has been requested by the POS app x Depending on the system configuration prior to the next step one or more other apps could be presented to offer pre sale services The apps presented if any will be any that the system administrator has selected Information about any such apps is not provided in this docume...

Страница 39: ...ve x Receipts are printed on completion of the transaction a signature may be required 16 2 4 Pre authorization Only The user wants to pre authorize an amount The steps for this are identical to the scenarios above with the same sequences of screens except that the sale is not completed 16 2 5 Status Check The user wants to check the status of a card The steps for this are identical to the scenari...

Страница 40: ...xceptions 16 3 1 Cancelled Transaction If the user cancels a transaction before it is completed by selecting a Cancel option in any screen the following is displayed If the user selects Yes the transaction is cancelled and a confirmation screen is displayed ...

Страница 41: ...XAC 170R User Manual Resources 16 3 2 Card Removed If the card is removed prematurely the following screen is displayed ...

Страница 42: ... 16 3 3 Timeout The transaction times out if the user fails either to insert a card or to submit a manual card number within the required period of time On a timeout the following screen is displayed and the transaction is cancelled ...

Страница 43: ...XAC 170R User Manual Resources 16 3 4 Card Read Error If the device or the payment app are unable to read the CHIP on the card the following is displayed followed by advice to remove the card ...

Страница 44: ...70R User Manual Resources 16 3 5 Communication Error If there is a communication error the following screen is displayed Check that the device is connected to the WiFi If the problem persists contact support ...

Отзывы: