Parameter
Default Setting
Parameter
Default Setting
2-1
Chapter 2
USB Laser Scanner Setup
Configuring the USB Laser Scanner
Turn on your computer: You should hear three beeps from the Laser Scanner -- an indication that
the reader is functioning correctly.
Find the
USB Laser Scanner Setup Menu
on the Utilities CD-ROM and print it out - it is also
available in
Appendix J
of this manual. This simple menu lets you easily configure the Worth Data
USB Laser Scanners to work with almost any computer system, and tailor its bar code reading and
formatting characteristics precisely to your needs. To scan
USB Laser Scanner Setup Menu
bar
codes and configure your reader and you are new to bar code scanning be sure to read
Chapter 3;
Scanners and Scanning Technique.
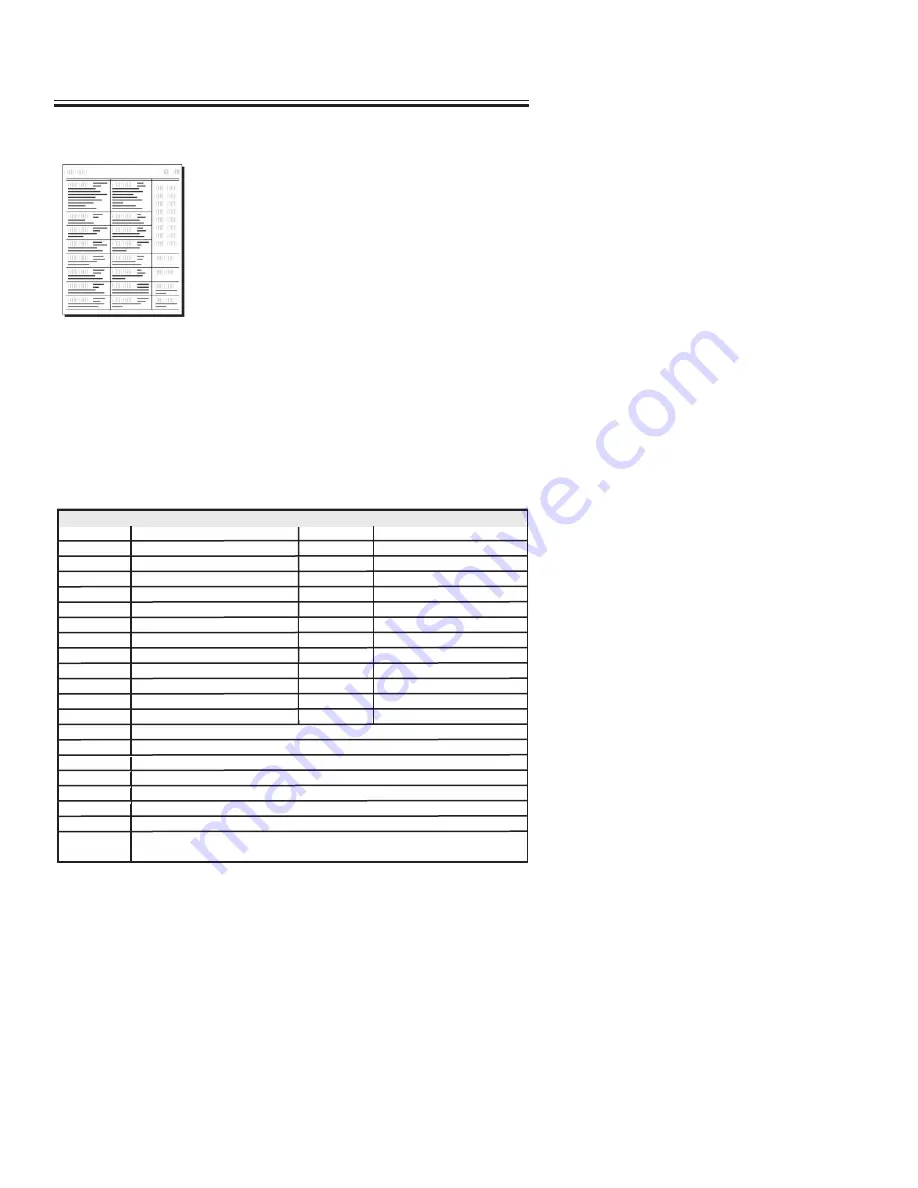
Below are the USB Laser Scanner's default settings. The Scanners are shipped configured to these settings, and can be reset to
them at any time by reading the
Start Setup, Reset
and
End Setup
bar codes on the
USB Laser Scanner Setup Menu
. If
you need to change any settings, or want to learn more about the USB Laser Scanner setup options, the next pages explain,
step by step, how to set them and what they do.
USB Laser Setup Menu
Code 39
Code 39 enabled
MSI/Plessey
MSI/Plessey disabled
Check Digit disabled
Check Digits not transmitted
Start/Stop characters not transmitted
Label Code 4/5 disabled
Accumulate Mode enabled
Caps Lock OFF
2 of 5
I 2of 5 disabled
Code 128
Code 128 disabled
6 digit code length
UCC-128/EAN disabled
Check digit disabled
Bar Code ID’s disabled
UPC/EAN
UPC/EAN enabled
Code 93
Code 93 disabled
UPC Supplements disabled
Full ASCII extension disabled
UPC-E compressed, NSC of 0
Transmit UPC-A in UPC-A format
ISBN conversion disabled
UPC-A NSC and EAN-13 first two characters and check digits transmitted
UPC-E NSC and EAN-8 first two characters and check digits not transmitted
Other Settings
NO preamble or postamble set
CR as Terminator Character
Medium pitch beep tone


