1-2
Installation
The Laser Scanners attach directly to a USB port on a computer using the installed, replaceable C40 USB Cable for the LZ160-
USB and LZ360-USB Laser Scanners. The Windows®, Macintosh® or Linux operating systems provide the software required to
access the USB port. Data coming from the scanner through the USB port appears as keyboard data in your application.
Models with built-in USB are:
LZ160-USB
Integrated Laser Reader
LZ360-USB
Integrated Laser Reader
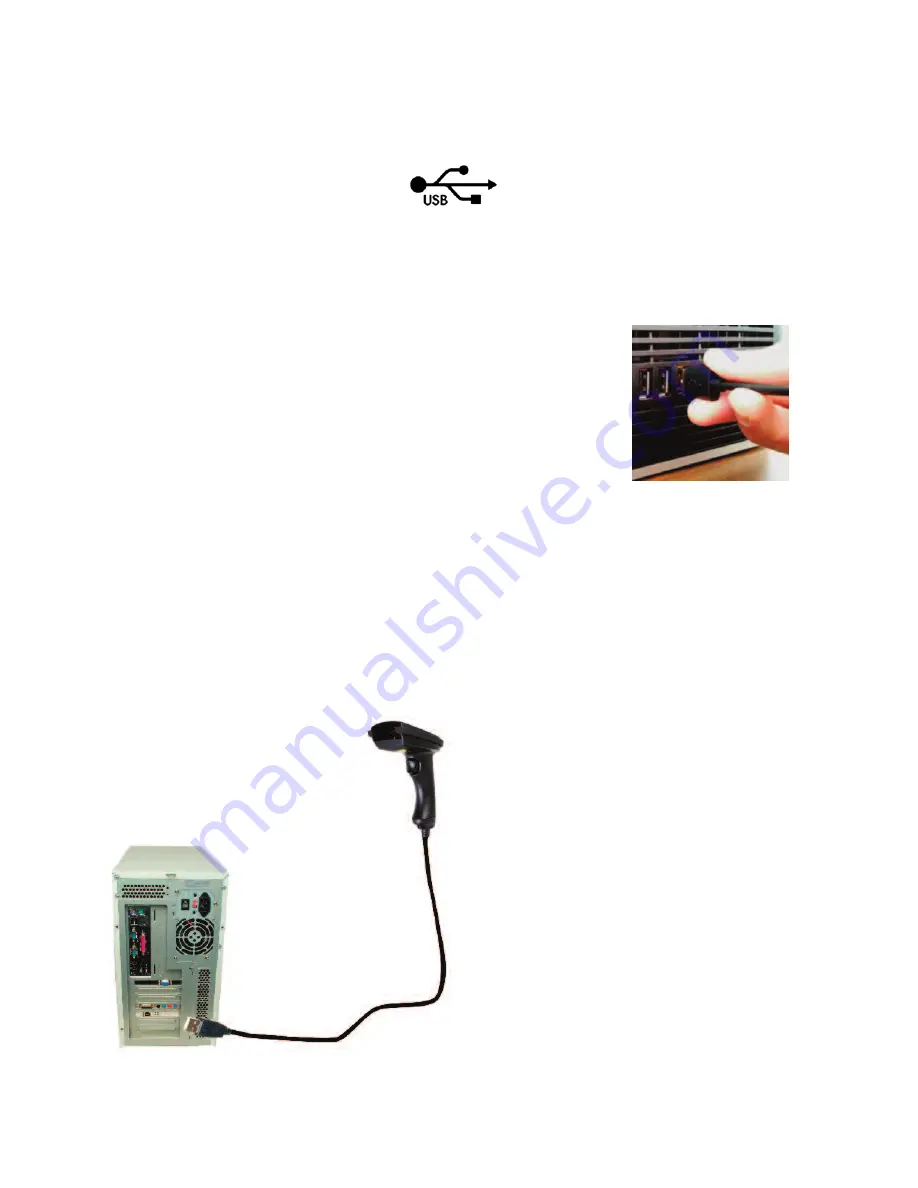
USB Installation for PC or Mac
Model LZ160-USB, LZ360-USB
The USB Laser Scanners have a USB cable that can be attached directly to the USB port on any Computer Running
Windows, Mac OS X, or Linux. The LZ160-USB and LZ360-USB Readers use a field
replaceable C40 USB Cable.
When you plug the Reader into the USB port on a computer running Windows 10, 8 , 7, Vista,
XP, 2000, ME, 98SE or Mac OS X, the operating system will sense the new device and proceed
to install the necessary software for a HID USB Keyboard (Windows systems may ask for the
original Windows CD-ROM to install the needed USB drivers - be prepared). There are no
additional drivers needed other than what is already standard in Windows or the Mac OS. To
install the Laser Scanners on the USB port:
1. Plug the flat USB connector end of the C40 Cable to an available USB Port on the host computer or USB hub.
2. The computer will sense the USB device and install the necessary software. The necessary drivers are standard in both
Windows, Mac & Linux. In Windows, simply click “Next” or press ENTER at each prompt until the installation is complete.
If you have a problem with your USB installation, please see
Appendix I
,
Resolving USB Installation Issues
for details.
USB Laser Installation


