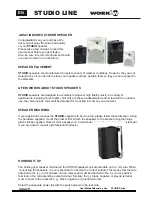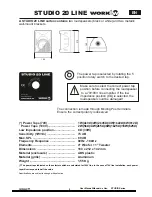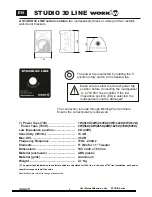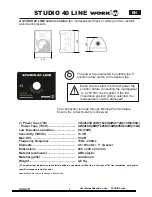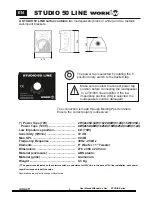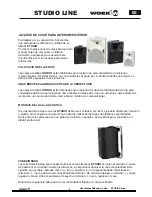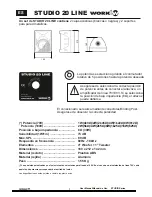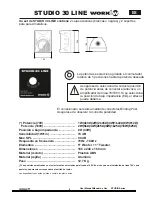
STUDIO LINE
2-WAY INDOOR/OUTDOOR SPEAKER
Congratulations on your purchase. We
trust you will enjoy the value and quality
of your
STUDIO
speaker.
Please take a few minutes to read this
user manual before you get started.
Also, be sure to retain this document should
you need to refer to it in the future.
SPEAKER PLACEMENT
STUDIO
speakers are manufactured to resist a variety of weather conditions. However, they are not
waterproof, so if you decide to place your speaker outdoor, position them so they are not exposed to
the elements.
A FEW WORDS ABOUT STUDIO SPEAKERS
STUDIO
speakers are designed to accurately reproducer high fidelity music in a variety of
applications, including home theater. Not only are these loudspeakers weather resistant for outrdoor
use, they also include color matched bracket for mounting in most any environment.
SPEAKER MOUNTING
If your application requires the
STUDIO
speakers to be mounted, please follow these direction. Using
the hardware supplied, mount the bracket first. Attach the speakers to the bracket using ther large
plastic knobs supplied. Never mount a speaker on a wall made of unreinforced drywall or plasteboard.
If you are unsure, consult a professional contractor.
HOOKING IT UP
The binding post speaker terminal on the STUDIO speakers will accomodate up to 2 mm wire. When
connecting the speakers, it is very important to observe the correct polarity. This means that the wire
attached to the (+), red or positive on one component must be attached to the (+), red or positive
terminal on the corresponding output terminal. Similary, the (-), black, negative or ground terminal
must connect to the respective (-), black, negative or ground terminals.
Select the adequate power tap with the switch placed in the rear side.
1
User Manual/Manual de Uso STUDIO Series
EN


