27
Great Wheel Arbor
Parts
1 - 5 5/8" dowel
1 - Great wheel (#38) w/ pawls installed
1 - 10-tooth gear (#31)
2 - Set washers (#34)
1 - Weight spool (assembled previously)
1 - Arbor sizing jig (#56)
Assembly Procedure
(Study the diagram on the next page for an overview of the final results of the following procedure;
refer to that diagram during the procedure.)
Label one end of the 5 5/8" dowel with a ‘G’. Lay the dowel on the diagram below with the ‘G’ end
on the left. Make marks on the dowel at the locations shown in the diagram (these marks indicate gear
locations).
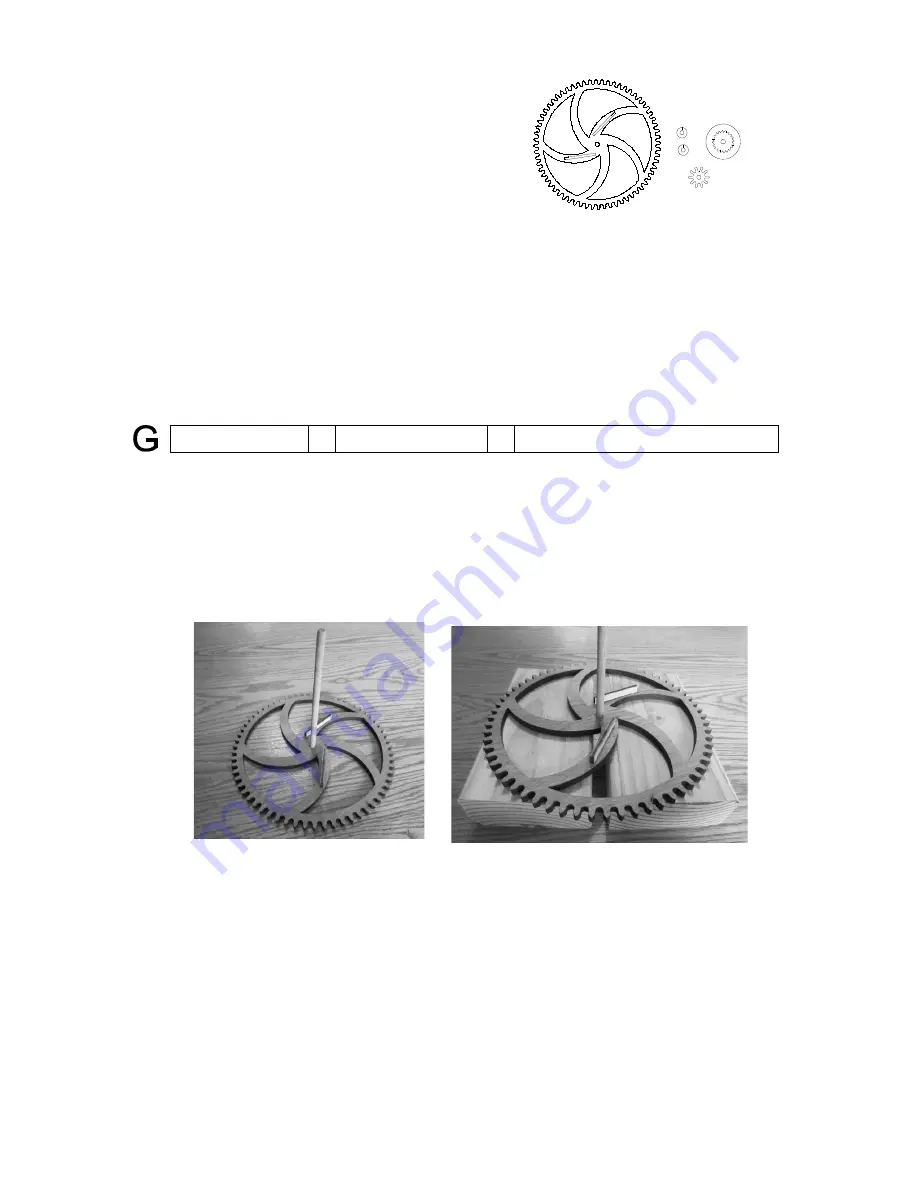
Place the great wheel on a flat, sturdy surface with the pawl side up. Use a hammer to drive the 5 5/8"
dowel into the center hole of the great wheel; try to keep the dowel perpendicular to the gear. Once the
arbor bottoms out in the gear, place the gear on top of a pair of wood blocks (such as 2x4's, as depicted
below). Separate the two scrap pieces about 1/4" so the arbor will be able to pass between them.
Continue to drive the arbor through the gear until the gear is between the first pair of marks on the
dowel (which will leave approximately 1 1/4" of dowel protruding through the gear).
Slide the weight spool onto the long end of the arbor, rachet side first. Twist the spool so that the
rachet teeth engage with the pawls. Slide a set washer (#34) onto the long end of the arbor until it is
nearly in contact with the weight spool (the weight spool must be free to rotate, in one direction, on the
arbor).
Sand the arbor to permit easier installation of the 10-tooth gear. Lay the 10-tooth gear on a flat, sturdy
surface. Insert the long end of the arbor into the hole in the gear and use a hammer to drive the arbor
into the gear. Once the arbor is fully inserted into the gear, use the same procedure that was used with
the great wheel (supporting with blocks) to drive the 10-tooth gear until it is between the other pair of
marks on the dowel.
Содержание The Tranquility Clock
Страница 1: ...The Tranquility Clock Copryight 2014 Jeffrey A Schierenbeck ...
Страница 43: ...42 ...
Страница 44: ...43 Part Locator To be removed from the manual ...


