11
MEM Mode
image 1.jpg
(1/9)
To start the MEM mode, press the MEM key
(#27).
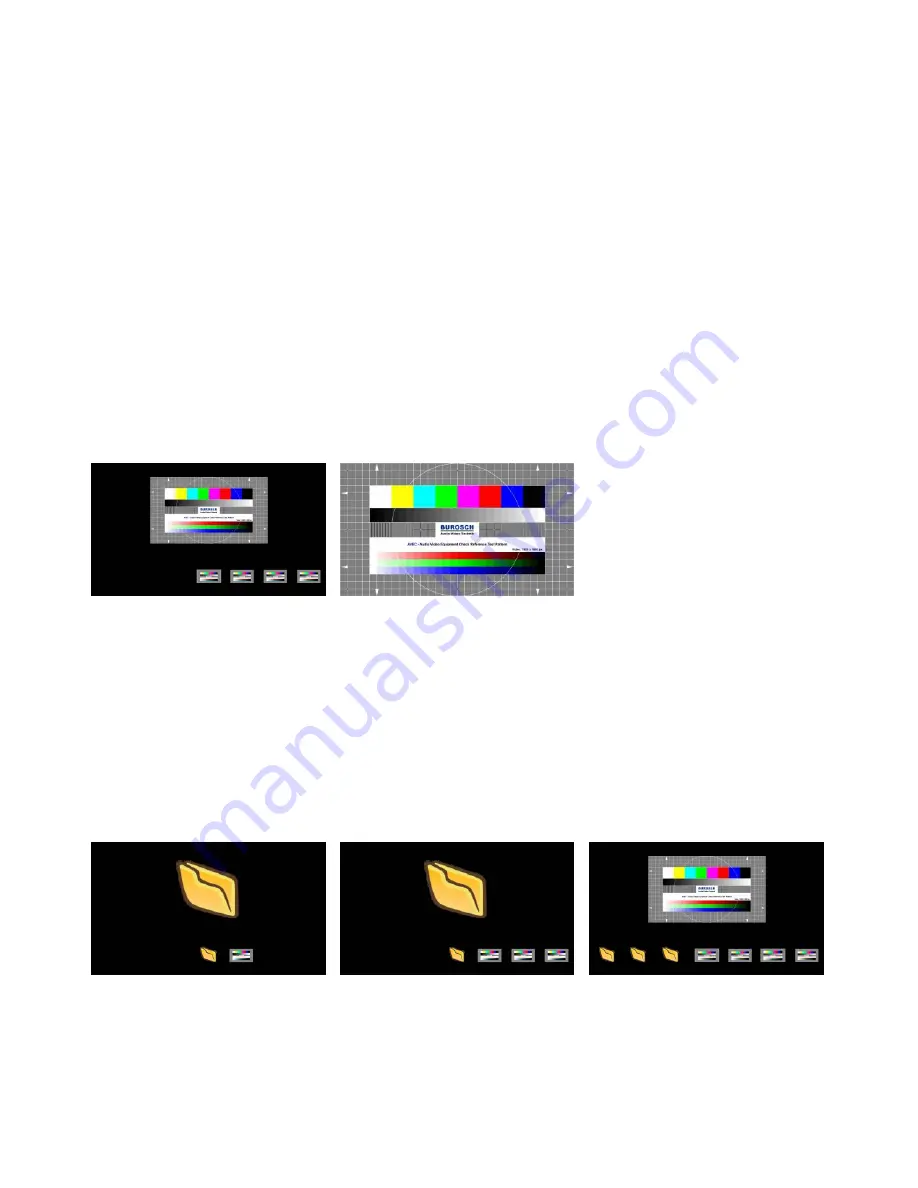
A split image with the stored pictures will be displayed.
Additionally a status line with picture information is shown on the bottom of the screen. Pressing the VZ key
(#28)
returns to the camera live image temporarily. The presentation will stay at the last shown picture, to
continue use the MEM key.
To select one of the currently displayed pictures move the picture bar with the NAVIGATION keys 4/6
(#24)
and confirm it with the ENTER key
(#39)
. Use MEMORY keys 4/6 to show the previous/next picture. Use the
ENTER key to return to the split view.
Use the MENU key for storage organization like deleting pictures and filling the all 9 memories automatically
in a defined time interval.
split image
full image
USB Mode
To start the USB mode, press the USB key
(#34).
A split image with the available folders and stored pictures
will be displayed. Additionally a status line with picture information is shown on the bottom of the screen.
Pressing the VZ key
(#28)
returns to the camera live image temporarily. The presentation will stay at the last
shown picture, to continue use the USB key.
To select one of the currently displayed pictures move the picture bar with the NAVIGATION keys 4/6
(#24)
and confirm it with the ENTER key
(#39)
. Use the NAVIGTIONS keys 4/6 to show the previous/next picture.
Use the ENTER key to return to the split view.
Use your computer for organization of the USB storage device like creating or deleting folders, moving
pictures from one folder to another, deleting pictures or formatting of the USB storage device.
Please note formatting the USB storage device will delete all data.
Supported file systems are FAT16 and FAT32. Supported picture file format is JPG format.
Built-in Memory (external storage device not connected)
By pressing the SNAPSHOT key
(#36)
the current image is stored in the next free memory. When all 9
memory locations are full, the oldest will be over written (circular buffer).
External storage device connected
By pressing the SNAPSHOT key
the current image is be stored on the USB device and a message
appears on the screen. The stored images are in JPG format and can be edited / viewed on a computer.
All pictures are stored with date and time stamp.
(#36)
The properties of the USB functions can be changed in the on-screen menu (Advanced Settings - USB Stick
Settings), like default picture folder (document directory) and the file names ("WV" and consecutively
numbered).
Snapshot
pattern.jpg
(1/9)
/My_Documents
WOLFVISION
(1/9)
(1/2)
selected image ”pattern.jpg”
initial screen
(1/9)
/WOLFVISION
(1/4)
My_Documents
selected folder ”My_Documents”


