


WOLFF | A Brand of UFLOOR Systems
WOLFF | A Brand of UFLOOR Systems | 71665 Vaihingen/Enz | Dieselstraße 19 | Tel. +49 (0)70 42 95 11- 0 | Fax +49 (0)70 42 95 11- 44 | E-mail [email protected] | Internet www.wolff-tools.de
Operating instructions
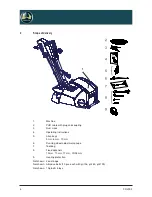
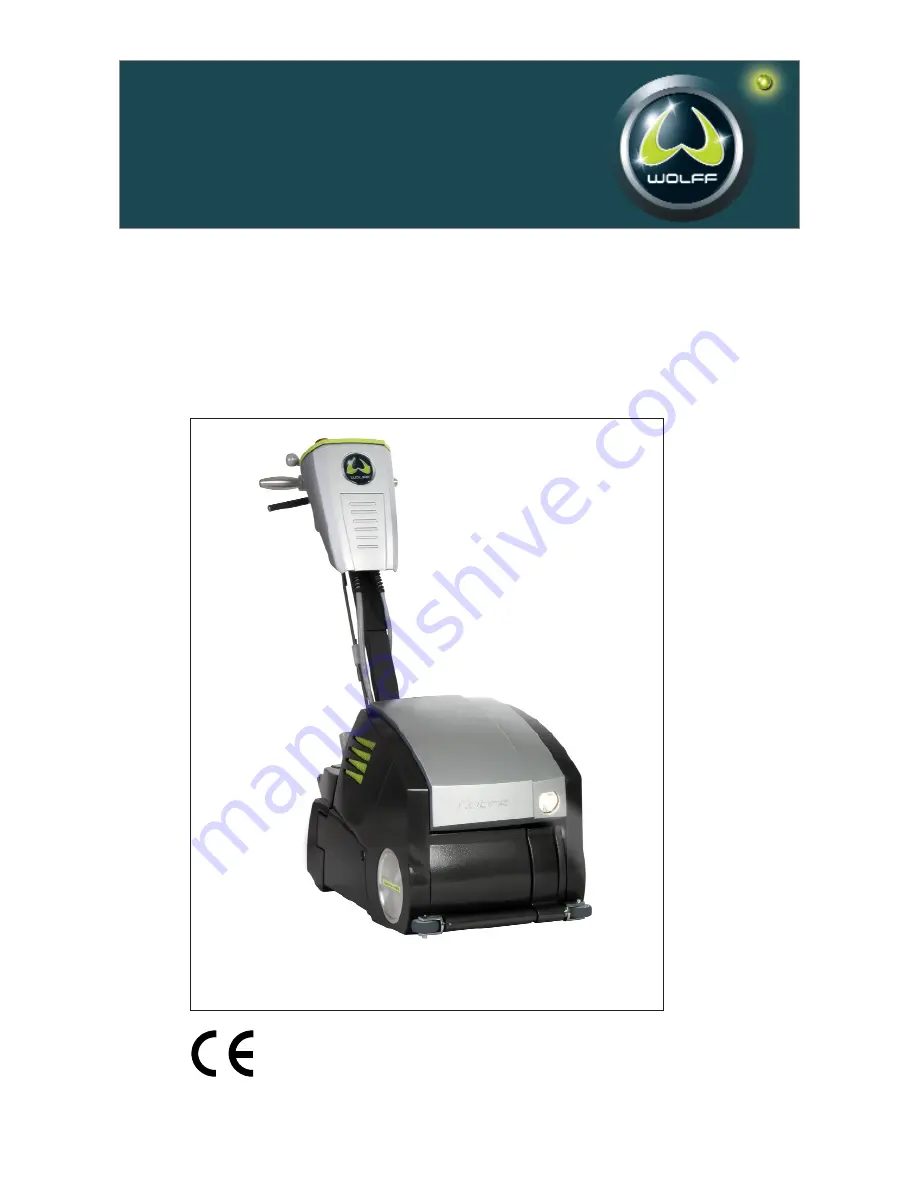
Parquet sanding machine
Cobra 2.5 kW(3,2kW)/50 Hz
Item no. 054891
Item no. 054004


