


Quick Operation Guide of Digital Video Recorder
28
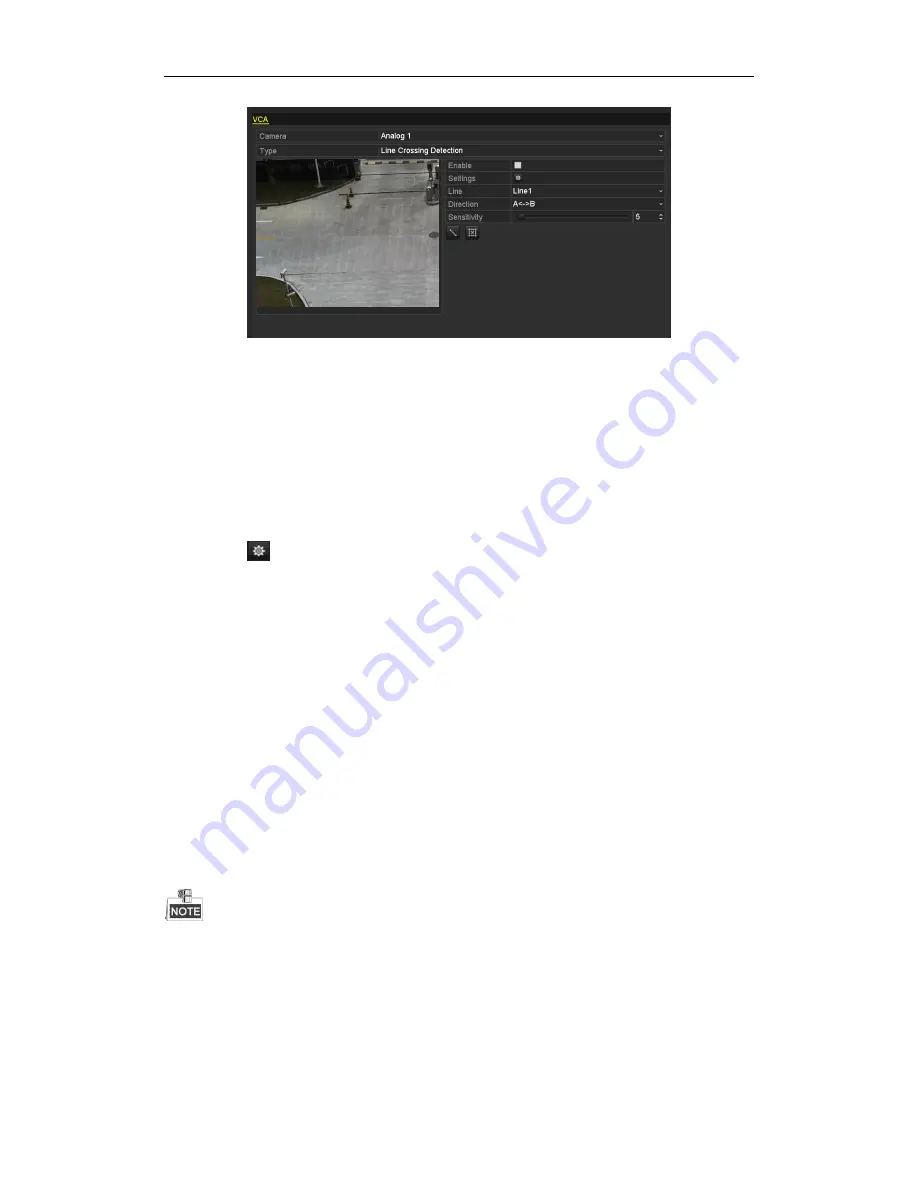
2.
Select the analog camera to configure the VCA.
3.
Select the detection type to
Line Crossing Detection
or
Intrusion Detection
.
Line Crossing Detection
: This function can be used for detecting people, vehicles and objects cross a set
virtual line. The line crossing direction can be set as bidirectional, from left to right or from right to left. And
you can set the duration for the alarm response actions, such as full screen monitoring, audible warning, etc.
Intrusion Detection
: This function can be used for detecting whether there are people, vehicles and objects
intruding into the pre-defined region longer than the set duration. And you can set the duration for the alarm
response actions, such as full screen monitoring, audible warning.
4.
Check the
Enable
checkbox to enable the selected VCA detection.
5.
Click the
to configure the trigger channel, arming schedule and linkage actions.
6.
Configure the region and other settings for the selected VCA detection.
7.
Click
Apply
to save the settings.
Access by Cloud P2P
You can choose the access to the DVR by Cloud P2P or by DDNS through the settings on the Extranet Access
menu.
Cloud P2P provides the mobile phone application and as well the service platform page to access and manage your
connected DVR, which enables you to get a convenient remotely access to the surveillance system.
Steps:
1.
Enter the Network Settings interface.
Menu > Configuration > Network
2.
Select the
Extranet Access
tab to enter the Cloud P2P Settings interface.
3.
Check the
Enable Cloud P2P
checkbox to activate this feature.
4.
If required, check the
Enable Stream Encryption
checkbox to encrypt the video stream.
5.
Enter the verification code of the device.
The verification code consists of 6 capital letters and is located at the bottom of the device.


