


Get Ready to Play
Get Ready to Play
26
27
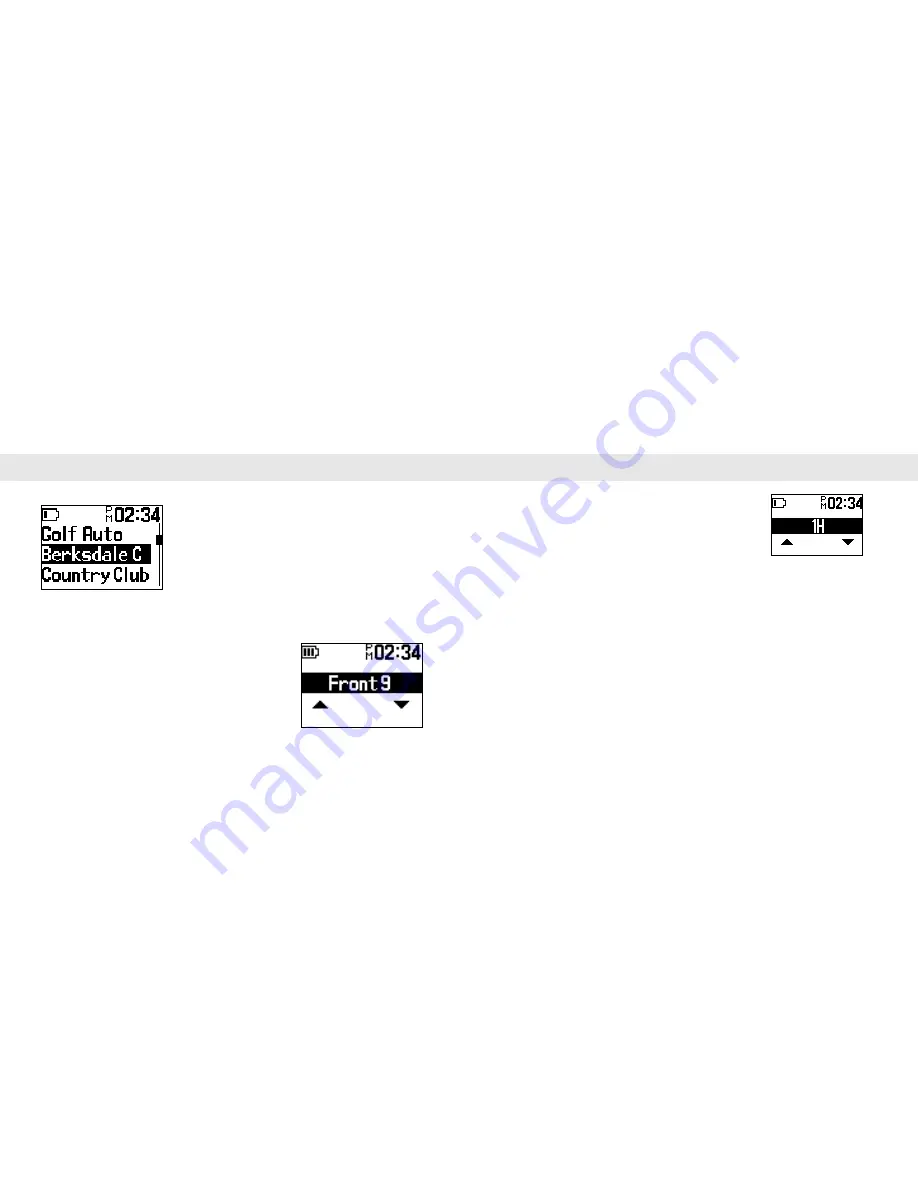
Select the hole
1. Press the up or down key to highlight the hole number.
2. Press the Enter key to select.
Auto Hole Detection - how it works
The Auto Hole detection feature requires that you complete a hole by successfully entering
then leaving two user selectable perimeters zones surrounding the Green area. These
zones are used to identify your proximity to the center of the green. The default zones are:
Into = 10 yards, Leave = 30 yards.
Example:
Once you are within 10 yards of the center of the Green, you have successfully
entered the Green. Once you have then left the Green and are greater than 30 yards of the
center of the Green, you have successfully left the Green and the unit will automatically change
to the next hole. If you find that you often enter the Green and need to go back to the golf cart
for any item, you may satisfy the criteria for the auto hole to advance.
To correct this, you may wish to increase the Leave zone beyond the golf cart to 35 or 40 yards
such that trips back to the golf cart for any item will not result in a hole change until you cross
the larger zone. If for any reason you need to manually change the hole, press the up or down
arrow and the auto hole will now be in effect for the newly selected hole.
Selecting a Golf Course
1. Press the Up or Down key to highlight the golf course.
2. Press the Enter key to select.
NOTE:
If you are at the golf course, highlight Golf Auto to
let the device automatically detect the course information.
NOTE:
The golf course names shown in this User Manual are for reference only. Actual
names may vary depending on the downloaded golf course data and your location.
Select Front or Back 9
1. Press the Up or Down key to highlight front or back 9 of
the golf course.
2. Press the Enter key to select.
Содержание GolfDigest GLF-100
Страница 22: ......