


Setting Up
Setting Up
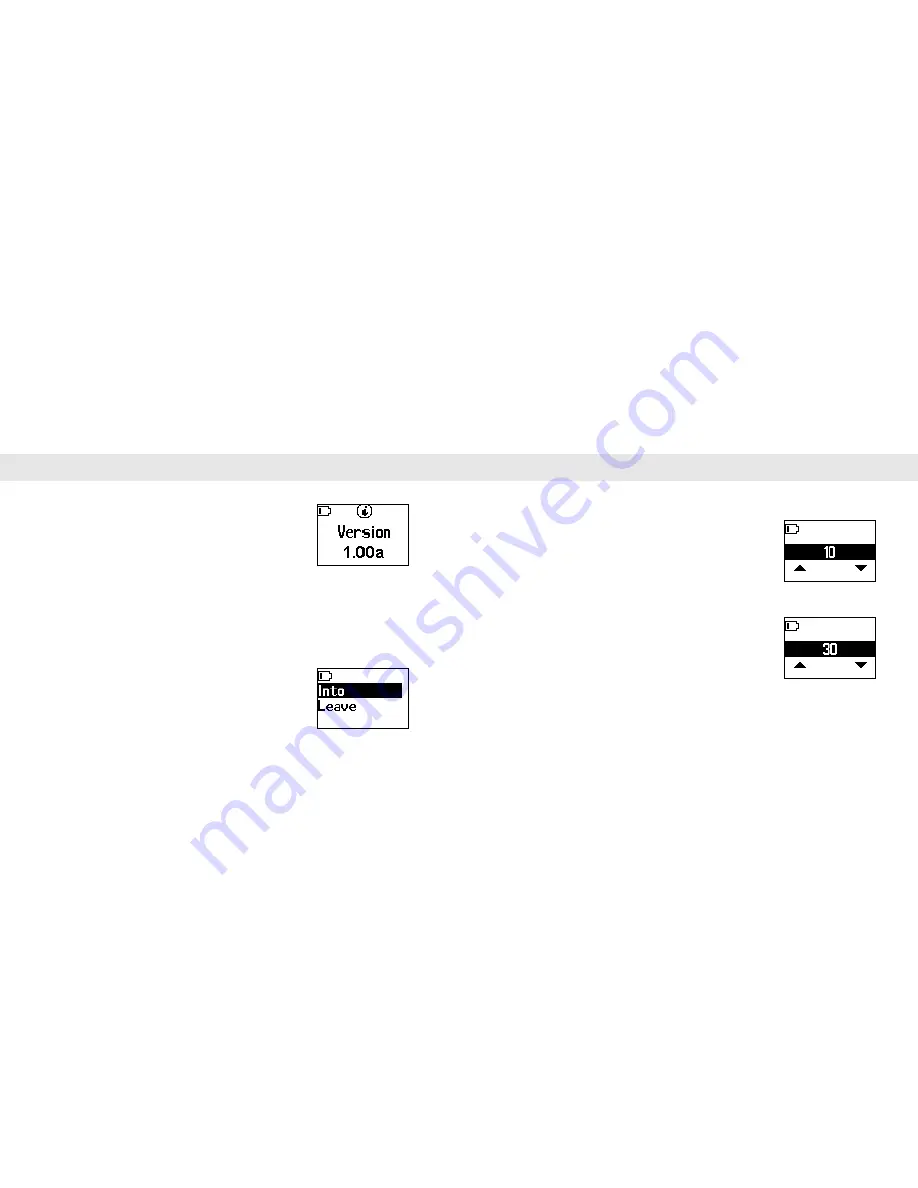
Version
This screen displays the units firmware release version. Press the
Menu key to cancel the current operation and return to a
previous screen.
Green Range
The Auto Hole detection is adjustable to allow for flexibility. There are two settings:
approaching
Into
the green and
Leave
the green. These parameters allow the Auto Hole
detection to function. The default setting distances are:
Into
= 10 yards,
Leave
= 30 yards.
To modify these settings you can select a different zone for both the
Into
and
Leave
settings in increments of 5 yards.
To change distance:
1. Select field to adjust
2. Press enter to edit.
22
Green Range - continued
Once a range is selected there are several distance options to choose from.
To set the
Into
distance:
1. Select the Into option from the Green Range menu
2. Use the Up or Down buttons to scroll the optional distances.
3. Once a distance is selected, press enter to accept.
To set the
Leave
distance:
1. Select the Leave option from the Green Range menu
2. Use the Up or Down buttons to scroll the optional distances.
3. Once a distance is selected, press enter to accept.
23
Содержание GolfDigest GLF-100
Страница 22: ......