background image

Содержание WED7300XW0

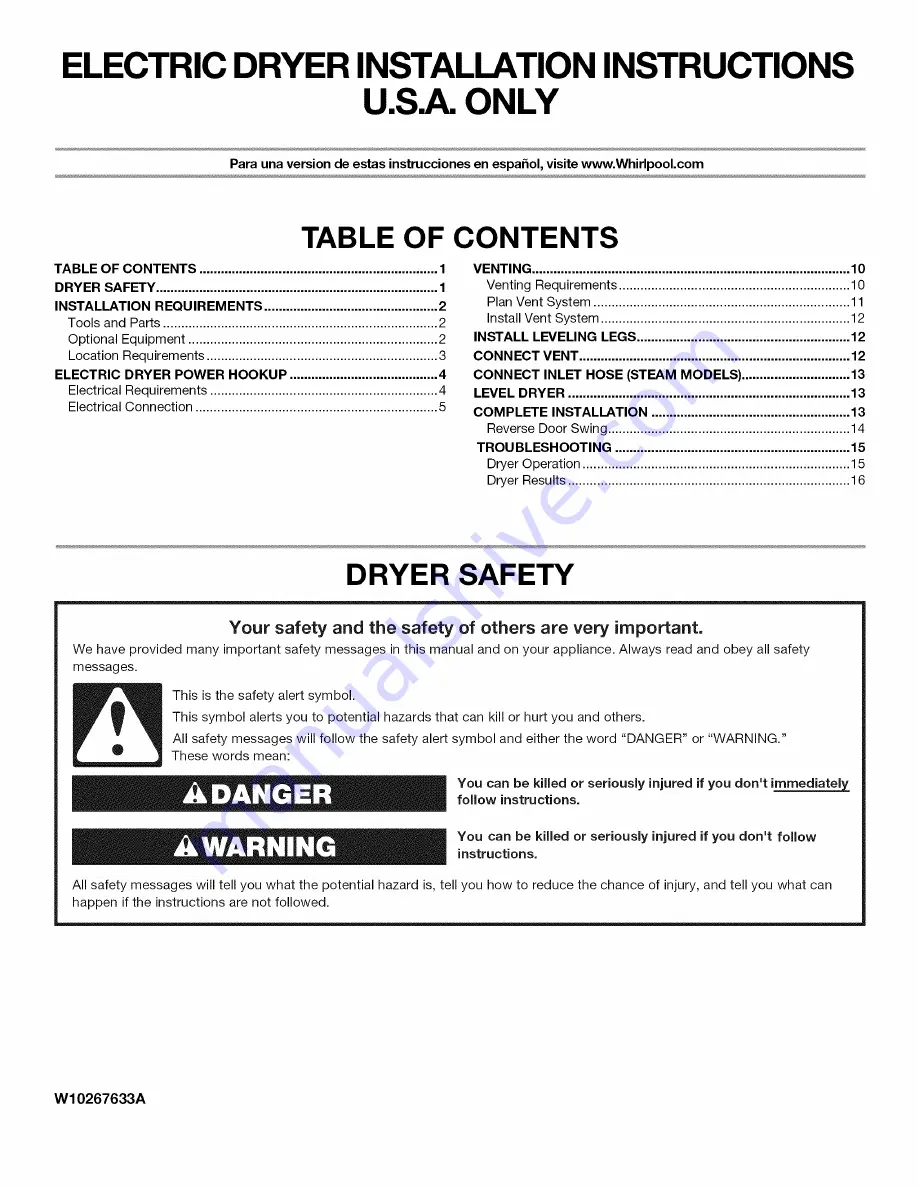
Страница 1: ...er Operation 15 Dryer Results 16 DRYER SAFETY Your safety and the safety of others are very important We have provided many important safety messages in this manual and on your appliance Always read and obey all safety messages This is the safety alert symbol This symbol alerts you to potential hazards that can kill or hurt you and others All safety messages will follow the safety alert symbol and...

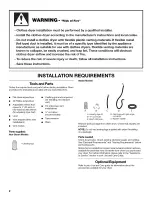
Страница 2: ...ver Adjustable wrench that opens to 1 25 mm or hex head socket wrench for adjusting dryer feet Level Wire stripper direct wire installations Vent clamps Parts supplied Non SteamModels Caulking gun and compound for installingnew exhaust vent Tin snips new vent installations 1 nut driver recommended Tape measure Pliers 4 Leveling legs A B E A Leveling legs 4 S Y connector C Short inlet hose C D D In...

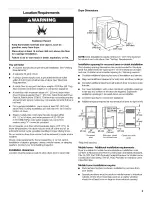
Страница 3: ...ur local building inspector Installation clearances Location must be largeenoughto allow dryer door to open fully Dryer Dimensions 431 2 1105 mini 221 4 565 ram NOTE Most installations require minimum 5 127 mm clearance for exhaust vent with elbow See Venting Requirements Installation spacing for recessed area or closet installation The following spacing dimensions are recommended for this dryer D...

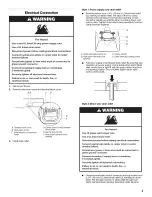
Страница 4: ...ounding through the neutral conductors If using a power supply cord Use a UL listed power supply cord kit marked for use with clothes dryers The kit should contain A UL listed 30 amp power supply cord rated 120 240 volt minimum The cord should be type SRD or SRDT and be at least 4 ft 1 22 m long The wires that connect to the dryer must end in ring terminals or spade terminals with upturned ends A ...

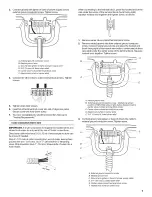
Страница 5: ...her is pointing down and hold in place Tighten strain relief screws enough to hold two clamp sections together A A Strain relief tab pointing up B Hole below terminal block opening C Clamp section D Strain relief tab pointing down Put power supply cord through strain relief Be sure that wire insulation on power supply cord is inside strain relief Strain relief should have a tight fit with the drye...

Страница 6: ... And you will be Go to Section connecting to 3 wire direct A fused 3 wire connection disconnect or Direct Wire circuit breaker box If local codes do not permit connection of a cabinet ground conductor to the neutral wire see Optional 3 wire connection section 4 wire connection Power supply cord IMPORTANT A 4 wire connection is required for mobile homes and where local codes do not permit use of 3 ...

Страница 7: ...ion back 1 25 mm Shape ends of wires into a hook shape 127 When connecting to the terminal block place the hooked end of the wire under the screw of the terminal block hook facing right squeeze hooked end together and tighten screw as shown 1 2 Remove center silver colored terminal block screw Remove neutral ground wire from external ground conductor screw Connect neutral ground wire and place the...

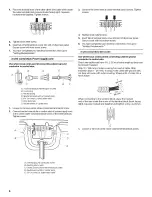
Страница 8: ...5 6 Connect the other wires to outer terminal block screws Tighten screws Tighten strain relief screws Insert tab of terminal block cover into slot of dryer rear panel Secure cover with hold down screw You have completed your electrical connection Now go to Venting Requirements 3 wire connection Direct wire Use where local codes permit connecting cabinet ground conductor to neutral wire Direct wir...

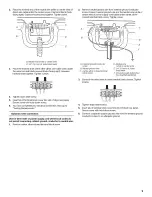
Страница 9: ...rd where local codes do not permit connecting cabinet ground conductor to neutral wire 1 Remove center silver colored terminal block screw 2 3 Remove neutral ground wire from external ground conductor screw Connect neutral ground wire and the neutral wire white or center wire of power supply cord cable under center silver colored terminal block screw Tighten screw B E A External ground conductor s...

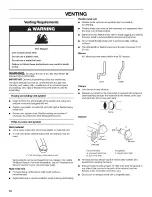
Страница 10: ...ot install flexible metal vent in enclosed walls ceilings or floors The total length of flexible metal vent should not exceed 73Aft 2 4 m Elbows 45 elbows provide better airflow than 90 elbows Clamps Good Better Use clamps to seal all joints Exhaust vent must not be connected or secured with screws or other fastening devices that extend into the interior of the duct and catch lint Do not use duct ...

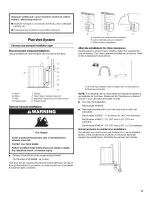
Страница 11: ...aler to have the dryer converted L _C A B C A Standard rear offset exhaust installation B Left or right side exhaust installation C Bottom exhaust installation Alternate installations for close clearances Venting systems come in many varieties Select the type best for your installation Two close clearance installations are shown Refer to the manufacturer s instructions A Over the top installation ...

Страница 12: ...which can catch lint INSTALL LEVELING LEGS Excessive Weight Hazard Use two or more people to move and install dryer Failure to do so can result in back or other injury 1 To avoid damaging the floor use a large flat piece of cardboard from the dryer carton Place cardboard under the entire back edge of the dryer 2 Firmly grasp the body of the dryer not the console panel Gently lay the dryer on the c...

Страница 13: ... the legs up or down and check again for levelness NOTE Do not overtighten Damage to the coupling can result 11 Check that the water faucets are on 12 Check for leaks around Y connector faucet and hoses COMPLETE INSTALLATION 1 Check that all parts are now installed If there is an extra part go back through the steps to see which step was skipped 2 Check that you have all of your tools 3 Dispose of...

Страница 14: ...soft cloth on top of dryer or work space to avoid damaging the surface Remove the door assembly 1 Open the dryer door 2 Remove the bottom screw from each of the 2 hinges that attach dryer door to front panel of dryer 3 Loosen the top screw from each of the 2 hinges in Step 2 5 Remove the 4 plastic plugs located outside the dryer door opening I I l_c _ _o II I 6 Install 4 plastic plugs into screw h...

Страница 15: ......

Страница 16: ......

Отзывы: