1. Wheelock's TBH-104 Talkback Horn may be connected to a 600 ohm low power audio page port, if the page port allows two-way audio. Check with
telephone system manufacturer.
2. If unused CO port requires talk battery to pass audio (most do), then install using a Wheelock RPS-2406 power supply as shown in
Figure 4A. For multi-zone applications, a Wheelock Zone Control is required as an interface.
3. "INH" is used only when TBH-104 is connected to a Wheelock Zone Control. The "INH" wire inhibits (disconnects) talkback when an all zone page is
initiated. Use adjacent "GND" wire only when TBH-104 and Zone Control are using separate power supplies. When not connected to a Zone
Control, install a jumper between adjacent "GND" and "INH" terminals.
PRIVACY LED INDICATOR OPERATION:
A. When connected to a Wheelock Zone control Module:
- The privacy LED illuminates only when the TBH-104 is in the talkback mode.
B. When connected directly to an unused CO port:
- The LED will be illuminated when the TBH-104 is in the idle state. Occasional flicker of the LED is normal (caused by sudden noise).
- When in the two-way communication (hands free talkback) mode, the privacy LED will be illuminated only when in the talkback mode.
SPECIFICATIONS:
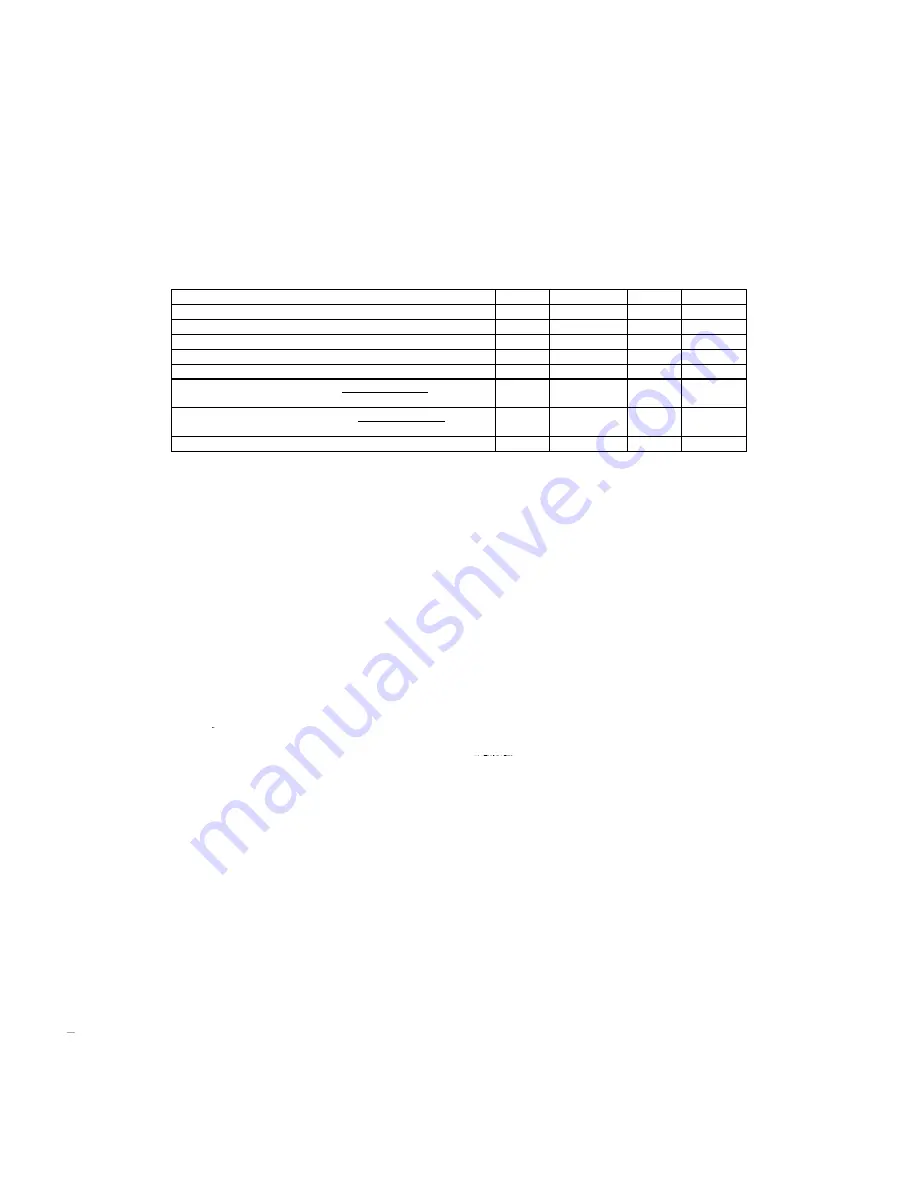
Parameter Min.
Nom.
Max.
Units
Supply
Voltage
-20 -24 -28
VDC
Operating Current
---
250
400
mA
Audio Input Level
-15
---
10
dBm
T & R Input Impedance
---
600
---
Ohms
Switching
Speed
--- 200 ---
m
Sec
Audio Output Level @ 1 Meter One 8 ohm horn
--- 115 --- dB
Two
8
ohm
horns
*
---
110
(Each)
---
dB
Output
Power
One
8
ohm
horn
--- 4 ---
Watts
Two
8
ohm
horns
*
---
1.5
(each)
---
Watts
Talkback Reply Distance @ 50dB Ambient
---
50
---
Ft.
* When 2 horns are used, they must be connected in series as shown in Figure 2A.
INSTALLATION INFORMATION:
The TBH-104 has been designed as a two component system to allow each component to be located so the optimum effectiveness of each can be
obtained. The system should not be located near noise producing equipment such as machinery, fans, air conditioners, etc. The TBH-104 Horn should
be positioned in a location that will project the paging output toward the area to be covered. The horn should be mounted at least 15 feet above floor
level. The TBH-104 Control Unit should be located in an area with the least amount of ambient noise and the most convenient place for people to reply
to the page. Refer to Figure 1 and Chart 1 for suggested reply distances at a given ambient noise level. Ideal mounting height for the control unit is 6 to
12 feet above floor level.
When installing the TBH-104, be sure to use mounting hardware suitable for the surface to which the components are to be mounted. To install the
Control Unit, simply mount one screw in desired location for top (key hole) tab of control unit. Place key-hole tab over the screw. Secure the control unit
by mounting a second screw through the clearance hole of the bottom tab, spacing the 2 mounting screws vertically on 10.250" centers (See Figure 3).
The horn may be surface mounted by simply using the holes in the swivel base to locate and drill mounting holes. The mounting base is also fully
adjustable in both the vertical and horizontal planes.
To rotate horn into desired position; first loosen wing nuts located on the base of horn, position horn as desired, then re tighten wing nuts to maintain
selected position. See Figure 4.
Figure 3: Control Unit Mounting
Figure 4: Horn Mounting
CAUTION:
Must be mounted as shown with keyhole tab at top.
P81752 G
Sheet 2 of 4
CONNECTION DIRECTLY TO AN UNUSED CO PORT:
When connecting a TBH-104 directly to an unused CO port requiring talk battery to pass audio (most do), install with a Wheelock RPS-2406 power
supply as shown in Figure 4A.


