


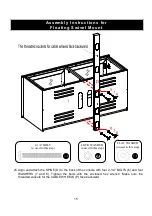


10
H
I
10
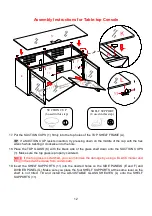
Assembly Instructions
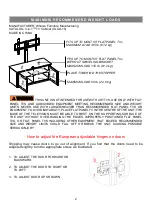
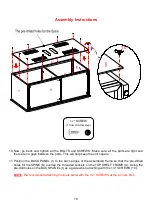
10. Now, go back and tighten all the BOLTS and SCREWS. Make sure all the parts are tight and
there are no gaps between the parts. This will help keep the unit square.
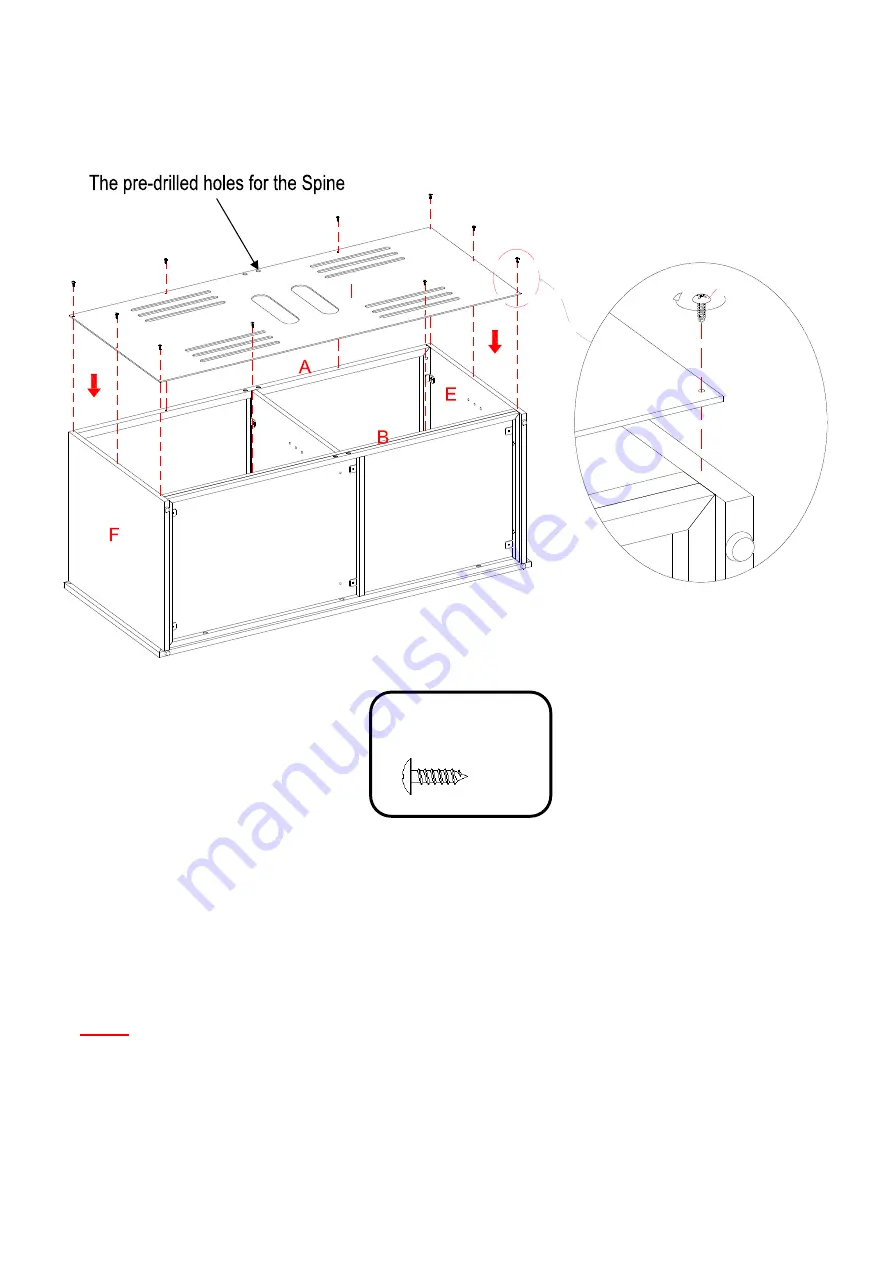
11. Position the BACK PANEL (I) to the back edges of the assembled frame so that the pre-drilled
holes for the SPINE (D) overlap the threaded sockets on the TOP SHELF FRAME (A). Using the
pre-drill holes on the BACK PANEL (I) as a guide when attaching with the 1/2” SCREWS (10).
NOTE: We recommend attaching the back panel with the 1/2” SCREWS at the corners first.
1/2”
SCREW
(10 used in this step)
⑩