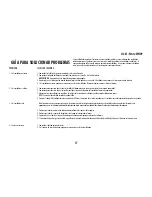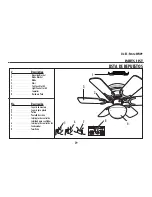
11
UL-ES-Petite-WH09
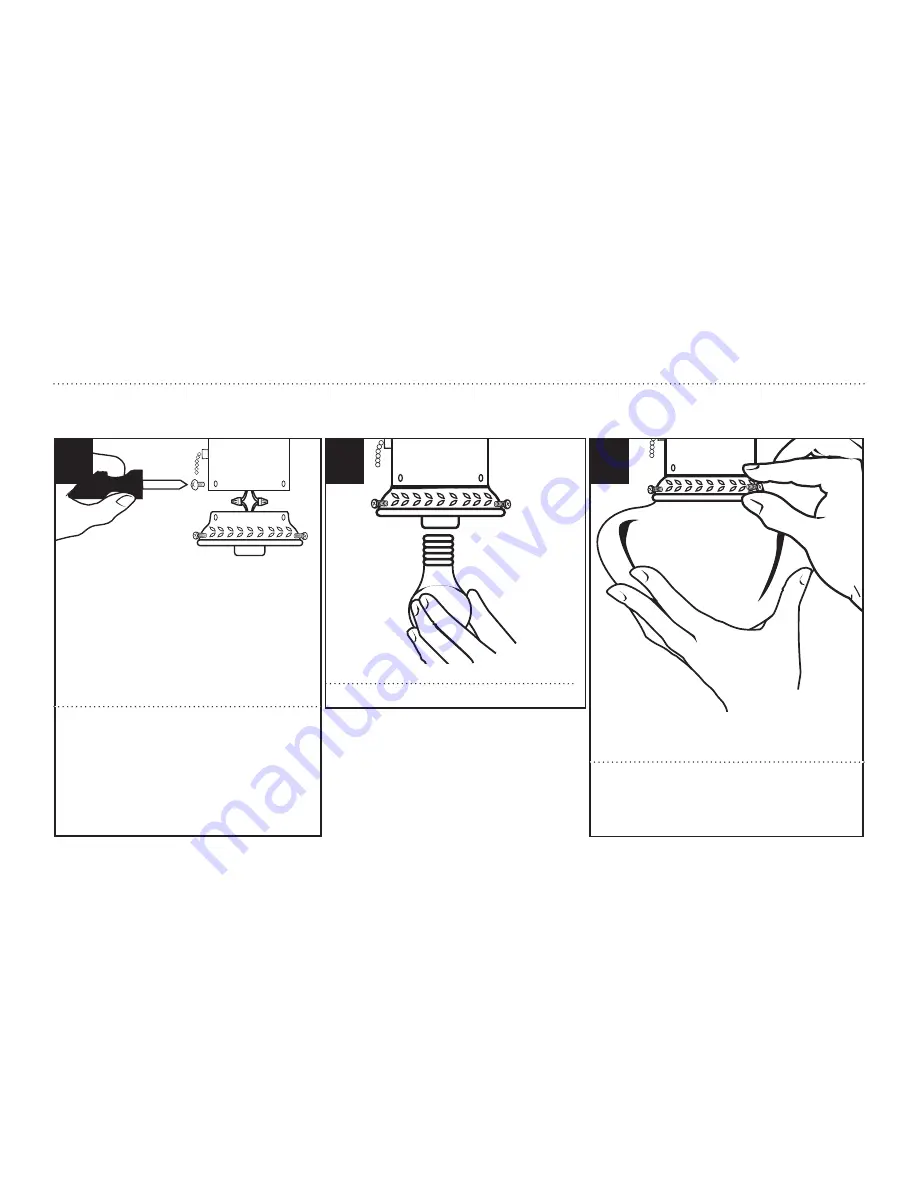
LiGHt fixtUrE inStaLLatiOn
inStaLaCión dEL artEfaCtO LUMinOSO
13
15
Install glass shade and finger-tighten screws as shown.
Do not overtighten screws.
Instale la pantalla de vidrio y apriete a mano los
tornillos, como se muestra. No apriete demasiado los
tornillos.
14
Find the two wires from the switch housing with the tag
that says FOR LIGHT. Connect the blue wire from the
switch housing to the black wire from the light kit, and
connect the white wire from the switch housing to the
white wire from the light kit with wire nuts provided.
Attach light kit to the switch housing using three small
screws provided.
Identifique los dos cables en la tapa del alojamiento
del interruptor rotulada “FOR LIGHT” (para las luces).
Conecte el cable azul del alojamiento del interruptor
al cable negro del artefacto luminoso y el cable blanco
del alojamiento del interruptor al cable blanco del
artefacto luminoso usando las tuercas para cables
incluidas. Conecte el artefacto luminoso al alojamiento
del interruptor con los tres tornillos pequeños incluidos.
Install light bulbs (not included).
Instale las bombillas de luz (no incluidas).
Содержание 7200300
Страница 13: ...13 UL ES Petite WH09 ...
Страница 18: ...18 UL ES Petite WH09 ...


