14
Operation
Before first Use
Remove the branch cutter and all accessories out of the packing and check all
parts for damage in transit. Keep packaging materials out of reach of children.
There is risk of suffocation!
Assembling the Guide Bar and the Saw Chain
Always wear gloves when handling the saw chain.
Remove the cover (5) by unscrewing the fastening nut (4). Turn the
fastening nut counter clockwise in order to remove.
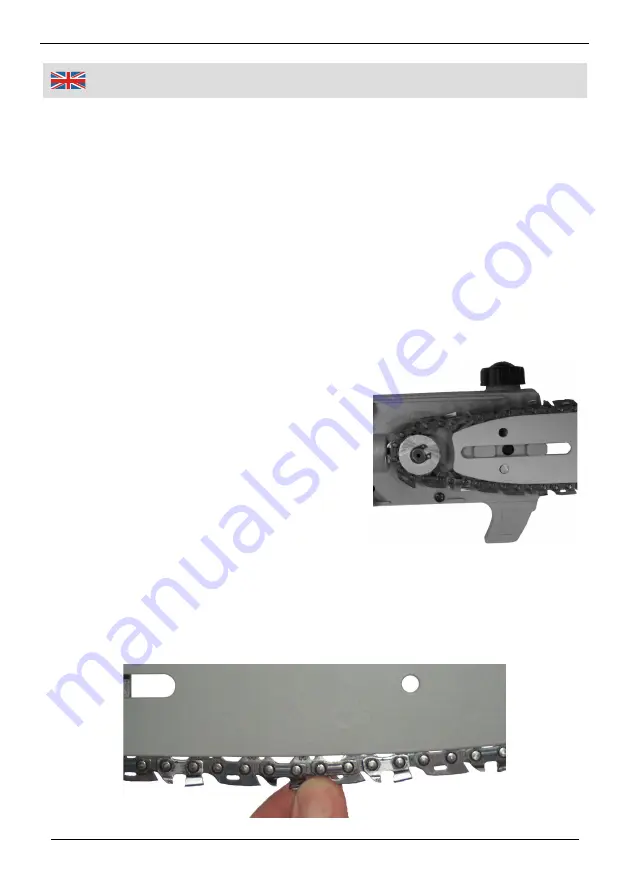
Slide the chain into the slot of the guide bar. Observe the right running
direction. On the motor housing you will find a chain link symbol (13). Make
sure to correctly position the chain links, so the links match the symbol.
Insert the oblong hole of the guide bar (17)
over the guide bar ridge and into the chain
tensioning bolt (16).
Reattach the cover (5) on the motor
housing and tighten the saw chain lightly
with the included hex key. Tighten the
fastening nut.
Tighten the saw chain with the included
hex key by turning the chain tensioning
screw (15) inwards. By doing so, the chain
tensioning bolt (16) and the guide bar will
move forwards and the chain will be tensioned.
The chain should not be too loose, but you should be able to lift it off the
guide bar by a few millimetres.
Right Chain Tension


