Section AIS‐RM3‐20B
030‐101806 Rev. A
R
1310IBRA
5
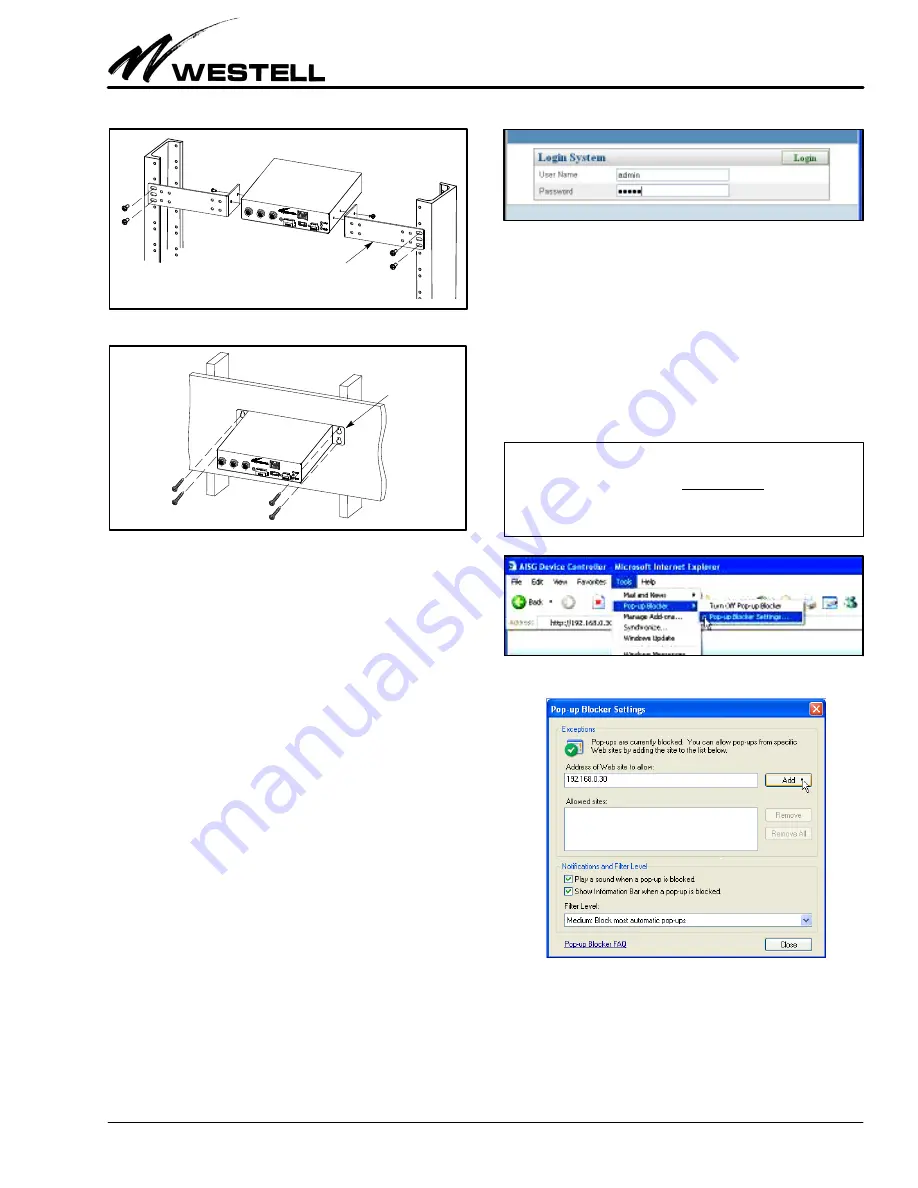
Figure 5. Rack Mounting
AISG‐RM3
Figure 6. Wall Mounting
Long L‐brackets for rack mounting
Short flat brackets
for wall mounting
4. Connect DC power to the power port on the controller. The
power LED indicator should light up and the controller
should start to boot. Wait for the RUN LED to blink which
indicates that the controller is ready for use.
5. For optional console access, connect the RS232 port on the
controller to the PC using a DB‐9 to mini‐DIN conversion
cable (not provided, shown in Figure 4).
3.5
Setting the IP Address / Networking
The AISG‐RM3 controller has been factory preset with an IP
address of
192.168.0.30
. In order to access the AISG‐RM3 con
troller from a PC connected directly by an Ethernet cable, the
PC’s IP address must belong to the same network.
3.6
Accessing / Logging In to the Controller
To access the AISG‐RM3 controller, you need to first log in.
1.
Address the controller.
From your PC, launch Internet Ex
plorer and type the IP address of the AISG‐RM3 controller
in the Address Bar.
http://<IP address of AISG‐RM3>
The default IP address of the controller has been preset to
192.168.0.30
. Enter this IP address for first‐time access. It
can be changed later. The browser should display the Login
page as shown in Figure 7.
Figure 7. Login Screen
2.
Login to the controller.
At the Login System screen, enter
the user name and password:
User Name = admin
Password = admin
These are default values. This user account is the default
system administrator account which has full access permis
sions. You should change the password of the default
administrator account after you first log in. You should cre
ate other accounts for doing general operations.
‐ BROWSER POP‐UP BLOCKING WARNING‐
The webbased interface makes use of popup windows to display
messages. If your browser has the popup blocking feature turned on,
then you may not see all of the messages. You may either: A) turn off
the blocking of popups, or B) configure the blocking to allow popups
that originate from the Westell AISG‐RM3 controller’s IP.
Figure 8. Locating the Pop‐up Blocker Tool
Figure 9. Configuring Pop‐up Blocker Tool
3.
Skip to Part 4 or Log out.
Skip to Part 4 if configuration is
desired at this time. If configuration and management will
take place at a later time, log out of the system. Click on the
Logout tab near the top right of the screen (see Figure 10)
to log out from the controller.


