1.0 Introduction
Thank-you for choosing a Wernick Xylosynth. You are now the owner of a hand built MIDI
compatible tuned percussion controller designed to put mallet players in the most
comfortable MIDI environment possible. We’ve asked players like you a lot of questions
over the last few years and the information gathered together has resulted in many of the
unique features of the Xylosynth. Innovations like the wooden playing surface and the
flexible, easy to use software have come from this process. We’re proud to be a ‘musician
led’ instrument company and continue to strive to realise the imagination of music makers.
Your basic Xylosynth package should include the following:
4 Octave C-C Xylosynth
USB Power Supply Adapter
2 x 3 metre USB A-A Cable
3 metre MIDI (5 Pin DIN) Connector
Manual
Pair of Mike Balter Custom Mallets
2.0 Setting Up your Xylosynth
1.
Lift the Instrument and carry slowly to a suitable place which is level.
2.
You will need the spanner and the 2 Chrome Plates that came with the Xylosynth.
3.
You can set up on a fine carpet if the carpet is clean (so as not to scratch the wooden
bars when resting on the carpet). If the floor does not have a suitable carpet then use
cloth 160cm x 30cm (63” x 12”) minimum. Place the Instrument with its Bars or Keys
resting down on the protected floor. It does not matter which side but for ease longest
section face down.
.
4.
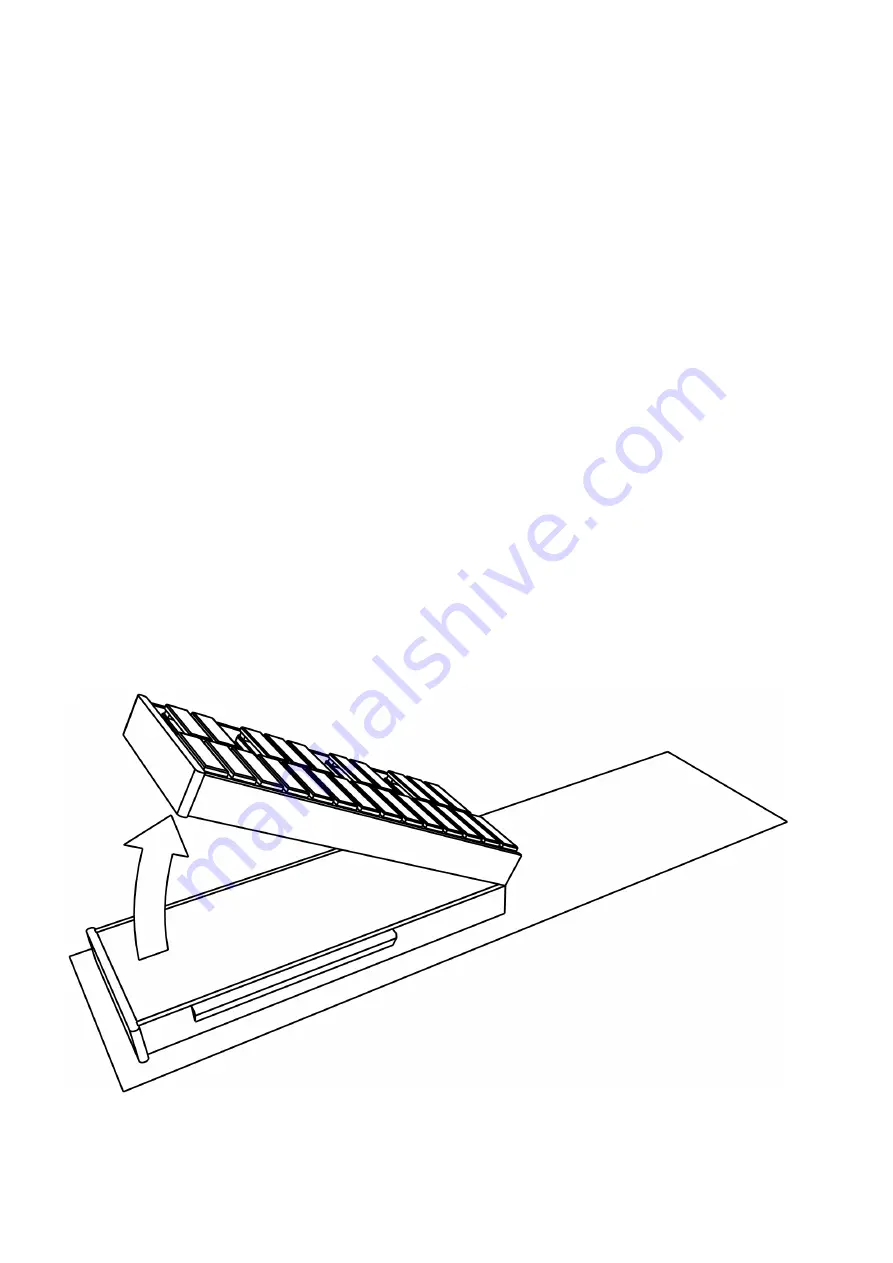
Now unfold the Instrument slowly and for your safety keep away from the Hinge area.
Inspect to make sure nothing gets caught around this area such as the cloth or carpet
hairs. The Instrument should be left in this upside down position until the Chrome
3


