


ASSEMBLY & ADJUSTMENTS
For Pinned Blade:
CAUTION:
Install the blade with the teeth pointing downward.
• Hook the blade pins in the recess of the lower blade holder.
• While pushing down on the upper blade holder (Fig. 13 -
1), insert the blade pins into the recess of the upper blade
holder.
For Pinless Blade:
CAUTION:
Install the blade with the teeth pointing downward.
• Ensure the thumbscrew (Fig. 13 - 2) on the lower blade
holder is loose and insert the blade into the opening of the
lower blade holder.
• Secure the blade in the lower blade holder by tightening the
thumb screw.
TIP:
Thread the workpiece through the pilot hole of the work-
piece if making an interior cut.
• Ensure the thumbscrew (Fig. 13 - 2) on the upper blade
holder (Fig. 13 - 1) is loose and insert the blade into the
opening of the upper blade holder.
• Secure the blade in the upper blade holder (Fig. 13 - 1) by
tightening the thumb screw.
5. Push the tension lever down and make sure the blade is properly positioned.
6. Turn the tension lever clockwise until the desired tension in the blade is achieved.
TIP:
A properly-tensioned blade will make a high-C sound (C6, 1047 Hz) when plucked with a finger. A brand-new
blade will stretch when first tensioned, and may require adjustment.
7. Close the side panel and secure it by locking both the front (Fig. 12 - 1) and back (Fig. 12 - 2) locking knobs.
13
This saw uses pinned and pinless blades. Pinned blades are
thicker for stability and for faster assembly. They provide faster
cutting on a variety of materials.
NOTE:
When installing pinned blades, the slot on the blade
holder must be slightly wider than the thickness of the blade.
After the blade is installed, the blade tension mechanism will
keep it in place.
TIP:
The table insert can be removed during blade changes to
provide more access to the blade holders, but this is not man-
datory. The table insert should always be replaced before using
the saw.
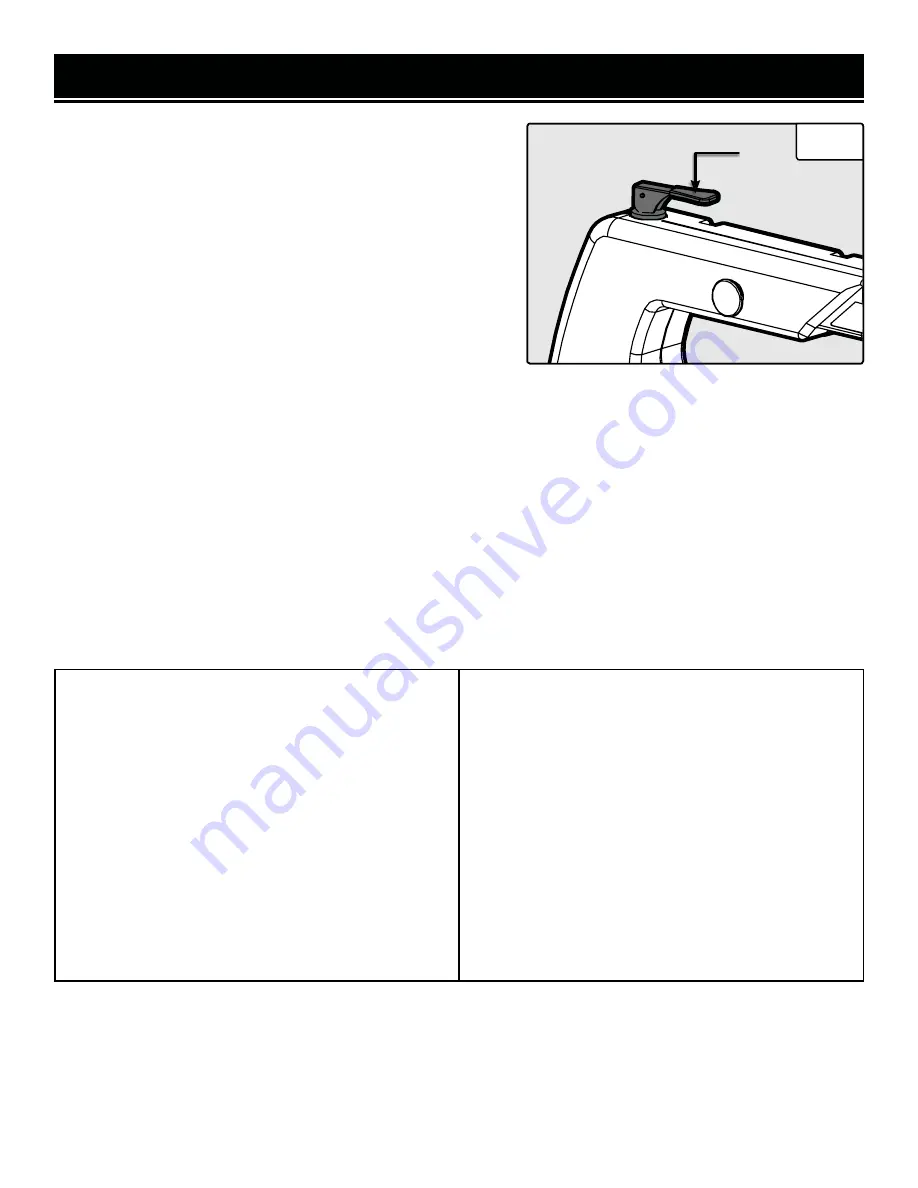
Fig. 11
1
REMOVING THE BLADE
1. To remove the blade, relieve the tension on it by lifting up the blade tension lever (Fig. 11 – 1). If necessary,
turn the lever counterclockwise to loosen the blade holder further.
2. Unlock both the front locking knob (Fig. 12 - 1) and back locking knob (Fig. 12 - 2) and open the side panel.
3. Remove the blade from the blade holders (Fig. 13 - 1).
• For a pinned blade,
push down on the upper blade holder to remove the blade from the upper blade holder
and then remove the blade from the lower blade holder.
• For a pinless blade,
ensure that there is slack in the blade and it is not tensioned. Loosen the thumbscrews
(Fig. 13 - 2) in the top and bottom blade holders and remove the blade from the holders.
INSTALLING THE BLADE
4. Install the blade on the blade holders (Fig. 13 - 1).
Содержание 3922
Страница 24: ...THANKS FOR REMEMBERING V 2019 11 12 ...