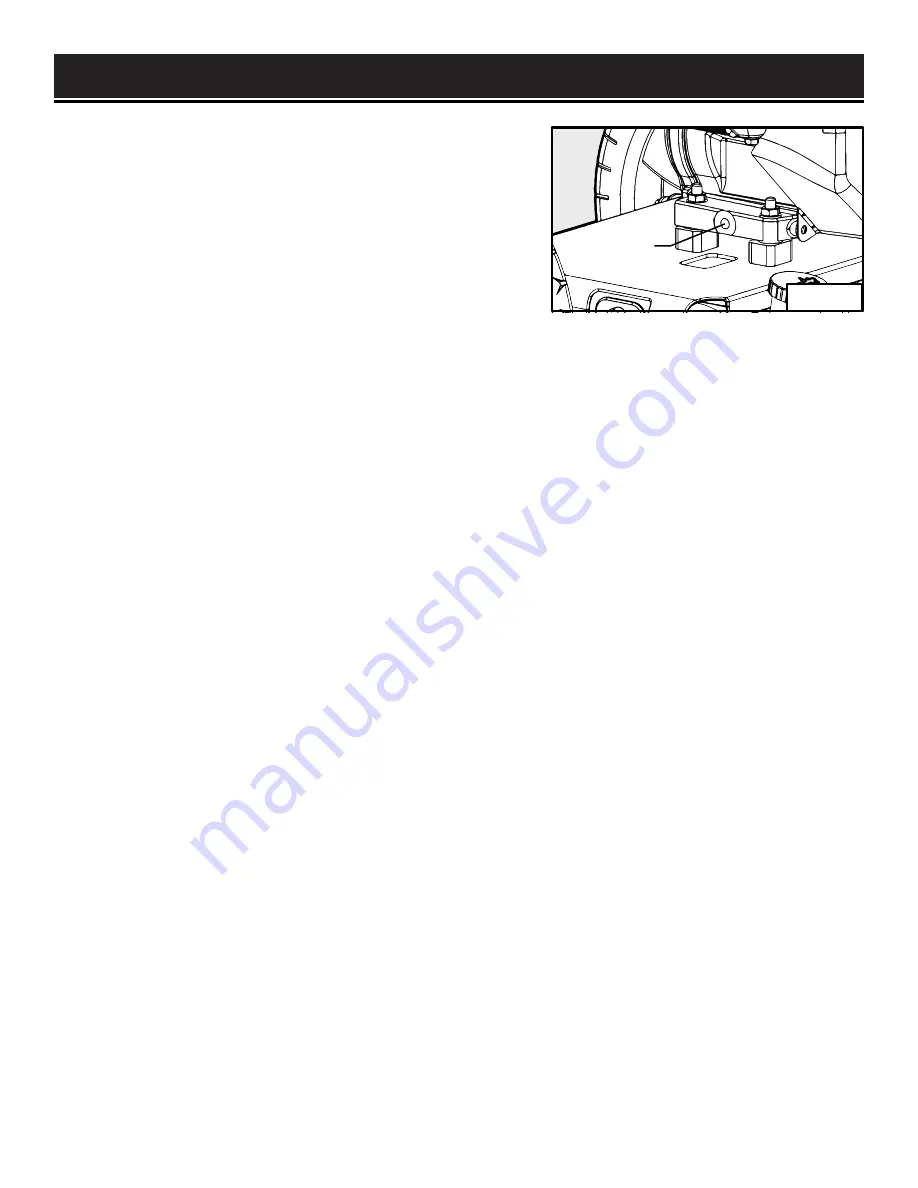
CHANGING/ADDING OIL (FIG. 16)
Change the oil according to the Recommended
Maintenance Schedule on page 17. Change the oil when
the engine is warm to allow for complete drainage.
Change oil more often if operating under heavy load or
high ambient temperatures. It is also necessary to drain
the oil from the crankcase if it has become contaminated
with water or dirt. The oil capacity of the pressure washer
engine is 15.3 fl oz (450 ml). Add oil when the oil level is
low. For proper type of oil refer to the “add oil” portion of
the “Preparation” section.
MAINTENANCE
Fig. 16
Oil Drain Plug
TO CHANGE OIL, FOLLOW STEPS BELOW:
1. Shut off engine. Clean the area around the oil fill cap/dipstick to keep out debris then remove oil
dipstick.
2. Place an oil pan on the ground to catch oil. Remove oil plug then tilt pressure washer back and to
the side to empty out the oil from the crankcase.
3. Once oil is completely drained, return the pressure washer to a level position and install the oil
drain plug. Refill the engine with new oil as instructed earlier in this manual under Adding/Checking
Oil.
AIR CLEANER MAINTENANCE
Routine maintenance of the air cleaner helps maintain proper airflow to the carburetor. Occasionally
check that the air cleaner is free of excessive dirt. Refer to Recommended Maintenance Schedule on
page 17.
1. Unscrew the cover bolt, then remove the air cleaner cover.
2. Remove the air cleaner element from the casing.
3. Check and clean the air cleaner element. Replace with a new one if the element is damaged. A
good element can be washed in soapy water and dried. Saturate the element with clean engine oil
and squeeze off excess oil.
4. Re-install the element. Wipe off excess oil from the air cleaner housing. A small amount of oil in
the element is normal and necessary for the engine to work properly.
5. Reinstall the air cleaner element and cover.
CAUTION:
running the engine with a dirty, damaged or missing air cleaner element will cause the
engine to wear out prematurely.
19


