WX-500-0320
© 2018 Wavetronix LLC. All rights reserved. Protected in the US by patents viewable at www.wavetronix.com/en/legal. Protected by Canadian Patent Nos. 2461411; 2434756;
2512689; and European Patent Nos. 1435036; 1438702; 1611458. Other US and international patents pending. Wavetronix, SmartSensor, Click, Command and all associated logos
are trademarks of Wavetronix LLC. All other product or brand names as they appear are trademarks or registered trademarks of their respective holders. Product specifications are
subject to change without notice. This material is provided for informational purposes only; Wavetronix assumes no liability related to its use.
11
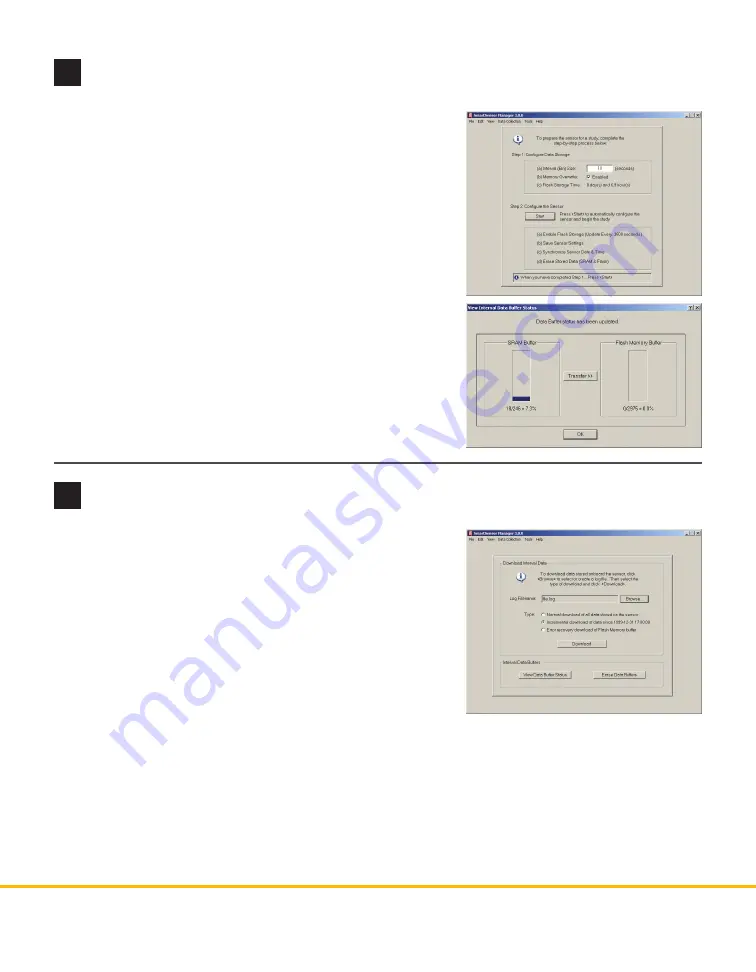
Download interval data
1
Under the Download Interval Data section, click the
Browse
button. This will open a directory where you can either create
a new data download file log or locate an existing download
file log.
2
Once you have selected an existing file or created a new file,
click
Open
.
3
Select the type of download to perform.
˽
Normal –
Retrieves all interval data.
˽
Incremental – Retrieves only interval data recorded after the
indicated date and time.
˽
Error Recovery –
Retrieves entire content of flash buffer.
4
Once you have selected the type of download, click
Download
.
1
Go to
Data Collection > Setup
.
2
Specify the Interval (Bin) size. This setting specifies the inter-
val of time over which traffic variables are aggregated.
3
Check or uncheck the
Enabled
box. If unchecked, the study
will run only until the sensor’s flash memory is full.
4
Click the
Start
button to begin the study. As soon as the study
begins, the View Interval Data Buffer Status window will ap-
pear showing how much of the onboard storage space is filled
with interval data.
5
To download the data from the study, go to
Data Collection
> Download
.
10
Set up data collection


