3 EDISON SENIOR RAIL ASSEMBLY INSTRUCTIONS
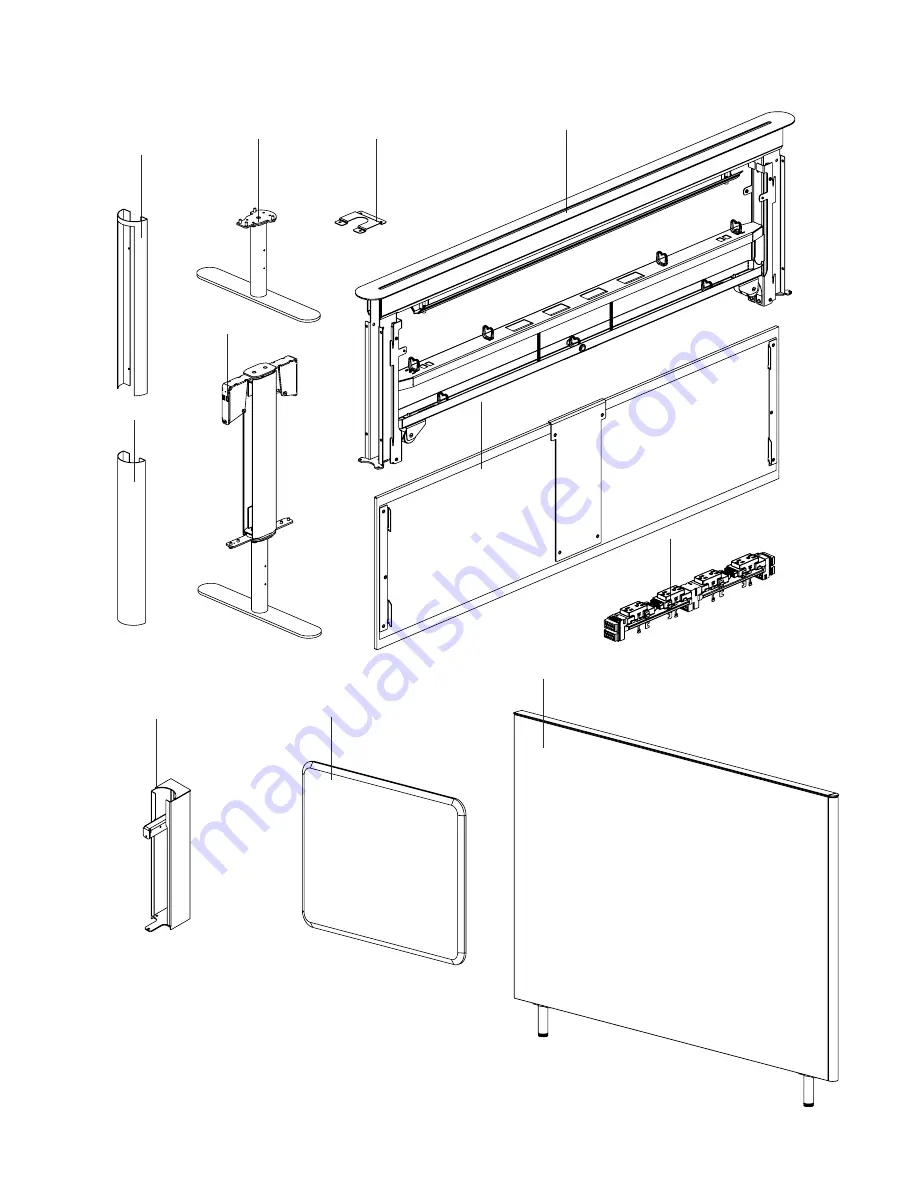
Edison Senior Rail Components
Rail Segment
End Leg
Mid-Leg Cap
Modesty
Panel
Power
Harness
Mid-Leg
End-Leg Cap
Floor Anchor
Bracket
Gallery End Panel
Gallery End Panel
Joiner Panel
Gallery End Panel
Rail Mount


