12
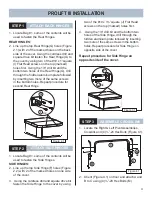
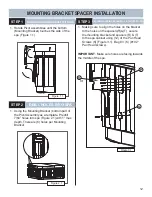
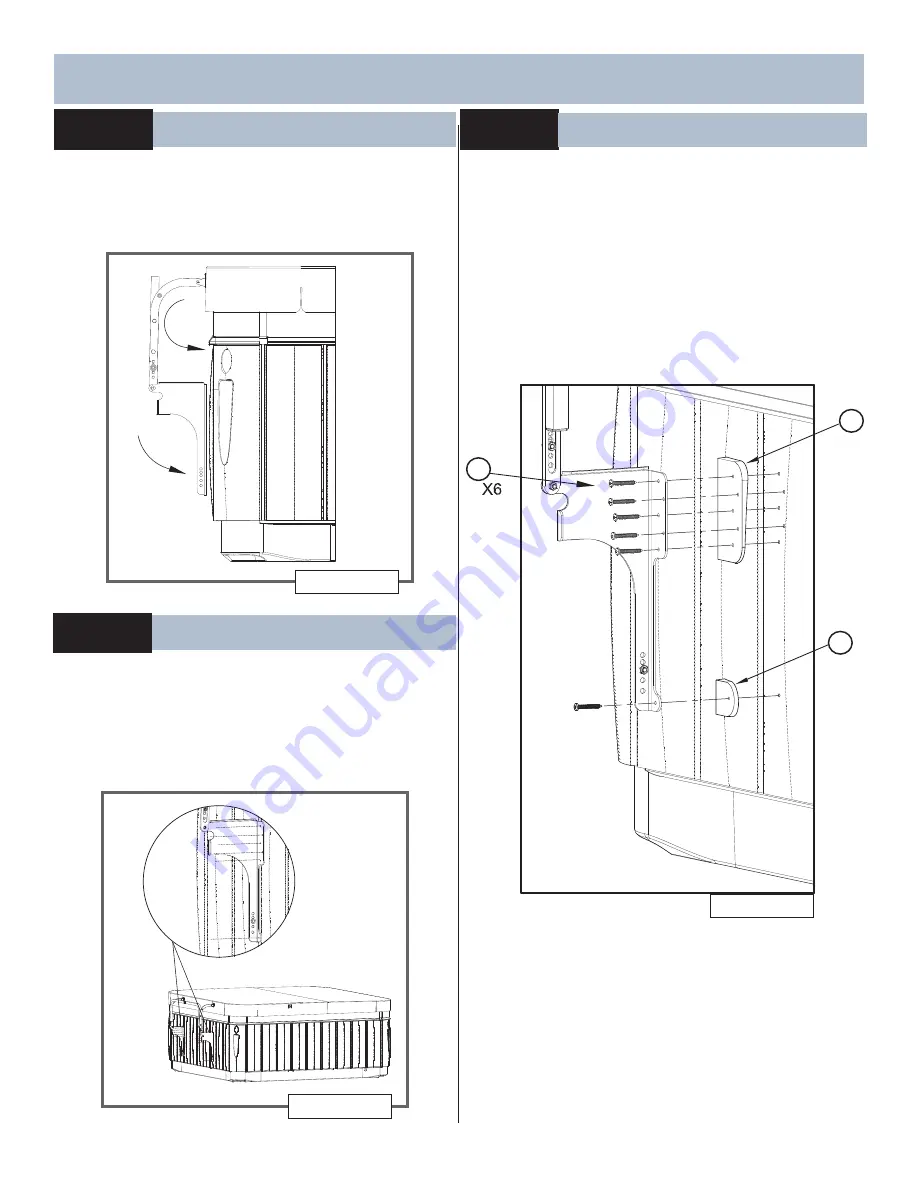
MOUNTING BRACKET SPACER INSTALLATION
K
P
S
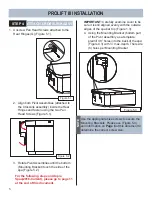
Figure 3.1
1. Making sure to align the holes on the bracket
to the holes on the spacers(R)&(T), secure
the mounting bracket and spacers (R) & (T)
to the spa cabinet using (12) of the Pan Head
Screws (K) (Figure 3.1). Bag # 3 (K) (#10 2”
Pan Head screws).
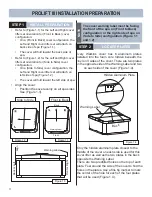
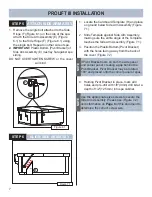
Figure 1.1
Figure 2.1
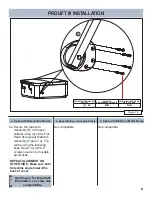
IMPORTANT
: Make sure holes are facing towards
the middle of the spa.
STEP 1
ALIGN MOUNTING BRACKET WITH SPA
1. Rotate Pivot Assemblies until the bottom
(Mounting Bracket) touches the side of the
spa (Figure 1.1).
STEP 2
DRILL HOLES INTO SPA
STEP 3
SECURE MOUNTING BRACKETS & SPACERS TO SPA
1. Using the Mounting Bracket (bottom part of
the Pivot Assembly as a template. Predrill
7/64” holes into spa (Figure 2.1) with 1” max.
depth. There are (6) holes per Mounting
Bracket.
Содержание ProLift III
Страница 15: ...14 Figure 6 2 PROLIFT III SPACERS BLANK...
Страница 16: ...62701 E 04 19...

