7
Section 3: Operation and Maintenance
Operation of your Reverse Osmosis System is simple and easy. This appliance is fully automatic and can be enjoyed
without complicated operating procedures. Be sure to follow the cartridge replacement schedule to ensure peak
performance and long membrane element life.
Changing Filter Cartridges and Sanitizing Procedure
The filter cartridges should be changed, as a rule of thumb, every three months. It is critical that this be done, to ensure
that chlorine is not allowed to attack the membrane film.
!
THOROUGHLY WASH HANDS BEFORE LOADING CARTRIDGES AND MEMBRANE ELEMENTS.
1.
Close the cold water supply valve. Open the faucet and completely drain until the flow of water stops.
Remove the filter housing bowls with the housing wrench and discard the old filter cartridges (do not remove
or replace the post carbon filter at this point). Thoroughly clean the inside of the housing bowls with soap
and water. Rinse completely. Put ½ oz of RO cleaning solution (part#: ACCS-WCRF-0001) in the PRE-
FILTER housing. Reassemble filter housings WITHOUT cartridges.
2.
Disconnect the elbow fittings from the membrane housing, and replace the original membrane housing with
the cleaning housing included with your RO system. Connect the elbow fittings to the cleaning housing.
3.
Turn on the cold water supply valve and faucet, let system fill up with chlorinated water. Wait until water
flows from faucet, then close faucet to allow tank to fill up. Wait approximately 5 minutes.
4.
Turn the cold water supply valve OFF. Allow the system to stand for 1 hour.
5.
Open the faucet and allow the system to completely drain. Disconnect the elbow fittings from the cleaning
housing and put the original membrane housing back to the system by reversing the step 2. The system has
now been sanitized and is ready to load the new cartridges.
6.
To load the cartridges, repeat Step 9 from the installation instructions above. Replace the post carbon filter
by disconnecting the both Tee fitting and faucet tube from the old filter, discarding the old filter and
reconnecting the fitting and faucet tube to the new filter. Turn the raw water supply valve ON. Allow the
storage tank to fill and then drain it completely and refill again before resuming use of the water system.
Changing the Reverse Osmosis Membrane
The membrane element will require changing much less frequently than the filter cartridges and only when failure is
indicated. This should be done when water production begins to noticeably fall, or TDS readings in the product water
begin to rise.
T
otal
D
issolved
S
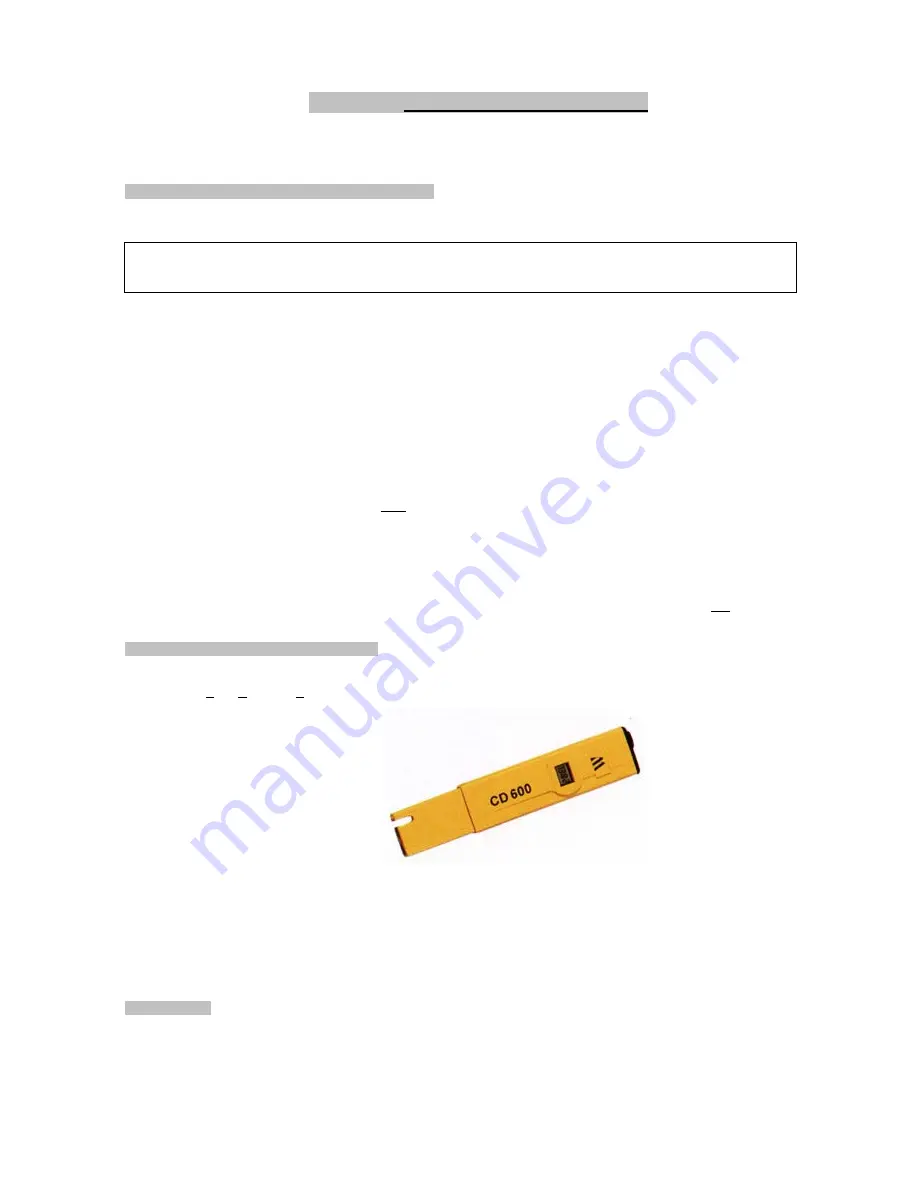
olids may be measured by a professional or by use of a simple hand-held TDS monitor.
These are available from your dealer or from Waterite’s Online Store at www.waterite.com.
Pocket TDS meter
The membrane element life will range from 1 to 5 years, depending on the quality of the raw water. Soft water free from
iron is ideal. Hardness, iron, chlorine and infrequently changed filter cartridges are the membrane’s greatest enemies.
To change the membrane element, start by closing the cold water supply valve. Open the faucet and completely drain
until the flow of water stops. Disconnect the elbow fittings from each end of the membrane housing and remove the
housing from the holding brackets. Replace the membrane housing and connect the elbow fittings back to the new
membrane housing. Open the cold water supply valve and check for leaks and fix if necessary. Allow the tank to fill
completely, when the tank is full, open the faucet and flush full tank of water and close the faucet and allow the tank to fill
up again.
Your Warranty
Keep your bill of sale and your warranty certificate, included in this kit. This is needed to claim any parts or repair service
during the warranty period. Read the document completely for warranty claim instructions.


