User manual
6
/
23
2 Device Connection
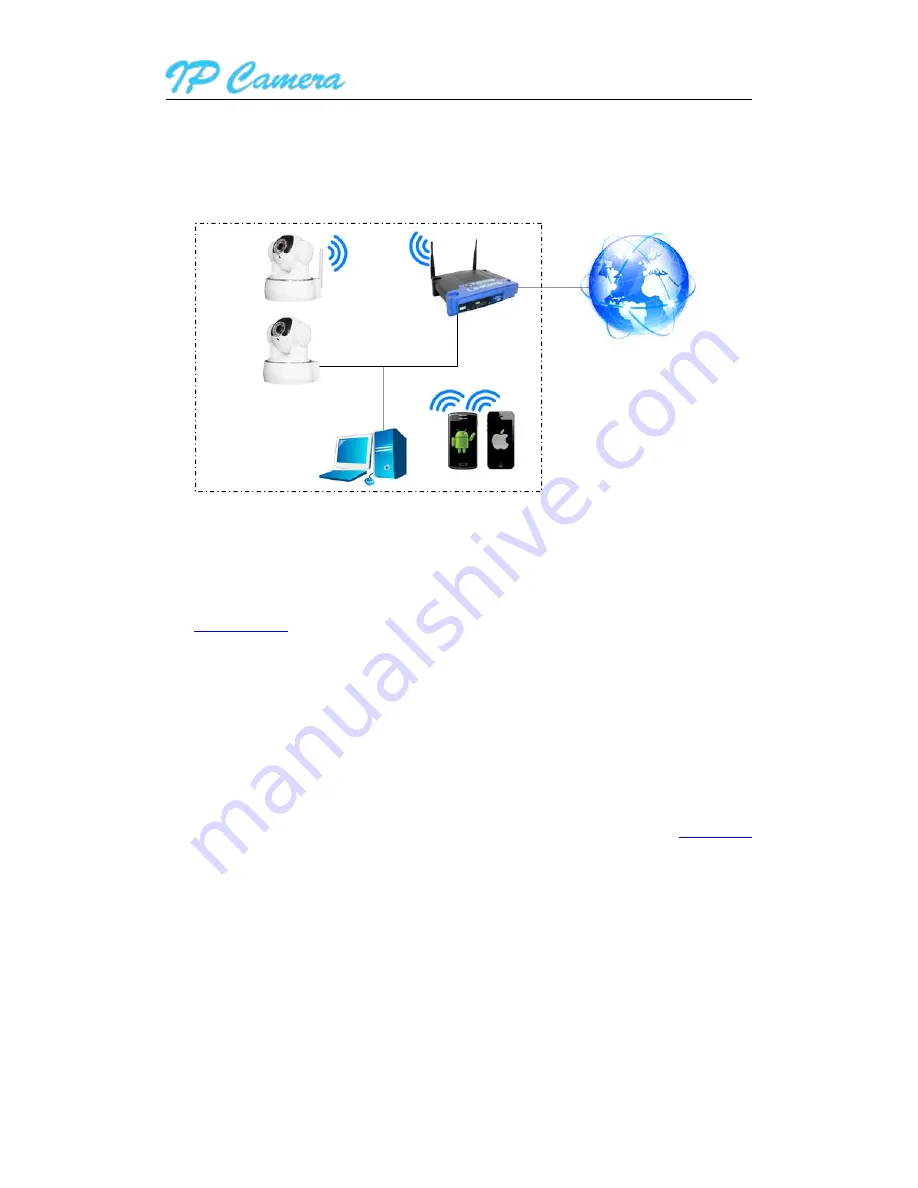
2.1.Connection Diagram
Figure1
Power on the camera by attaching the power adapter, and then connect the camera and router by
network cable, so you can visit the camera via computer in LAN and view camera video as <<3. View
video by browser>>
You can also connect camera and router by Wi-Fi, you need to configure Wi-Fi of the camera
as<<
2.2 Wi-Fi Setting>>.
2.2.Wi-Fi Setting
You can setting up the Wi-Fi as the following three way.
2.2.1. Configuration via network cable connection
Connect the camera and router by network cable as Figure1, please login the camera as <<3.View
video by browser>>, access to system configuration interface to finish the setting as<<
5.1.2.3 Wi-Fi
setting>>
.Pull up the network cable, then you can connect the router by Wi-Fi.
2.2.2. WPS/QSS One key configure Wi-Fi
Power on the camera and wait for 1 minute, the camera started, hold on reset button 3 seconds,
and then click “WPS/QSS” button of the router
,
the camera and router will be configured Wi-Fi as
WPS/QSS protocol, after configuration successfully, the blue Wi-Fi indicator of the camera will quickly
flash several times, and then it will be connected to router automatically and the blue indicator will be
always on.
Notice: Due to some router do not support WPS/QSS function, so you can not use the configuration
way.
IP Camera
Router
Computer
IP Camera
Smartphone
Internet
Local Network


