6
Note:
1)
If you use IE browser, please choose the first sign-in mode (ActiveX Mode) to login. If you
use other browsers, such as Firefox, Safari of Google Chrome, you should choose the second sign-
in mode (Server Push Mode).
Don’t choose the wrong mode, or you will not see the video.
On the other hand, using Server Push Mode, you lose functions like Recording, 2-way audio,
IR control.
2)
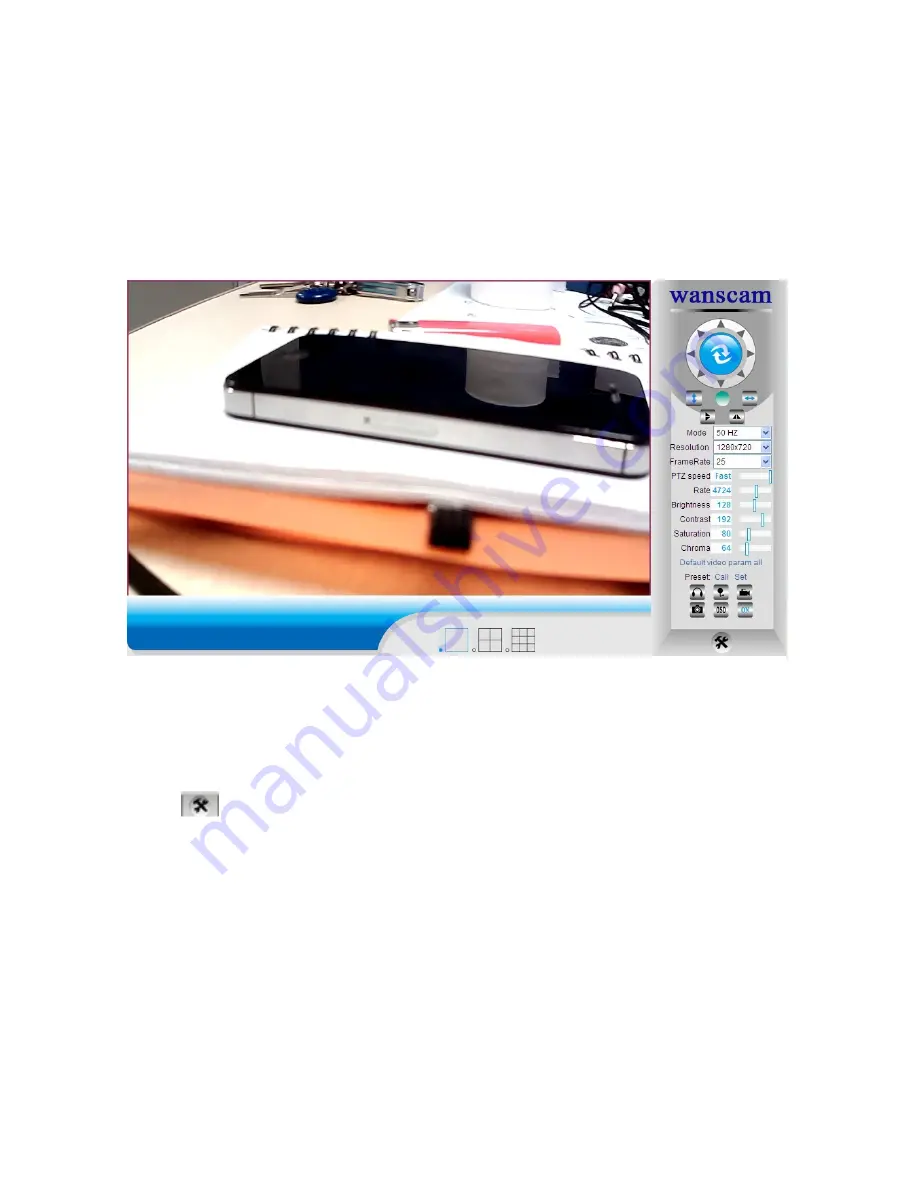
If use IE browser to connect the camera for the frist time, maybe there is no image displayed,
there will be an ActiveX prompt, please click the prompt and choose Run Add- on, refresh the IE
interface, and login the camera again, then will see live video
.
Live video of IE browser:
If the ActiveX installation failed,then you are still unable to see a live video, just a black screen, please
don't forget to allow the ActiveX plug-in to run when prompted. (
Tools-Internet Options-Security-
Custom level-Enable all the ActiveX.
)
Step 4: Wireless LAN Settings
1).Click
, go to the “Wireless LAN Settings”
2).Scan the WIFI signals, two more times until you find the signals.
3).Choose the SSID you want to use.
4).Make sure all the parameters are the same with your router, input the WIFI network key.
5).Click “Submit”, then your camera will reboot, wait a moment, disconnect the net cable carefully.
6).Run the search tool see whether you can find the camera IP address, or just refresh the webpage.
Note
: Use 802.11 b/g/n mode, Channel less than 11, wpa or wpa2, Aes or Tkip.
Содержание HW Series
Страница 1: ...1 Wireless IP Camera Quick Installation Guide...
Страница 4: ...3 The method of the camera connection...


