


CURA WANHAO EDITION USER MANUEL REV.B
6
/
23
Choose your desired filament. The Wanhao duplicator i3 ships with a 10 meter
sample of PLA, that should be used in your first print.
Printing Support Material
The Wanhao 3D printer is able to print models that have angles and overhangs, even without
support material depending on the overhang distance and angle. Turn this option on if your
model could benefit from support material.
Brim
Brim is used to increase surface area of the part your printing, there by ensuring proper part
adhesion. This will print a single layer high edge around the outside of the part, helping first layer
adhesion and minimizing warping. around the outside of the part, helping first layer adhesion and
minimizing warping.
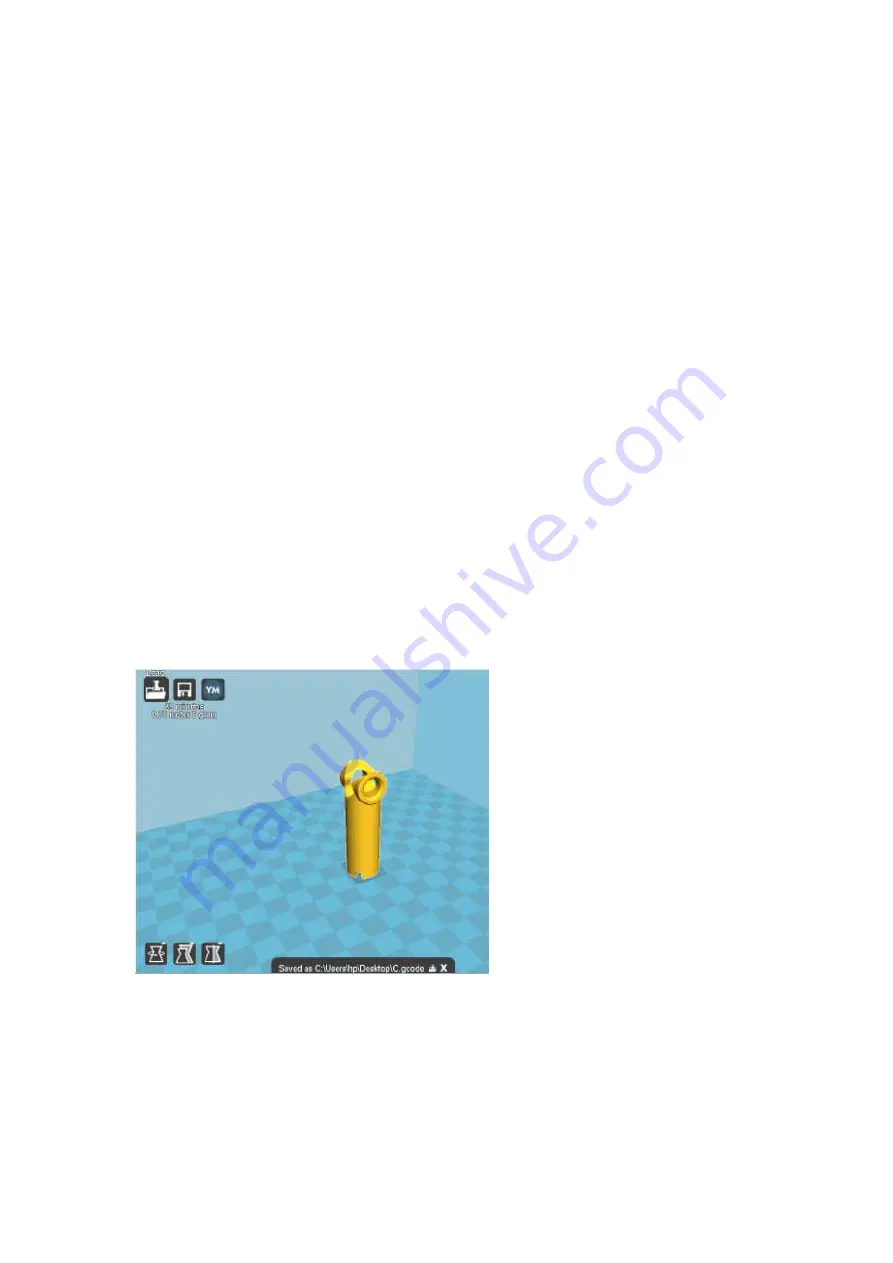
Load Model File
Select the model you would like to print. Either use the Load Model button or select File > Load
Model. Once the file has been loaded, you will see a 3D rendering of your object on the build
platform. Select the model to see the various options.
Model Orientation
Move your model to change where it is printed on the build plate. Do this by left clicking on the
model and dragging it to the desired location. The black outlined corner represents the lower left
hand corner of the build plate on your printer. You can also Right Click and hold in the build
screen, to view your model from different angles.
Figure 1.2: Options after selecting model
Rotate
The Rotate button will give you the ability to orient your model in along all three axes. Once you
click the rotate button, three circles will surround your model. The red circle will allow you to
rotate around the Z axis. The Yellow circle will rotate around the Y axis. The Green circle will
rotate around the X axis.
Содержание Duplicator i3
Страница 1: ...CURA WANHAO EDITION USER MANUEL...


