BXM32, BXM42
3-point Hitch Chipper-Shredder
Service and Maintenance
43
Adjusting
1.
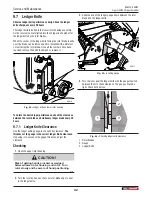
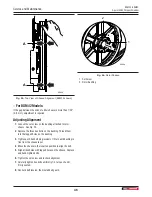
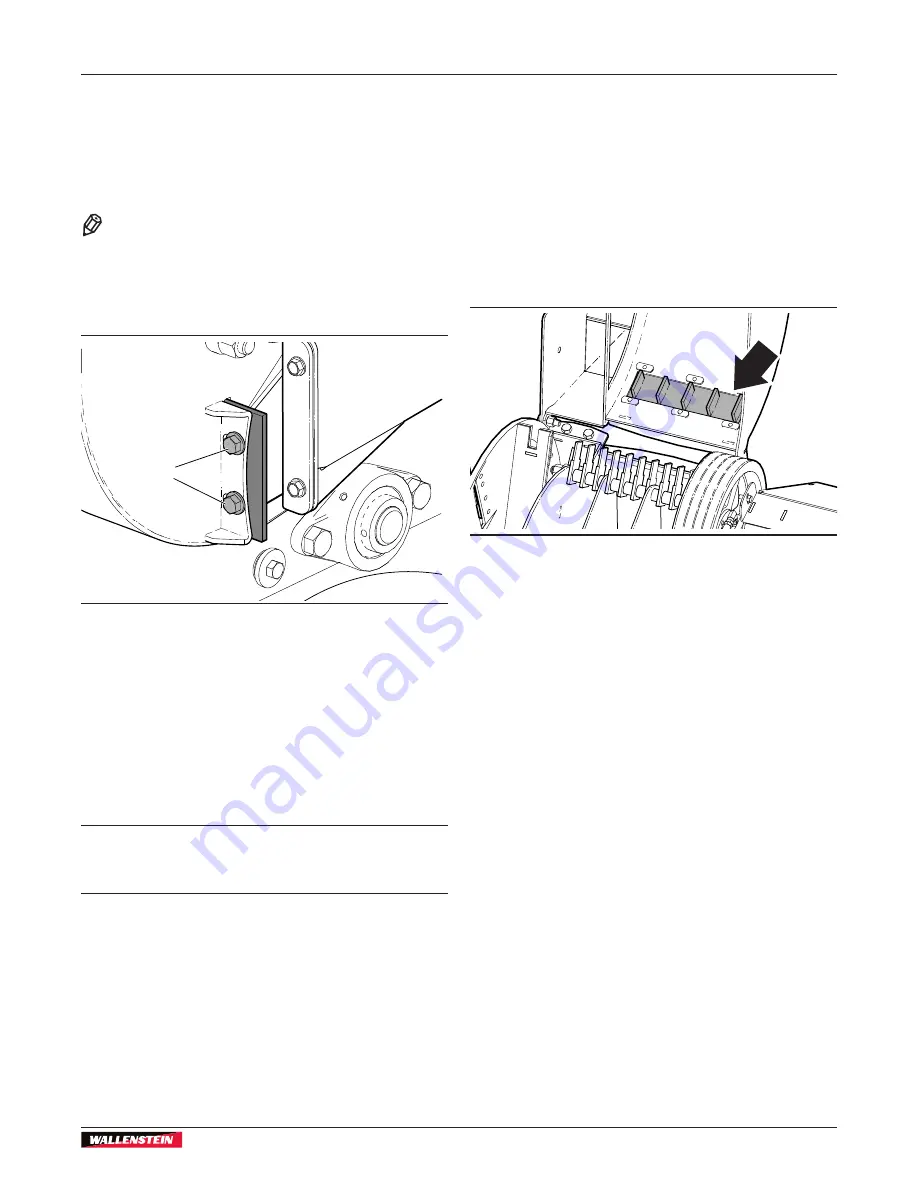
Loosen the bolts on the outside of the ledger knife support
(1).
2.
Slide the ledger knife inwards so it is snug up against the
gauge.
NOTE:
If no gauge is available, the actual clearance
between the rotor blades and the ledger knife is
set at 1/32"–1/16" (.76–1.52 mm).
3.
Tighten the bolts and remove the ledger knife gauge.
00918
1
Fig. 47 –
Adjusting Ledger Knife (BXM32 shown)
Changing Ledger Knife
1.
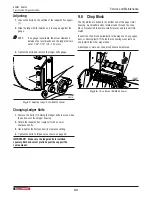
Remove the bolts (1) holding the ledger knife in place. Slide
the knife out of the chipper housing.
2.
Rotate the ledger knife or replace it with a new or
sharpened knife.
3.
Hand-tighten the bolts and verify clearance setting.
4.
Tighten the bolts to torque value shown on page 48.
IMPORTANT! Make sure the ledger knife is installed
squarely. Both ends must protrude past the support the
same amount.
9.8 Chop Block
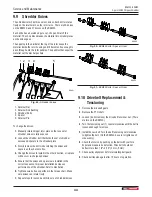
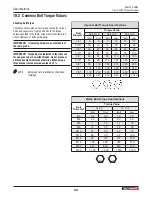
The Chop Block is bolted in the bottom end of the upper rotor
housing. As shredder knives rotate around through the chop
block, material is broken into smaller pieces and turned it into
mulch.
Inspect the chop block periodically for damage such as gouges,
bent, or missing teeth. If the teeth are showing wear, remove
and install it the other way around.
A damaged or worn out chop block should be replaced.
00920
Fig. 48 –
Chop Block (BXM42 shown)

