Attach to a Tractor
BXS Series
3PH Self-feed Chipper
18
5. Attach to a Tractor
Make sure the telescoping portion of the PTO shaft is
greased and free of dirt.
The BX36S and BX52S lower ski is adjustable. Ski
adjustment may be required to help make the PTO
connection as level as possible. See Machine Setup
on page 26.
5.1 Connect 3-point Hitch
WARNING!
Never let anyone stand between the tractor and
the implement during hitching. Too fast of an
approach or the operator’s foot slipping from the
clutch can lead to injury or fatality to the person
standing nearby.
W048
IMPORTANT! Removing the drawbar may be required for
clearance.
For maximum PTO shaft life and safety, the PTO shaft should
be as level as possible when the chipper is in the working
position. See
•
The BX36S, BX52S and BX72S are Category I, 3-point
hitch, and Quick Hitch and iMatch™ compatible.
•
BX102S is Category II, 3-point hitch only, and is also Quick
Hitch and iMatch™ compatible.
Make sure there is enough room and clearance to safely reverse
to the chipper.
Procedure
1.
On the tractor, place the 3-point hitch lift arms in their full
sway position, then reverse the tractor up to the chipper.
The tractor needs to be exactly in-line with the mounting
points of the chipper otherwise attaching the 3-point hitch
may require moving the implement from side to side.
2.
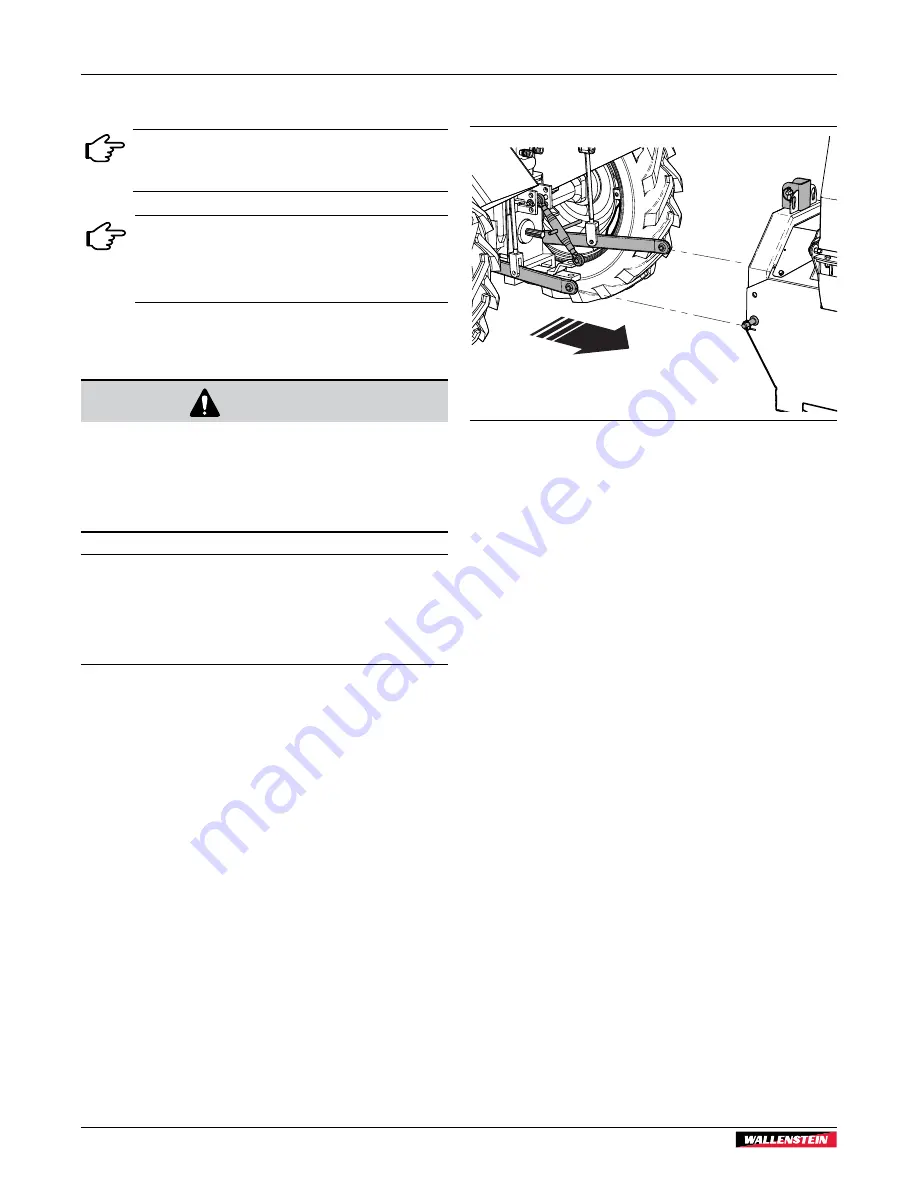
When reversing, lower/raise the lift arms so that they are
level with the lower attachment points on the chipper.
00825
Fig. 7 –
Back up in line with the chipper
3.
Back up slowly and align the balls in the lift arms to the
pins on the chipper.
4.
Apply the tractor park brake.
5.
Starting on one side, push the floating ball on the tractor's
lift arms over the lower attachment pin on the chipper.
6.
Do the other side in the same manner, keeping the lift arms
even. Insert lynch pins on both sides to secure the chipper
to the tractor.
7.
Attach the tractor top link to the upper attachment point on
the chipper. Insert the pin and lynch pin.
8.
As with any implement, the turnbuckle on the top link
may need to be adjusted to level the chipper. Raise the
implement just off the ground to check. Adjust top link
length as required.
9.
If not already done, level the chipper from side to side using
the lift arm jack-screw arm and the top link turnbuckle.
The chipper frame should always be kept horizontal during
operation.


