Walchem WCU Series Скачать руководство пользователя страница 33


30 


Possible status screens are: Access Code REQ, Access Code OK, and Access Code 
DIS. 


The first indicates that the access code is required to alter settings. The second 
indicates that the access code is required and has been entered correctly, and the last 
indicates that the access code has been disabled. 


Enable Y/N 

Use the arrow keys to select Y(Yes) or N(No) and press ENTER to enable or disable 
the access code. If the code was enabled, you must enter the access code in order to 
disable it. 


New Value  

Press 

ENTER 

to display the current access code value and use the arrow keys to 

change it to any value between 0 and 9999. If the access code has been enabled, you 
will be prompted to enter the current access code before being allowed to change it. 


The factory default access code is 1995. 
 
If you change the access code and can't remember it, follow this procedure: 
1. Turn off the power to the controller. 
2. Wait 10 seconds. 
3. Press and hold the Up and Down arrow keys while turning on the power. 
4. Read the access code on the display. 
5. Release the arrow keys and the code will disappear. 
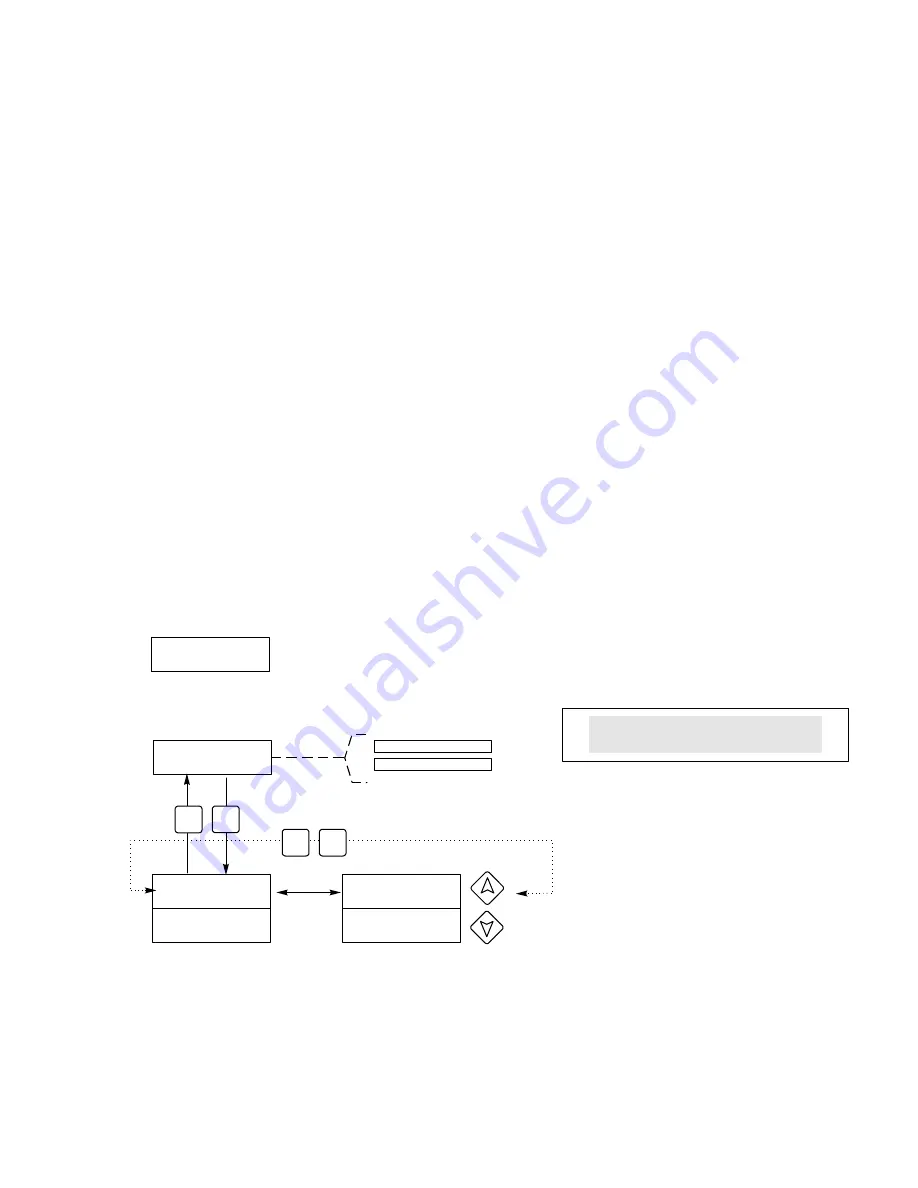


Access Code Menu 


Copper    1.98 g/L

Access Code  DIS

Any Top Display

Access Code 0000

Access Code  DIS

Disable              N

Access Code  DIS
Disable              Y

Access Code  DIS

New Value          0

Access Code  DIS

New Value    1234

Access Code  REQ

Access Code    OK

Access Code Menu

Possible status screens

The Access Code prompt may appear at any screen in the entire menu

structure if the current access code has not been entered by the user.
Access code entries will be valid for 10 minutes from the most recent 

key press.

Enter any four digit code

E N TER

EX IT

N E X T

P R EV.

Содержание WCU Series

Страница 1: ...WCU Series Electroless Copper Controller Instruction Manual...

Страница 2: ...lectronics and 12 months for mechanical parts from date of delivery from the factory or authorized distributor under normal use and service and otherwise when such equipment is used in accordance with...

Страница 3: ...Installation 8 3 6 Icon Definitions 9 3 7 Electrical Installation 9 4 0 Function Overview 14 4 1 Front Panel 15 4 2 Display 15 4 3 Keypad 16 4 4 Access Code 16 4 5 Startup 16 4 6 Shutdown 17 5 0 Oper...

Страница 4: ...ation is available Either an immersible in tank sensor or flow through out of tank sensor may be specified 2 0 Specifications 2 1 Measurement Performance Electroless Copper Concentration Range 01 5 5...

Страница 5: ...orage Temperature 20 to 180 F 29 to 80 C Shipping Weight 7 lbs 3kg approximately Sensor Immersible Flow Through Enclosure Polycarbonate Polypro ABS NEMA Rating NEMA 4X NEMA 4X Dimensions 5 25 x 4 0 x...

Страница 6: ...to the copper concentration The lamp and electronics are located under the cover of the sensor In order to avoid a shift in calibration due to condensation the sensor s cover should NEVER be opened T...

Страница 7: ...a mounting plate and 20 feet of cable Extension cable is available if the sensor can not be placed within 20 feet of the controller The maximum cable length is 80 feet The sample loop consists of a sh...

Страница 8: ...YDE STABILIZER POWER POWER 20 FT IMMERSIBLE SENSOR PLATING BATH WCU with Immersible Sensor SODIUM PERSULFATE CIRCULATING PUMPS MANUAL VALVE FLOW THROUGH SENSOR WCU MICROETCH CONTROLLER METERING PUMPS...

Страница 9: ...applicable Other installation guidelines which may be helpful in the overall system Mount the sensor as close to solution as possible Keep tubing distances to the sensor inlet as short as possible to...

Страница 10: ...nd should be adjusted so that it is 1 4 the desired control band For Example The set point is 4 00 g L If the desired control band is 0 20 g L 0 10 g L or 2 5 and the bath is depleting at a rate of 1...

Страница 11: ...to obtain the desired control band however if the flow rate increases over the recommended rate of 500 mL min approx 0 13 gal min the rate of cooling will decrease This may be compensated for by re e...

Страница 12: ...WCU310 5xx 240 VAC 50 60 Hz The various standard wiring options are shown below Your WCU series controller will arrive from the factory prewired or ready for hardwiring Depending on your configuratio...

Страница 13: ...rsonnel only and conform to all applicable National State and Local codes CAUTION Proper grounding of this product is required Any attempt to bypass the grounding will compromise the safety of persons...

Страница 14: ...11 Figure 3 Inputs for power relay board 191236...

Страница 15: ...LL MODELS Polarity not critical BLK 115V BRN 230V _ 4 20mA Panel Mount Connector Flow or Level Switch Power Supply 115 VAC or 230 VAC Optional 4 20 mA Board GRN 115V GRN YEL 230V WHT 115V BLU 230V COM...

Страница 16: ...elay board 191236 Note The Alarm Relay is non programmable Refer to the Main Menu diagram on page 16 for the list of error conditions that trigger the alarm relay Note All relay outputs are internally...

Страница 17: ...board 190873 NEU NEUTRAL HOT F2 TB3 TB2 F1 Grounding Stud 4 20mA _ Chart Recorder Alarm Pump s GRN GRN GRN B L K BLK GRN GRN BLK WHT WHT WHT WHT WHT Optional 4 20 mA Board OUT2 N O OUT3 N O OUT4 N O...

Страница 18: ...vertical bar appears to the left of the S There are small breaks in the bars at each 5 If high or low alarm limits are reached then either an H or L will appear The operating conditions which may be...

Страница 19: ...the access code disabled If you wish to enable it see Section 5 8 for operation With the access code enabled any user can view parameter settings but not change them Note that this provides protection...

Страница 20: ...has its own setup menu for calibration and unit of measure selection as needed Each output has its own setup menu including set points timer values direction of control etc as needed After 10 minutes...

Страница 21: ...ab analysis is significantly different adjust the offset in the 1 point calibration menu using the arrow keys to change the value and the sign If the controller s display is higher than the lab analys...

Страница 22: ...enu Press Exit key to exit menu After 10 minutes of inactivity the controller will automatically return to the summary screen N E X T P R E V EN TER EX IT Operation Legend 4 20mA menu is only present...

Страница 23: ...ay easily inadvertently change the calibration of the sensor If you continue with the following procedures you must recalibrate the new sensor Water xxxx x Place the immersible sensor in clean tap or...

Страница 24: ...NTER EXIT ENTER EXIT Operation WARNING Check Set Points WARNING Check Set Points Self Test PASS m 611 r 202 m 300 4 r 232 1 H 20 m 811 1 r234 6 WARNING Chg Sensor Cal N Sensor 1 98 g L Conc Units g L...

Страница 25: ...to choose whether to totalize in units of time volume or copper metal turnovers Turnover Lim Only appears if you choose to totalize by metal turnovers Use the arrow keys to enter the maximum number o...

Страница 26: ...per hour mL per min Copper 1 98 g L Out 1 A 11 40 Output 1 Menu Press Enter key to enter menu Press Exit key to exit menu Blinking fields may be edited with the adjust arrows Press Enter when modifica...

Страница 27: ...interlock condition exists and control is stopped For example if the sensor is installed in a recirculating pipe line a flow switch that is closed if flow is sufficient and open if flow is insufficie...

Страница 28: ...nits G h Gal per hour mL per min Copper 1 98 g L Out 2 11 40 Output 2 3 4 Menus Press Enter key to enter menu Press Exit key to exit menu Blinking fields may be edited with the adjust arrows Press Ent...

Страница 29: ...use of a signal from a flow switch or level switch is stopping control Overrun indicates that the output has been on for longer than the maximum time programmed by the user The time shows that the out...

Страница 30: ...ock Use the arrow keys to change the year date and month then press ENTER Use the arrow keys again to set the day of the week and the time Use military time for example 1 00 PM is 13 00 Press ENTER to...

Страница 31: ...pear if the optional 4 20 mA output board is installed It is used to scale the 4 20 mA output to a corresponding copper range It contains the following menu selections 4 mA Point 20 mA Point and Calib...

Страница 32: ...whether or not you are allowed to change the parameters in the controller With the access code disabled any user may change any parameter With the access code enabled any user can view any parameter...

Страница 33: ...code before being allowed to change it The factory default access code is 1995 If you change the access code and can t remember it follow this procedure 1 Turn off the power to the controller 2 Wait 1...

Страница 34: ...fate or peroxide sulfuric etch Field repairs should not be attempted Call your factory representative in order to arrange for factory service NOTE TO PREVENT CALIBRATION SHIFTS DUE TO CONDENSATION FOR...

Страница 35: ...lution movement Place replenishment line closer to sensor 2 Pump siphoning Check all valves Re route tubing 3 Output 1 in HAND mode Go to H O A menu and put in AUTO mode LOW ALARM The summary screen w...

Страница 36: ...Action 1 Light bulb failure Return sensor for repair 2 Severe plate out Etch sensor 3 Sensor disconnected Reconnect sensor PLATE OUT This message is displayed when signals levels have been reduced co...

Страница 37: ...VERRUN This display appears if the pump output has been on longer than the time limit set in the Time Limit menu It could be caused by a pump failure lack of replenishment chemical the time limit bein...

Страница 38: ...self test Consult your factory representative for service options 8 0 Service Policy The WCU Series Copper Controller has a 2 year warranty on electronic components and a 1 year warranty on mechanical...

Отзывы: