29
.
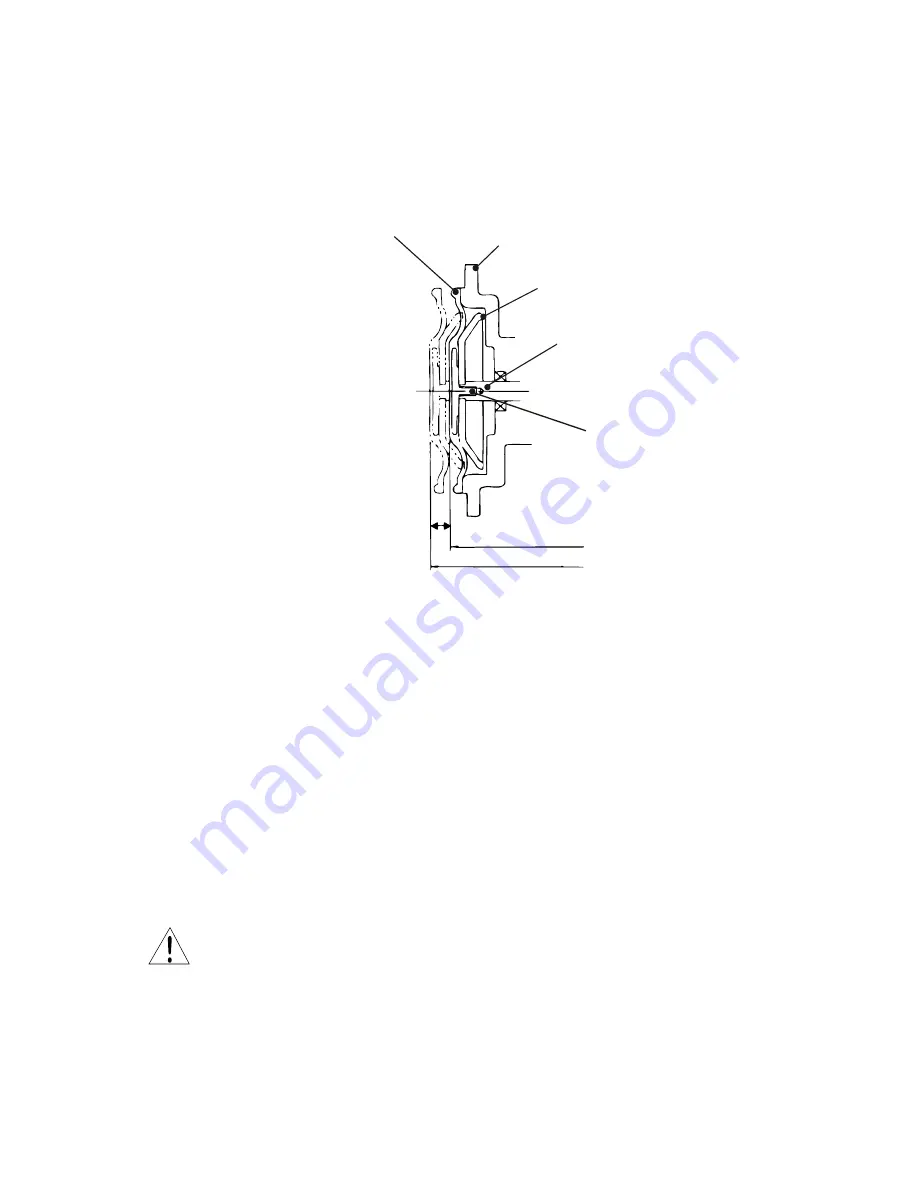
5. Attach the new diaphragm firmly to the pump shaft by turning it clockwise by hand (hand
tighten only, no tools). Confirm that the retainer (31) is sitting correctly around the diaphragm
insert bolt and rests against the end of the pump shaft. If the position of the pump shaft moves
during reassembly of the diaphragm, set it at top dead center, following the above procedure #3.
Bottom dead center
Top dead center
Stroke
Length, 100%
Diaphragm
insert
bolt
Pump shaft
Retainer (31)
Bracket
Diaphragm (30)
Assembly
The pump should be assembled by carrying out the steps of disassembly in reverse. Pay special
attention to the following points:
Valve
1. Replacement of o-ring and gasket
Replace the o-ring or gasket, with a new one. Additionally, ensure that the o-ring or gasket
is not twisted or pinched between parts.
* The sealing section should be free of dust or scratches before installation.
2. Assemble the valve assembly by reversing the procedure, taking special care with the
direction and position of the valve guide, valve seat and valve gasket.
Caution
If the direction or position of the valve guide, valve ball, or valve seat is incorrect, the pump
will not pump and/or may be damaged.


