8
Installation
Installation
5 Installation
5.1 Safety information
Consult the trailer manufacturer regarding torques. The torques and connecting elements
specified in these instructions are minimum recommendations. If a higher tightening torque is
used, the screws / portal doors could be overstrained / damaged.
Use of additional screws, additional fastening materials or modification of any part of this product
is the responsibility of the vehicle manufacturer.
Always use a soft-face hammer for the installation.
Prior to installation, ensure that the semitrailer is standing on a horizontal surface so that the body
is not in a twisted state. This could influence the panel alignments.
5.2 Work steps
OptiFlow
TM
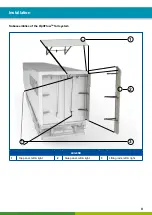
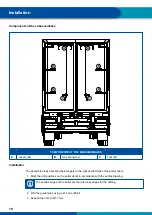
Tail consists of 2x 3 subassemblies
Installation tolerances: +/- 3 mm at a temperature of 18°C.
Install OptiFlow
TM
Tail in a windless environment – Indoors where appropriate.
OptiFlow
TM
Tail must be installed by two trained persons.
Preparations
– If external components (e.g. rear view cameras) are already installed, make sure they do not impair
the installation and function of the OptiFlow
TM
Tail system.
– Make sure you have the outline drawing of your Tail variant at hand before you start the installation.
If the outline drawing is not available, contact your WABCO partner.
– Check if the dimensions of the outline drawing match the trailer type to be equipped.
– Check the regulations concerning the contour marking and provide the corresponding materials
section „Contour marking“, page 14.
– Make sure that all subassemblies required for the installation are included in the delivery.
Содержание OptiFlow Tail
Страница 1: ...INSTALLATION MANUAL...
Страница 2: ......
Страница 21: ...21 Spare parts...
Страница 22: ...Notes 22...
Страница 23: ......


