3
time and
protect the stylus you will ultimately be rewarded with a good
sounding unit that you will not be afraid of working on.
Before lifting out the main chassis, remember that the feet are attached
to the bottom of the unit. Do not put the unit down on any furniture that
could be damaged by these feet. Remove the protective bag and set the
ARIES-3 chassis down and center it on the shelf it will be resting on.
Lift out the platter and pull off the tape covering the spindle hole.
Carefully place the platter over the spindle and let it slide down. The
platter bearing has grease in it so none is needed at this time. The
ARIES-3 needs no lubrication for at least one year. A Chrome hardened
ball running on a large Teflon surface takes the weight of the platter.
This requires no lubrication to perform its task.
Spin the platter and see if it feels like it is running freely. If all is okay
and the platter feels free but not loose proceed to the motor.
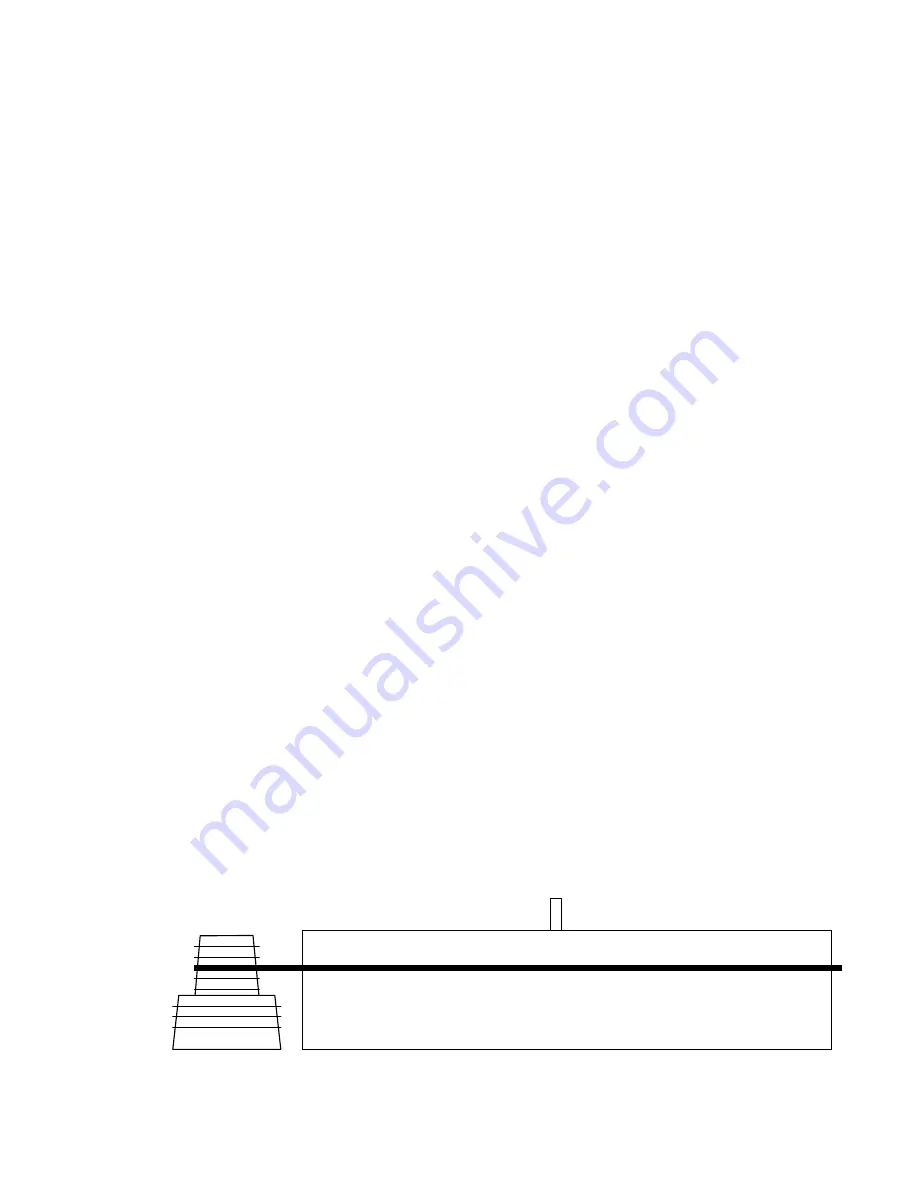
Open the 12X12X12 box and place the motor in the circular cutout to the
left of the ARIES-3 chassis with the switch facing left. Center the motor
in this cutout with roughly a ½” space between it and the chassis all the
way around. The motor needs no lubrication at this time and should be
relatively noise free. It was just shipped and will be much quieter after a
few hours running.
Remove the drive belt from the bag and place the belt on the small pulley
groove and around the turntable platter. The drive pulley is designed for
33 and 45 operation with the smaller section being 33 and the larger
section being 45. The motor pulley of your ARIES 3 is designed to let you
slightly adjust the speed at 33 and 45. The center groove on the pulley
in each diameter is the correct speed. If you need to increase or
decrease the speed slightly you can move the belt up or down for fine
adjustment. Most people will just leave it on the center groove and never
worry about it. If you hear any noise when starting the turntable put
baby powder on the drive belts.


