


HR8D/HR8AD/HR8A
REAR SEAT VIDEO HEADREST SYSTEM
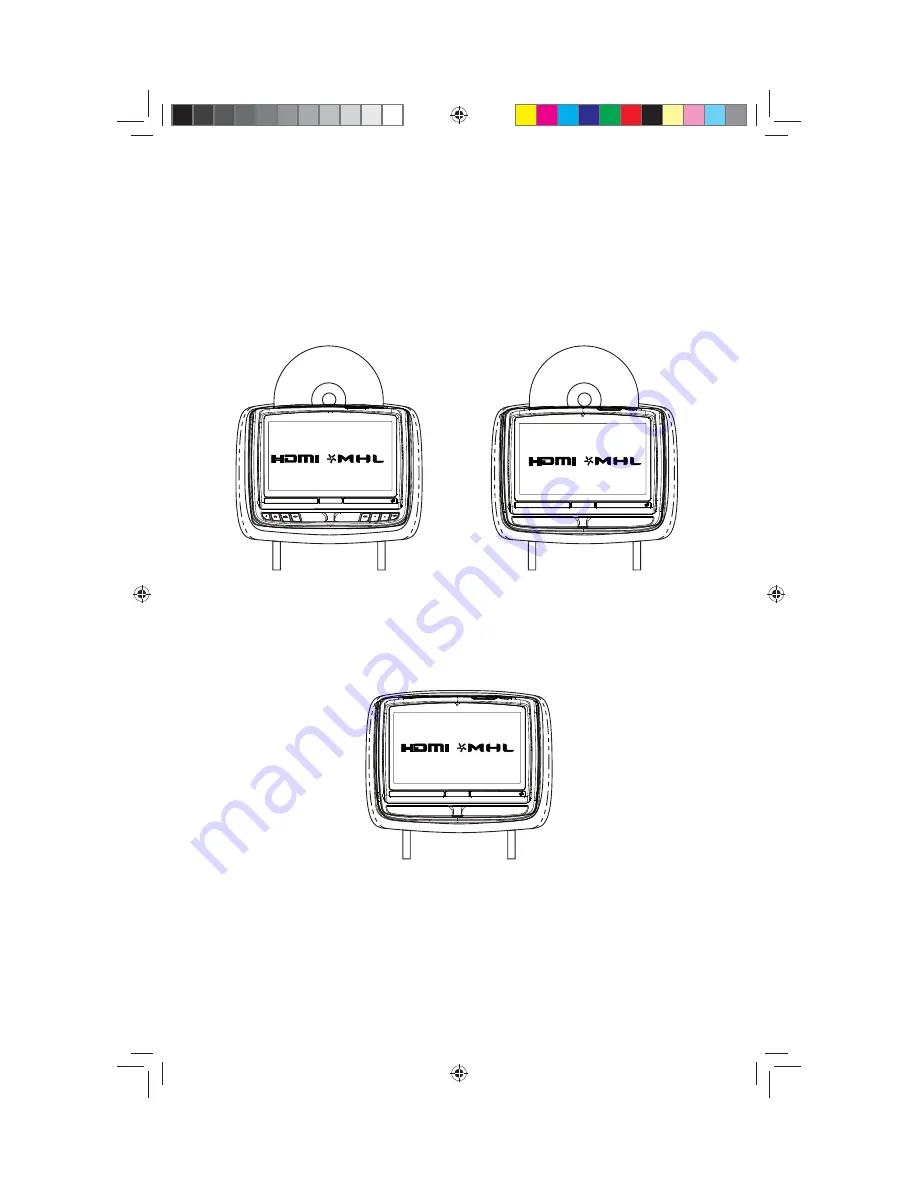
A
VAILABLE
IN
THREE
CONFIGURATIONS
Owner’s Manual
HR8D
8” MONITOR WITH DVD
TM
TM
TM
TM
HR8AD
8” ANDROID MONITOR
WITH DVD
TM
TM
TM
TM
HR8A
8” ANDROID MONITOR
TM
TM
TM
TM
128-9406B HR8D, HR8A and HR8AD AUDIOVOX 05-20-2015.indd 11
128-9406B HR8D, HR8A and HR8AD AUDIOVOX 05-20-2015.indd 11
5/20/2015 5:02:29 PM
5/20/2015 5:02:29 PM


