


4
Setup and function
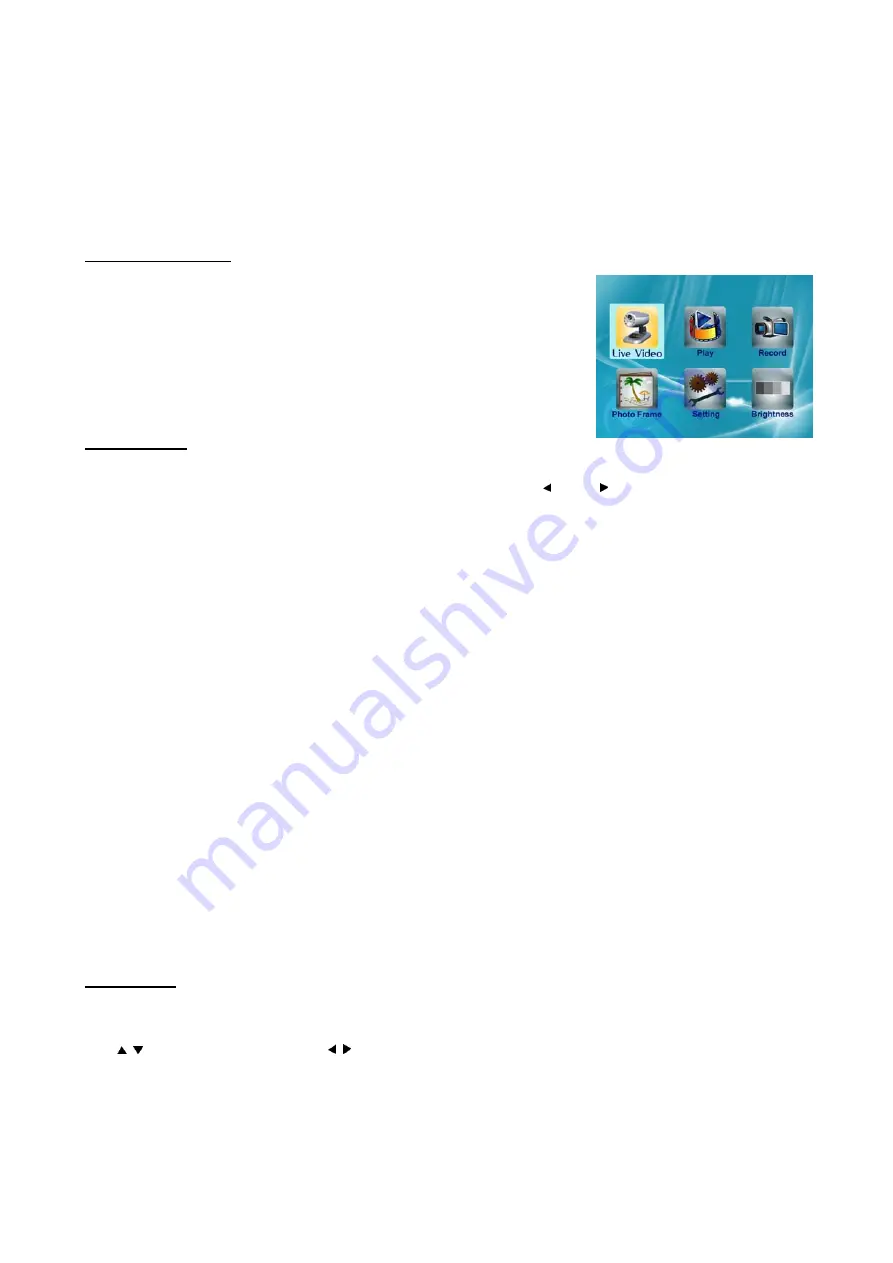
Press “
Menu
” button on the monitor to enter the main menu, which will
appear as the image to the right.
Use the navigation buttons to highlight a sub-menu you would like to change
the settings, Press ok to enter the highlighted submenu. Press
Menu
button to
exit the sub-menu once you have made your changes.
1) Live Video
Choose
Live video
to enter real time monitor mode. Monitor will be in auto mode when it is selected.
You can change between Auto and Manual mode in live video by using /A and /M button.
AUTO
Pressing the
AUTO
button places the system into Auto mode.
In this mode, the system automatically switches among all active cameras. If the camera has PIR movement
detection, when there is motion detected the camera will send a signal and the Monitor will display the picture
from that camera and dwell on this camera for a few seconds after the trigger has elapsed, also there will be a
audible sound during the trigger. To avoid displaying the channels that do not have cameras assigned to them, set
the dip switches (located on the back of the Monitor) for those corresponding channels to the
OFF
position.
The dwell/cycle time (time taken to switch between cameras) is preset to four seconds and can be adjusted
between 2-30 seconds. To adjust the dwell/cycle time, press and hold the M/> button while in live mode the
camera indicator lamp will de-illuminate and then keep hold of the button for the desired period. The LED then
will flash to confirm the period each flash indicates one second.
MANUAL
To select a specific camera to view, press the
MANUAL (M/>)
button. The monitor will switch to a different
camera each time the
MANUAL
button is pressed. To avoid searching channels that do not have cameras
assigned to them, set the dip switches (located on the back panel of the monitor) for those corresponding channels
to the
OFF
position.
2) Playback
Choose
Play
and then
OK
to go into play menu, select the file you want to play from the file list and press
OK
to
start to playback. Or select the file you want to delete, press Del and
OK
to delete the file.
Use to adjust the volume. Use button, along with OK button to pause, stop, move to previous/next
record, move to the first/Last record.
When in Live Video mode,
OK
button is Shortcut key to enter Play mode.
In the file list, press “
Del
” then
OK
to confirm the deletion of a specific record.


