


5
1
4
2
3
KJ-7808RV Features
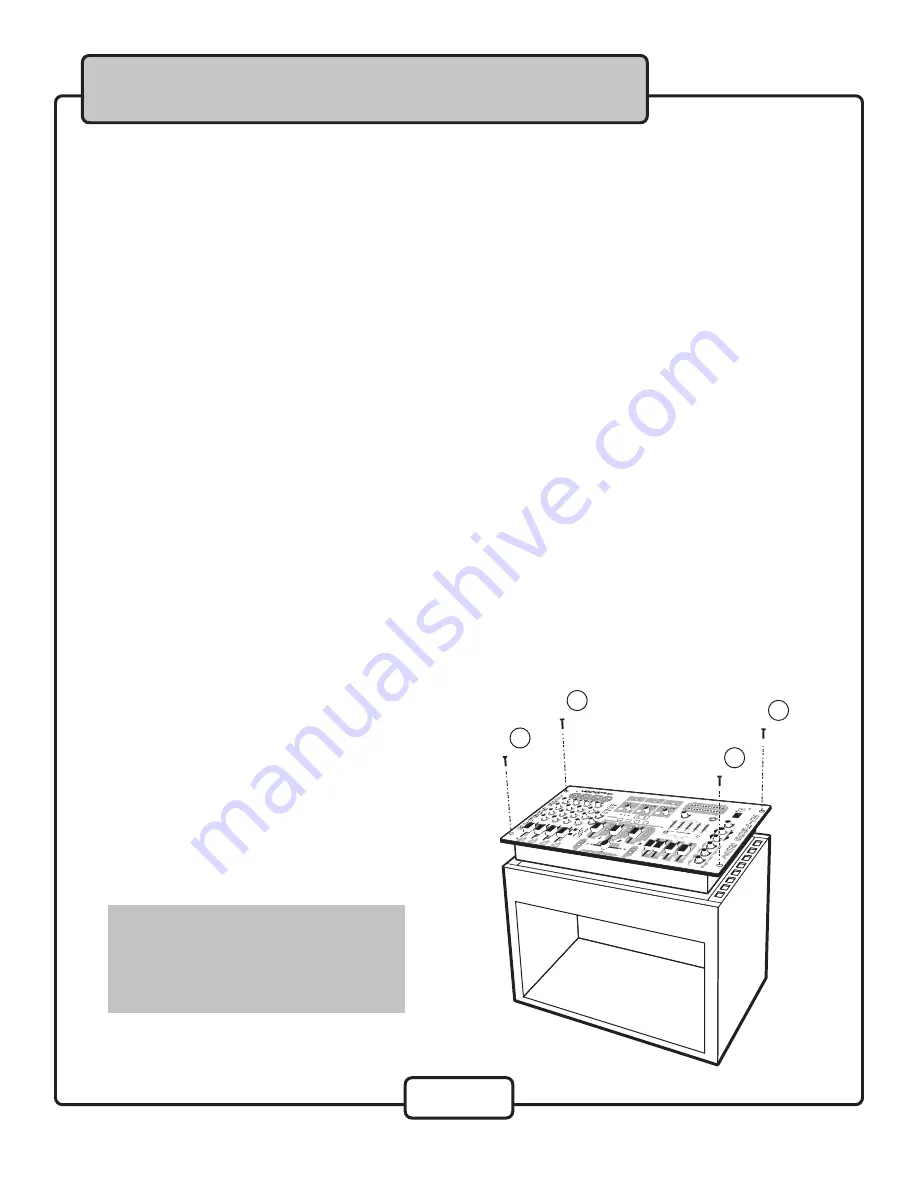
Mounting
To mount, carefully place the KJ-7808RV in the rack space of your case. The KJ-7808RV takes 4 screws to
mount. Make sure holes are aligned evenly. Use an alternating “X” rotation when screwing to ensure even
tension and alignment.
(See diagram below)
You will need:
• 19” Rack Case
• 4 Mount Screws
• Phillips-head Screwdriver
Note:
When top mounting, make sure you
have at least 2 rack-spaces available.
• Professional grade KJ, DJ and VJ mixer with Video Select Toggle/Crossfader
• DSP Vocal Reverb with Level control
• Two Main video outputs plus one more for use with a monitor (RCA)
• DSP Vocal Echo with Level, Repeat and Delay controls
• Crossfader and video toggle in-one automatically switches video when fading between audio channels
• 4 microphone channels, each with Master volume sliders and Gain, Bass, Treble and DSP Level controls
• 5-Band Graphic Equalizer for best fidelity and precision tuning
• 3 A/V channels each with gain control, volume slider and illuminating signal meter
• Assignable vocal effects Send/Return channel with Send and Return level controls
• Assignable 11-step Digital Key Controller
• Vocal Cancel and Vocal Partner for use with Multiplex CDs
• Vocal Eliminator reduces or removes vocals from standard CDs
• LED Output Level Display meter
• Talkover function with automatic mode
• Headphone jack with level control
• 12V DJ lamp jack for professional production
• 19” rack mountable, requiring only 6 spaces


