


User’s Manual >>
E-37
[Blank] Auto focus [
] Macro [
] Infinity
[
1M
] Fixed at 1 m [
3M
] Fixed at 3 m
[Blank] Auto focus [
] Infinity
[
1M
] Fixed at 1 m [
3M
] Fixed at 3 m
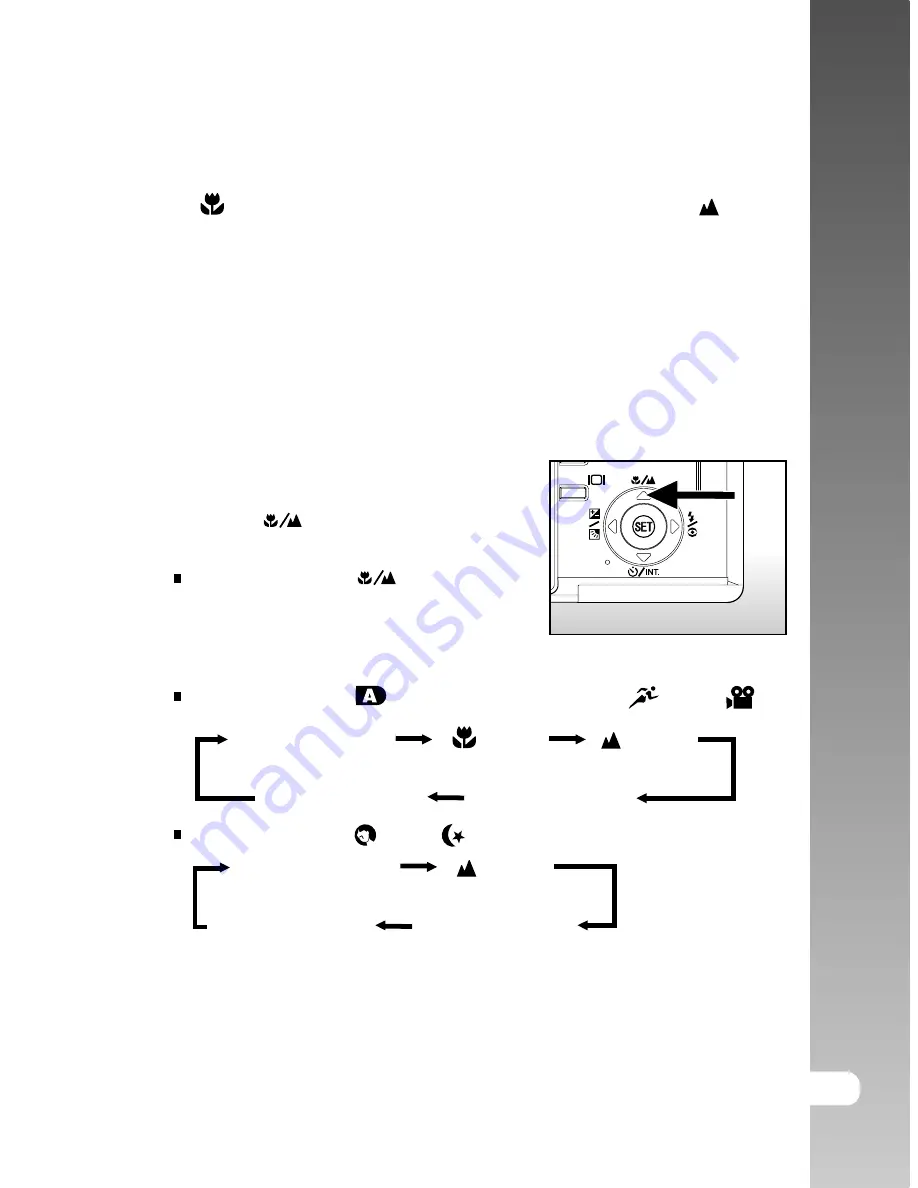
Setting the Focus
Images can be captured with the focus determined automatically using auto
focus [
]. You may over-ride the auto focus and specify macro, [
] infinity,
[
3M
] fixed at 3 m (9 feet), or [
1M
] fixed at 1 m (3 feet). Specifying the focus
manually can give you precise focus control and it also reduces the shutter
latency-time slightly. (The time delay between pressing the shutter button and
the time of actual image capture.)
The focus setting will be maintained even when the power is turned off or when
Auto Power Off is activated. The available focus settings will depend on the
selected photography mode.
1. Set the mode dial to one of the photography
modes.
2. Toggle the
button to select the desired
focus mode.
Each press of the
button moves
the icon one step through the sequence
and displays it on the screen.
For the modes of [
], [
P
], [
Tv
], [
Av
], [
M
], [
] and [
]:
For the modes of [
] and [
]:
Содержание Vivicam 4000
Страница 1: ...E ENGLISH ...
Страница 81: ...User s Manual E 81 CONNECTING THE VIVICAM 4000 TO OTHER DEVICES ...


