11
Camcorder Mounts and Accessories
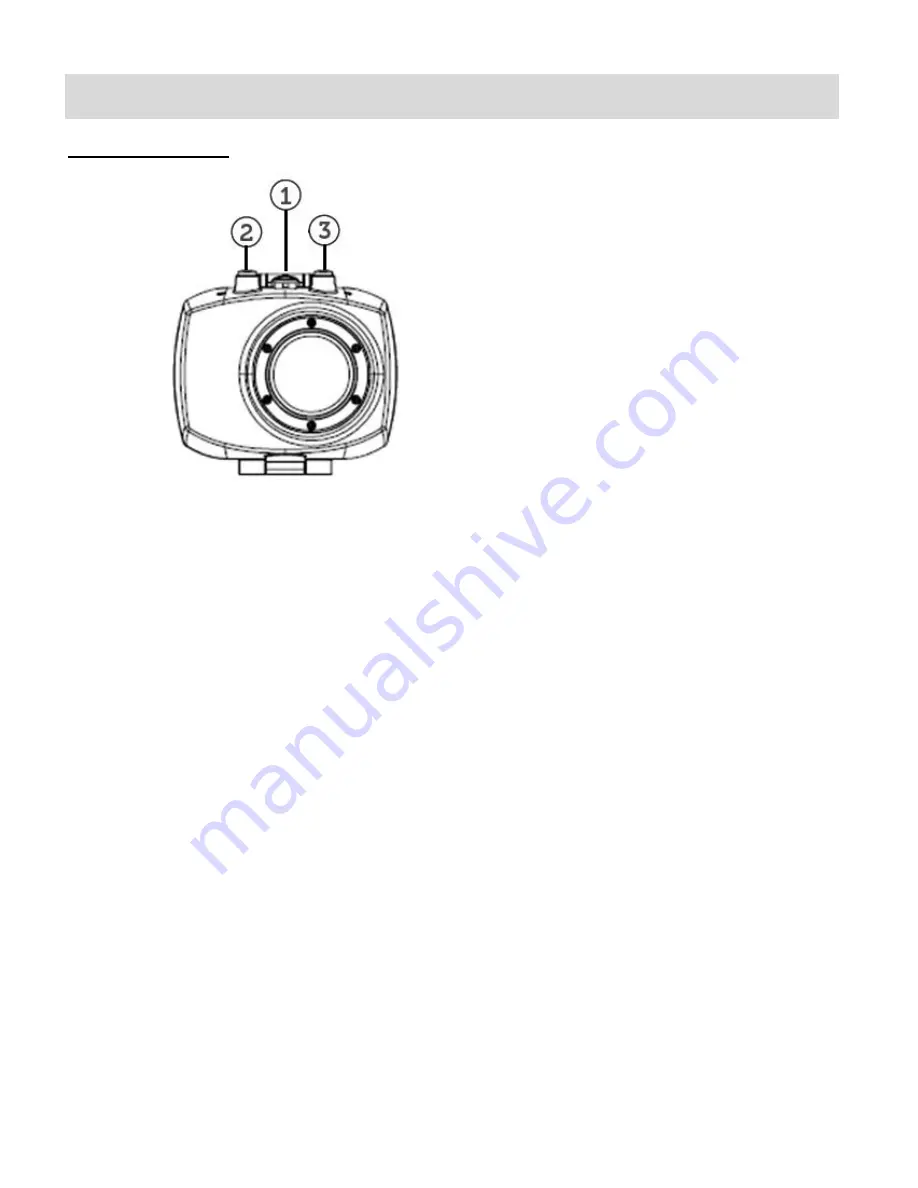
Waterproof Case
1. Clamp
2. Shutter Release
3. Power Button
1. To open the case, insert a finger at the half circle of the clamp by prying the clamp up - away
from the case.
2. Before sealing the waterproof case, keep the came
ra housing’s rubber seal clean. Note that
a single hair or grain of sand can cause a leak. You can test by closing the case without
inserting the camera. Submerse the case completely in water for about a minute. Remove
the case from the water, dry off its exterior with a towel, and then open the case. If the entire
interior is dry, the case is safe for use under water.
3. Remember to place your camcorder in the desired recording
Mode
before inserting the
camcorder in the waterproof case. There is no external button for switching Modes.
4. While the camcorder is in the waterproof casing, use the two buttons on top for recording
your videos and images: the
Power
button and the
Shutter
button.
NOTE
:
Before opening the waterproof casing and putting the device in, carefully check whether
the waterproof ring of the casing is flat and smooth.
After placing the device into the waterproof casing and closing the cover, carefully check
whether the waterproof ring is deformed due to pressure.
After every use in salt water you will need to rinse the outside of the housing with non-salt


