background image


Delete/Clear Last Photo 


To delete the last photo taken:


1.  Press the 

MODE


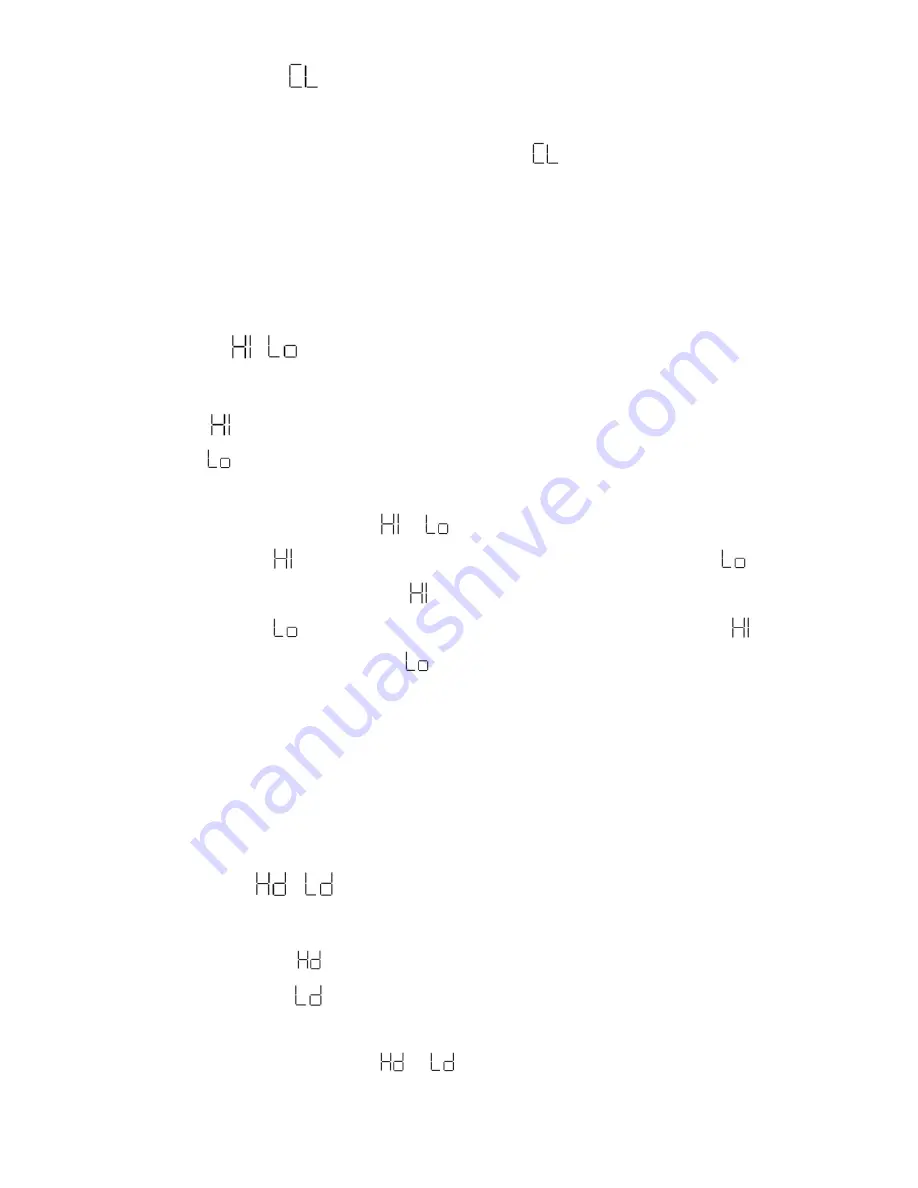
button until the ‘Delete/Clear Last’ 

 icon appears on the LCD screen.  

2.  Press the 

Shutter

 button within 5 seconds to delete the last captured photo. 


3.  The LCD counter then displays the updated number of photos that can be taken at the 

current resolution and compression.


Image Resolution 

 / 


The Image Resolution includes the following options: 

High Resolution 

– 


VGA (640 x 480) 

Low Resolution 

– 


QVGA (320 x 240) 

To set the Image Resolution: 

1.  Press the 

MODE

 button until the 


or 

 icon appears on the LCD screen.  

2.  If the LCD displays 


this means the present resolution is ‘Low Resolution’ 

, and in 

order to change to ‘High Resolution’   press the 

Shutter

 button.  

3.  If the LCD displays 


this means the present resolution is ‘High Resolution’  , and in 

order to change to ‘Low Resolution’ 

 press the 

Shutter

 button.  

4.  All photos captured after changing the resolution setting are taken at the new resolution. 

5.  The resolution setting can be changed at any time.  

Note

: Photos taken at higher resolution take up more of the camera’s memory and therefore 

fewer photos can be taken at high resolution than that with low resolution. 


Image Compression 

 / 


The Image Compression includes the following options: 

High Compression/Density -  


Low Compression/Density -  


To set the Image Compression: 

1.  Press the 

MODE

 button until the 


or 

 icon appears on the LCD screen. 

Содержание Clipshot 11698

Страница 1: ...Camera User Manual 2009 2013 Sakar International Inc All rights reserved Windows and the Windows logo are registered trademarks of Microsoft Corporation All other trademarks are the property of their...

Страница 2: ...6 The Camera Modes 7 Installing the Vivitar Experience Image Manager Software and Camera Driver 11 Connecting Your Camera to Your Computer 11 Getting Photos and Videos from Your Camera to Your Comput...

Страница 3: ...e Manager software and the camera s driver Plugging in your camera at this stage will cause the device to not be recognized by the computer and no images will be downloaded Key Features 3 in 1 Digital...

Страница 4: ...or display 1024 X 768 pixels CD ROM Drive QuickTime 6 or higher MICROSOFT Internet Explorer 7 or higher Windows Media Player 10 or higher MAC OS MACINTOSH with Intel Processor running Mac OS X v10 5 x...

Страница 5: ...red Release the clip to close the clip and attach the camera into place Installing the Battery Your camera requires 1 AAA battery not included Alkaline battery recommended Insert the battery into the...

Страница 6: ...ou would like to save and then remove the battery to avoid battery leakage and corrosion It is recommended to download and save your photos and videos often in order not to lose your images if the bat...

Страница 7: ...a split second when you take the photo Thereafter the last two digits appear How to Proceed When Your Camera Memory is Full If the camera beeps twice continuously or if a appears on the LCD this is an...

Страница 8: ...de Delete Clear All Delete Clear Last Photo Image Resolution Setting Image Compression Setting Frequency Setting Power Off To power off the camera 1 Press the MODE button until the Power Off icon appe...

Страница 9: ...onditions 3 Shot Mode To take 3 continuous photos 1 Press the MODE button until the 3 Shot Mode icon appears on the LCD screen 2 Press the Shutter button once to immediately capture 3 continuous JPEG...

Страница 10: ...this means the present resolution is Low Resolution and in order to change to High Resolution press the Shutter button 3 If the LCD displays this means the present resolution is High Resolution and i...

Страница 11: ...ing table tells you how many photos can be taken based on the image resolution and compression Frequency The Frequency feature includes the following options 50HZ suitable for the United States Canada...

Страница 12: ...application continues the installation process on your computer Follow all instructions MAC OS If needed please follow instructions to install the Adobe Flash Player This requires Internet connection...

Страница 13: ...oth 4 Select your camera removable disk from the device window If your camera is the only USB device connected then it will be selected automatically 5 Select a location on the computer where to place...

Страница 14: ...be used as a Webcam with most instant messenger and web conferencing applications that support video Note Once you have connected your camera to your computer the camera remains on while it is plugge...

Страница 15: ...the instant messenger and web conferencing application that you use to begin using this camera as a webcam on your computer Note Use the Control menu Video settings option of this web conferencing app...

Страница 16: ...A detailed written description of the problem 3 Your return address and telephone number Daytime MAIL TO ADDRESS BELOW Technical Support For technical support issues please visit our website at www vi...

Страница 17: ...n Low Compression High Compression VGA 640 x 480 26 photos 52 photos QVGA 320 x 240 104 photos 208 photos approx Lens f 4 0 F 2 5 Focus Range 1m to Infinity Shutter Range 1 6 1 8000 LCD display Numeri...

Страница 18: ...On first plugging the camera into the computer allow the computer to recognize your camera first before opening the software or webcam application This device complies with the part 15 of the FCC rule...

Отзывы: