10
11
Temperature
Most pressure sensitive fi lms benefi t from around 40
°C
of heat being applied to help elliminate ‘silvering’. If you dont get the
desired result with 40
°C
continue adding 5
°C
of heat until you get the fi nish required.
Speed
Adjust the speed until you get the required results
Roller Pressure
Under normal operation wind the roller pressure adjustment handle until the rollers meet and the handle goes into a neutral
mode then turn gently until you feel resistance. Then just apply an extra
1
/
8
of a turn to ensure there is suffi
cient pressure.
If ‘BOW’ marks appear across the laminated document there is too much roller pressure applied and the top roller should be
lifted slightly.
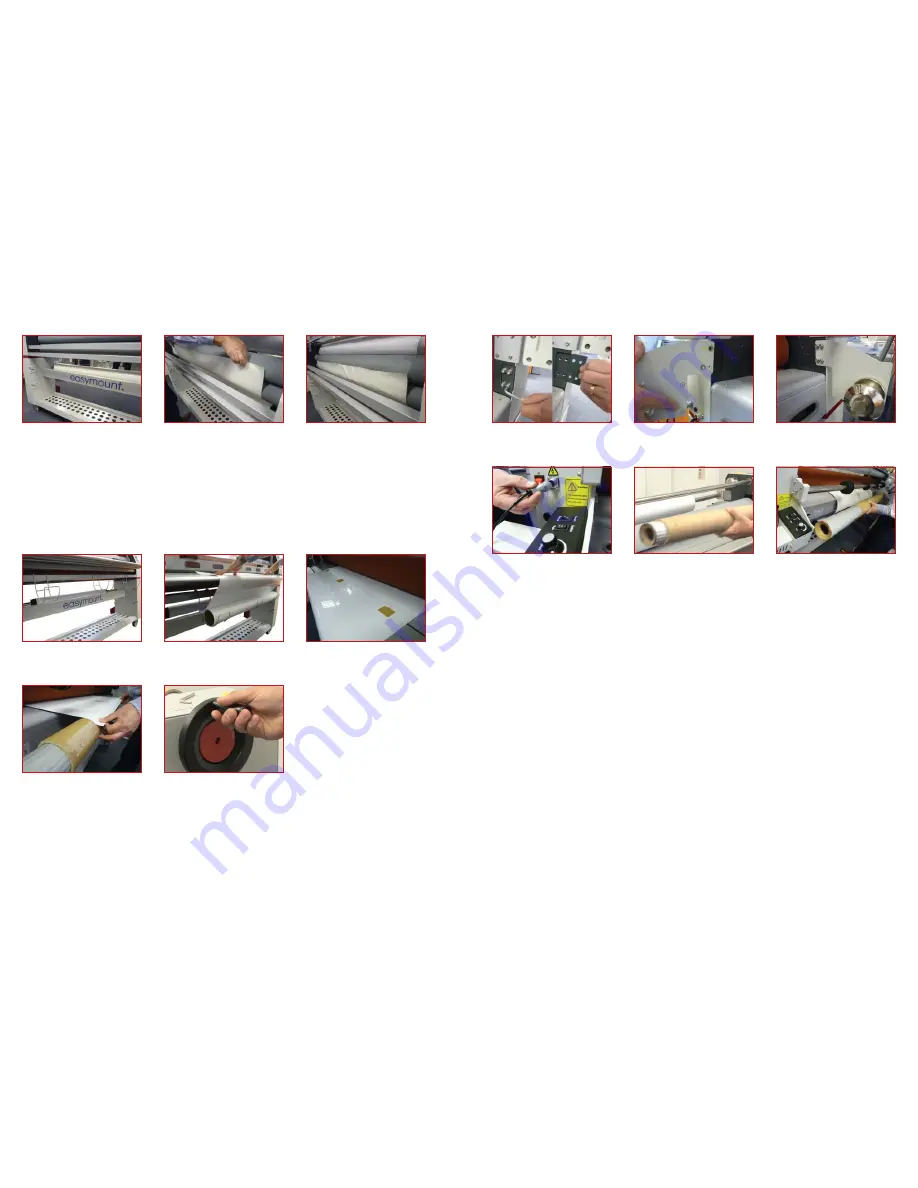
1. Position the mount fi lm centrally on
the mandrel and lift it into position on
the brackets
3. Stick it to the exposed pressure
sensitive fi lm as before. * Ensure the
sticky side of the mount fi lm is facing
towards you and away from the roller
surface.
* Go through steps of feeding the fi lm
2. Pull the mount fi lm up and towards the
bottom roller.
Alternative Method
Mount Film
1. 3 media brackets space evenly on cross
member
3. Either tape leading edge to feeder
sheet OR...
2. Place your roll of media on the brackets
and bring leading edge over the front of
the feed tray
Media Brackets
Optional Extras
...with rollers lifted feed through the
machine and attach to the take up unit
(optional extra)
4. Lower the rollers until neutral position
and tighten until you feel resistance, you
are now ready to run the media from reel
to reel
Media Rewind Take Up
1. To fi t remove blanking plates from rear
of the machine
3. Fit the other bracket in place of the
right hand blanking plate
2. Fit motorized bracket in place of the
blanking bracket - left hand side looking
from the rear of the machine
1. Plug in the motor unit as shown
2. Fit spring loaded take up mandrel
Laminating Adjustments


