6. Для программирования других треков, повторите шаги 3K5.
7. Для начала запрограммированного воспроизведения нажмите кнопку "PLAY/PAUSE" (9).
ПОИСК ТРЕКА ПО НАЗВАНИЮ ПЕСНИ
Вы можете найти желаемый трек, написав название песни на английском языке на дисплее, для
этого:
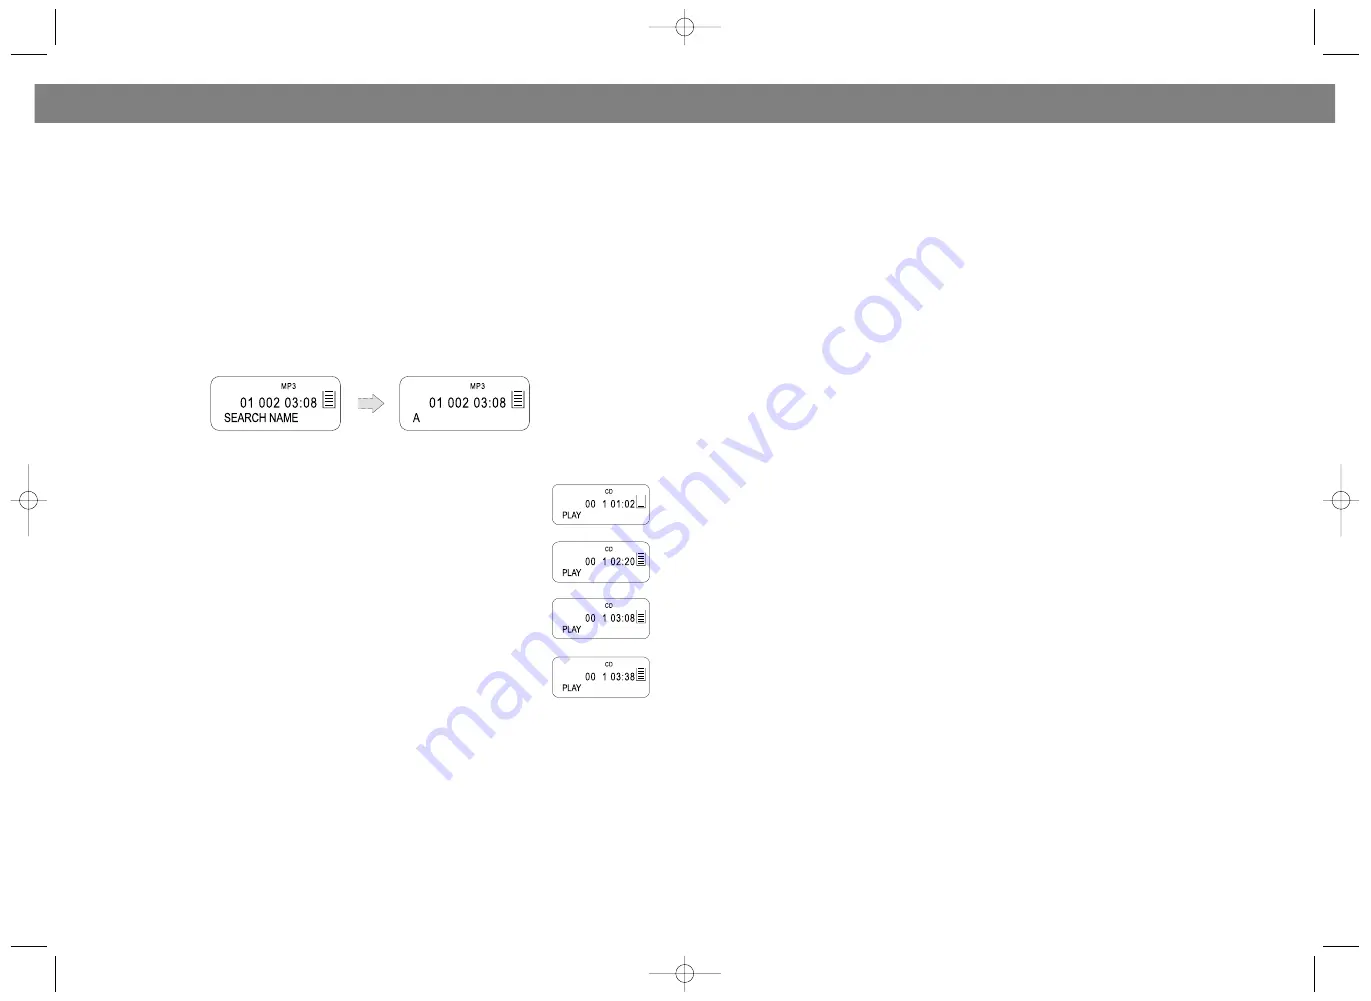
В режиме остановки нажмите и удерживайте кнопку MODE (3) в течение нескольких секунд до
тех пор, пока на дисплее не появится надпись “SEARCH NAME”. После того как на дисплее
появится “А”, Вы можете писать название песни.
Для написания букв и цифр воспользуйтесь кнопками SKIP/SEARCH
!
/
"
(12, 10). После выбора
нужного символа, нажмите кнопку MODE (3) для написания следующего. Для удаления символа,
воспользуйтесь кнопкой STOP (6).
По окончании написания названия песни, для поиска и воспроизведения трека нажмите кнопку
"PLAY/PAUSE" (9). Если название песни написано неправильно, на дисплее появится надпись
“NOT FOUND”. Максимальное число символов 8.
АНТИ ШОК
Функция “АНТИKШОК” необходима для предотвращения порчи или остановки
звука, когда прибор находится под влиянием тряски или вибрации во время
проигрывания.
•
Когда плеер подвержен вибрации во время воспроизведения мелодий,
данные, хранимые в памяти, продолжают расшифровываться. Это дает время
для стабилизации и продолжения считывания новых данных.
•
Если прибор подвергается продолжительным вибрациям и вся
информация, хранимая в памяти, использована, то на дисплее высветится
знак, напоминающий об этом. В этом случае звук может остановиться на
мгновение.
•
Для того, чтобы включить функцию антиKшока при воспроизведении
компактKдиска, нажмите кнопку CD ESP/10+ (8). При воспроизведении МР3K
диска функция включается автоматически.
Примечание:
АнтиKшок для компактKдиска K 40 с., для МР3 K 80 с.
ГРАФИЧЕСКИЕ ЭКВАЛАЙЗЕРЫ
Вы можете выбрать различные звуковые эффекты с помощью переключателя EQ/PROG (4). В
режиме воспроизведения CD или МР3 диска нажмите кнопку EQ/PROG (4) один раз K усиление
низких частот, два раза K попKэффект, три раза K классический эффект музыки, четыре раза K
эффект джаза, пять раз K рокKэффект, шесть раз K обычное воспроизведение.
ПРОСЛУШИВАНИЕ ЧЕРЕЗ НАУШНИКИ
Наушники (3.5 мм) подключаются в гнездо РНONE (20). При подключении наушников динамики
мангитолы автоматически отключаются. Настройка звучания осуществляется при помощи тех же
регуляторов, как и при обычном прослушивании.
20
STEREO PHONES JACK
A Stereo Phone Jack (3.5mm) has been provided on the top of the cabinet, so that you can listen to the
set without disturbing others. To use this jack, plug in low impedance headphones/earphones and adjust
the VOLUME CONTROL (1) to a comfortable listening level.
Note: When external headphones/earphones are connected, the sound from the unit of main speakers
will be muted.
Caution: Listening at high power for a long moment could damage users' ears.
CASSETTE OPERATION
RECORD button (26)
Press to make a recording from either the CD or radio or internal microphone.
Note: If a recordable cassette is installed, when the RECORD button (26) is pressed, the PLAY button (25)
will be depressed at the same time. The record key will not go down if the cassette is protected; see
' Protecting recordings from being erased'.
PLAY button (25)
Press the PLAY button (25) to start playing a cassette.
REWIND button (24)
Press the REWIND button (24) to rewind a tape quickly. Press STOP/EJECT button (22) to release the butK
ton at the end of the tape.
FAST FORWARD button (23)
Press the FAST FORWARD button (23) to advance the tape quickly. Press STOP/EJECT button (22) to
release the button at the end of the tape.
STOP/EJECT button (22)
Press the STOP/EJECT button (22) to cancel a selection, i.e, press this button during cassette play to
stop the tape.
In stop mode, press the button to eject the cassette.
PAUSE button (21)
The PAUSE button (21) can be used to interrupt a Recording or Playback temporarily and is useful for
editing the content of the recorded tracks. Press the button once to pause the recording, press the butK
ton again to continue the recording.
Note: In Pause mode, the Cassette motor is still energized, therefore the feature should not be used for
long periods of time.
AUTOMATIC STOP
The Cassette mechanism has a builtKin automatic stop. During Playing/Recording, the unit will automatK
ically stop when the end of the tape is detected.
TO PLAY A CASSETTE TAPE
1. Open the cassette door by pressing the cassette STOP/EJECT button (22).
2. Insert a cassette with the exposed tape facing upwards and the full reel on the left (unit plays from left
to right) into the guides on the inside of the cassette door.
3. Close the cassette door.
4. Set the FUNCTION switch (16) to the TAPE position.
5. Press the cassette PLAY button (25) to start the tape playing.
6. Adjust the VOLUME CONTROL (1) to a comfortable listening level.
7. To stop the tape playing, press the STOP/EJECT button (22). Press the button again to open the casK
sette door and eject the tape.
Note:
During play, when the end of the tape is reached the PLAY button (25) will pop up and play will stop.
5
ENGLISH
РУССКИЙ
VT-3450.qxd 27.06.03 16:54 Page 10


