VISUALINT VI-M 7150 Скачать руководство пользователя страница 4

Return to Contents

Camera View Area

The camera view dominates the area. At the far right is an right-arrow button 

next to the PTZ controls. Click this to collapse (or reopen) the PTZ controls. 

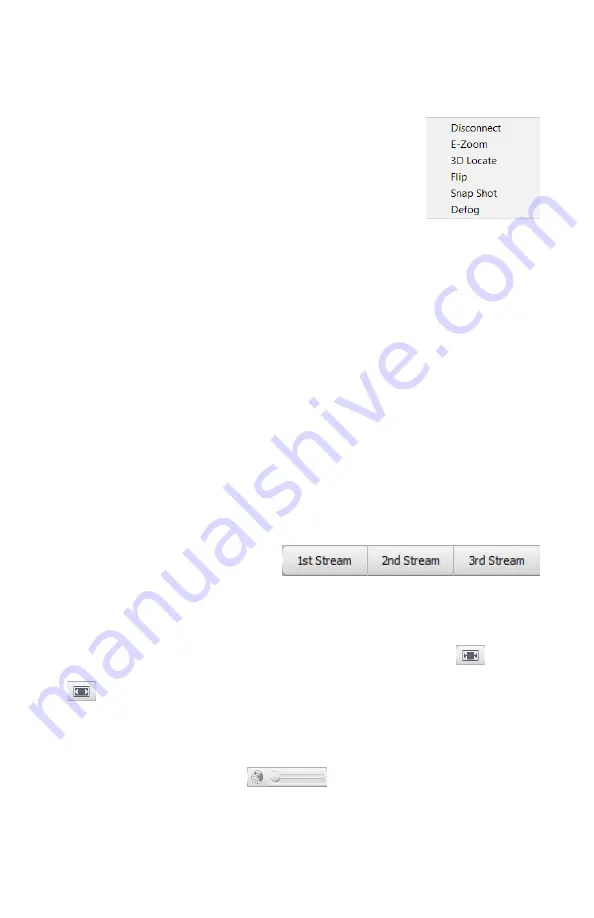
If you right-click in the camera view area, you get the 

small pop-up menu with the following commands: 

Disconnect:

 Terminate the currently connected video 

stream from the live view. 

E-zoom:

 Click and drag across the video screen to select 

an area. The camera then creates a floating window that shows a digital 

zoom of the selected area. Note that if the aspect ratio of this area differs 

from that of the camera, the image will be distorted. You can close the 

digital zoom window by clicking the X in the upper right corner. If you 

need to preserve the aspect ratio, use the optical zoom buttons described in 

the 

PTZ and Preset Controls

.

3D locate: 

Click and drag across the video screen to select an area. The camera 

then pans and zooms to show that area in detail.

Flip: 

Rotate the video image 180° (upside-down).

Snap Shot: 

Copies the full screen of the live view window and saves it as an 

image onto the camera’s SD card. This action has no effect if your camera 

has no SD card installed.

Defog: 

Starts the automatic defogging algorithm. When complete, the 

function closes down; this is not a toggle switch.

Live View Parameters

In this area, you determine how to 

handle the video stream. 

 The first group of buttons determines which of the three video streams you 

wish to view. These streams are configured separately under Audio Video Set > 

Stream Set (see “Stream Set” on page 13).

The second pair of buttons determines whether you want to 


lock

 the 

viewing screen to its current resolution (which may distort the video feed), or 


adapt

 the screen to the video resolution. 

Tool Bar

The tool bar allows you to interact with the camera and its accessories.

The manual tracking slider 

 lets you override the auto-tracking 

feature (cameras with auto-tracking only). When activated, click anywhere on 

the screen to track that object. The slider acts as a zoom control. The camera 

must have the auto-tracking feature, and this will not work unless you have 

configured Linkage Tracking and Intelligent Tracking under VCA. 

Содержание VI-M 7150

Страница 1: ...Visualint VI M Camera Line Interface Manual Version 170517 0941...

Страница 2: ...any commands or operation There are also slight variations between the interfaces seen on different devices These variations are due to the different capabilities of the equipment This manual strives...

Страница 3: ...s Header Menus At the top the header area gives you the SKU of the system that you are using The left end of the blue bar has the four major tabs for navigating the interface and accessing the various...

Страница 4: ...e down Snap Shot Copies the full screen of the live view window and saves it as an image onto the camera s SD card This action has no effect if your camera has no SD card installed Defog Starts the au...

Страница 5: ...a digital zoom of the selected area Note that if the aspect ratio of this area differs from that of the camera the image will be distorted You can close the digital zoom window by clicking the X in t...

Страница 6: ...at level of quality you want to view PTZ and Preset Controls The PTZ control area gives you total control of the orientation of your camera At the top is the navigation area Clicking and holding any o...

Страница 7: ...e using The left end of the blue bar has the four major tabs for navigating the interface and accessing the various tools Each of these tabs leads to a separate page to review the contents of these pa...

Страница 8: ...tton then click on the desired start and end points of the extract You can select where it is stored under Advance Set File Locations See File Locations on page 30 Display just the current channel rec...

Страница 9: ...reated manually using the Remote checkbox These buttons navigate the files Jump to the first page Jump to the previous page Jump to the next page Jump to the last page Finally these three buttons help...

Страница 10: ...avigating the interface and accessing the various tools Each of these tabs leads to a separate page to review the contents of these pages use the hotlinks below Live View Page on page 3 Playback Page...

Страница 11: ...the events that fit the filter Log List This area has the list of events that fit the filters from your most recent search query Navigation Tools The buttons across the bottom help you move through th...

Страница 12: ...ow Live View Page on page 3 Playback Page on page 7 Log Page on page 10 Configuration Page This button returns you here from other pages To the right is your account name as well as a button to log ou...

Страница 13: ...hat is whether or not to require a password and password electronic image stabilization and SVC scalable video coding Save activates the new settings You can also Import and Export the settings as a d...

Страница 14: ...With dynamic tracking check the enable box Also set the upgrade level which determines how much the camera adjusts the video feed as it tracks With fixed area you can create up to 7 areas to include i...

Страница 15: ...de dynamic range and highlight compensation White Balance Here you set the ambient light situation which the camera uses to adjust coloration automatically Image Enhancement Choose the style of image...

Страница 16: ...Zoom Without this cameras cannot move beyond the mechanical limitation on their zoom level When this is enabled using the Zoom button beyond the camera s mechanical limitation causes the camera to sw...

Страница 17: ...tion Below the camera view you can control the camera using the same control rosette and zoom focus iris buttons as appear on the live view page To the right you can call set and adjust settings for p...

Страница 18: ...camera cannot have two actions marked for the same time Once you ve completed a schedule for a day select which days or all to which to copy this schedule and click Apply Be sure to click Save before...

Страница 19: ...s that all apply simultaneously Each rule can have separate modes which vary based on the sort of event that is being analyzed You must set one or more rules for each selected analysis that appears ab...

Страница 20: ...ong the camera continuous to follow a target if it temporarily stops moving Limit allows you to restrict the movement of the PTZ by using the Set button Anti Blocking allows the PTZ to follow a target...

Страница 21: ...le Cruise sets specific time periods for each defined VCA functions Advanced Under Scene Parameter the Resume Timer control allows the system to resume automatic action after a user has manually contr...

Страница 22: ...reen The illustration must be in bitmap bmp format no larger than 200 pixels in any dimension and both the height and width should be divisible by four Click Browse to locate the file then click Uploa...

Страница 23: ...ding allows your camera to record to its SDS card if it cannot detect a network for example your if your router is down Pre Alarm Recording Your camera can keep a constantly churning cache of video th...

Страница 24: ...sending an alert Disk Management This lists all hard drives your system can access and their status reports You can also initialize a drive from this page doing so wipes all information from that dis...

Страница 25: ...e ready to sert up a DDNS address contact your Virtual Technician Visualint This is where you configure the FTP site that you wish to use for alert uploads Download is the only option available at thi...

Страница 26: ...nable allows the system to connect to your UPnP router and auto configure port forwarding for your system We recommend that you do not enable UPnP This stands for simple network management protocol If...

Страница 27: ...select an account and change its password or delete it When you add a user create the account name and password and choose one of the following permission levels Browse Can only watch videos Browse C...

Страница 28: ...rm choose an alarm channel to set operation for then click the Enable checkbox Under Mode Set Use ON for a when a normally open alarm when it closes it turns on or OFF for a normally closed circuit al...

Страница 29: ...ing emails when an alarm is triggered Enter the SMTP server and port at the top of the page Below that enter the user name and password for the email account that will be used to send the alerts This...

Страница 30: ...ble checkbox This works with both NTP and manual time settings The Start Time and End Time boxes let you set the month week day and hour in 24 hour time that daylight saving time starts and ends The D...

Страница 31: ...ade The process takes several minutes and the camera reboots when finished Configuration In Out This section lets you import or export the alarm VCA and system setting parameters as a box file This ma...

Отзывы: