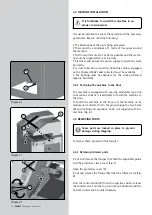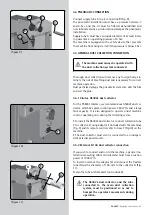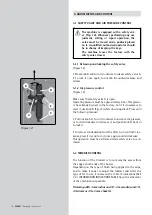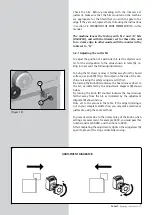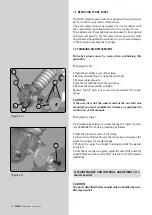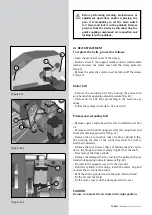
Trimming start
To make small adjustments to the trimming start, turn
the control knob (B) (Fig. 15) clockwise to increase the
trimming path and counterclockwise to decrease it.
Trimming end
To make adjustments to the trimming end, turn the con-
trol knob (C) (Fig. 15) clockwise to reduce the path and
counterclockwise to increase it.
Example 2
Board with a rounded shape, 45 mm thick
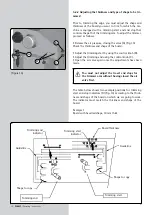
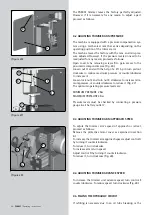
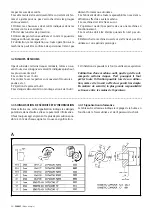
Place the pointer on the trimming start and end markings
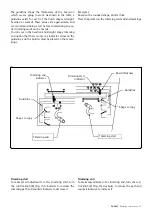
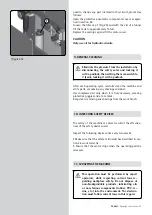
The guideline shows the thicknesses of the board on
which we are going to work. As shown in the table, a
guideline exists for each of the finish shapes (straight,
bevelled or curved). These values are approximate, and
we recommend doing a test before commencing any se-
rial trimming work on the boards.
You can see in the bevelled and straight shape trimming
end option that there is only one indicator arrow on the
guideline, and the pointer must be placed on these mar-
kings.
Board thickness
Guideline
Shape to copy
Trimming start
Trimming start
indicator
Trimming end
indicator
Trimming end
Shape to copy
Guideline
PAE85T
/ Operating instructions - 39
Содержание PAE85T
Страница 71: ......

