33: Configuring a GRE interface
_______________________________________________________________________________________________________
_____________________________________________________________________________________________________
© Virtual Access 2017
GW1000 Series User Manual
Issue: 1.9
Page 309 of 350
Web Field/UCI/Package Option
Description
Web: Bring up on boot
UCI: network.<if name>.auto
Opt: auto
Enables the interface to connect automatically on boot up.
0
Disabled.
1
Enabled.
Web: Monitor interface state
UCI: network.<if name>.monitored
Opt: monitored
Enabled if status of interface is presented on Monitoring platform.
0
Disabled.
1
Enabled.
Table 108: Information table for GRE advanced settings
33.2.3
GRE connection: firewall settings
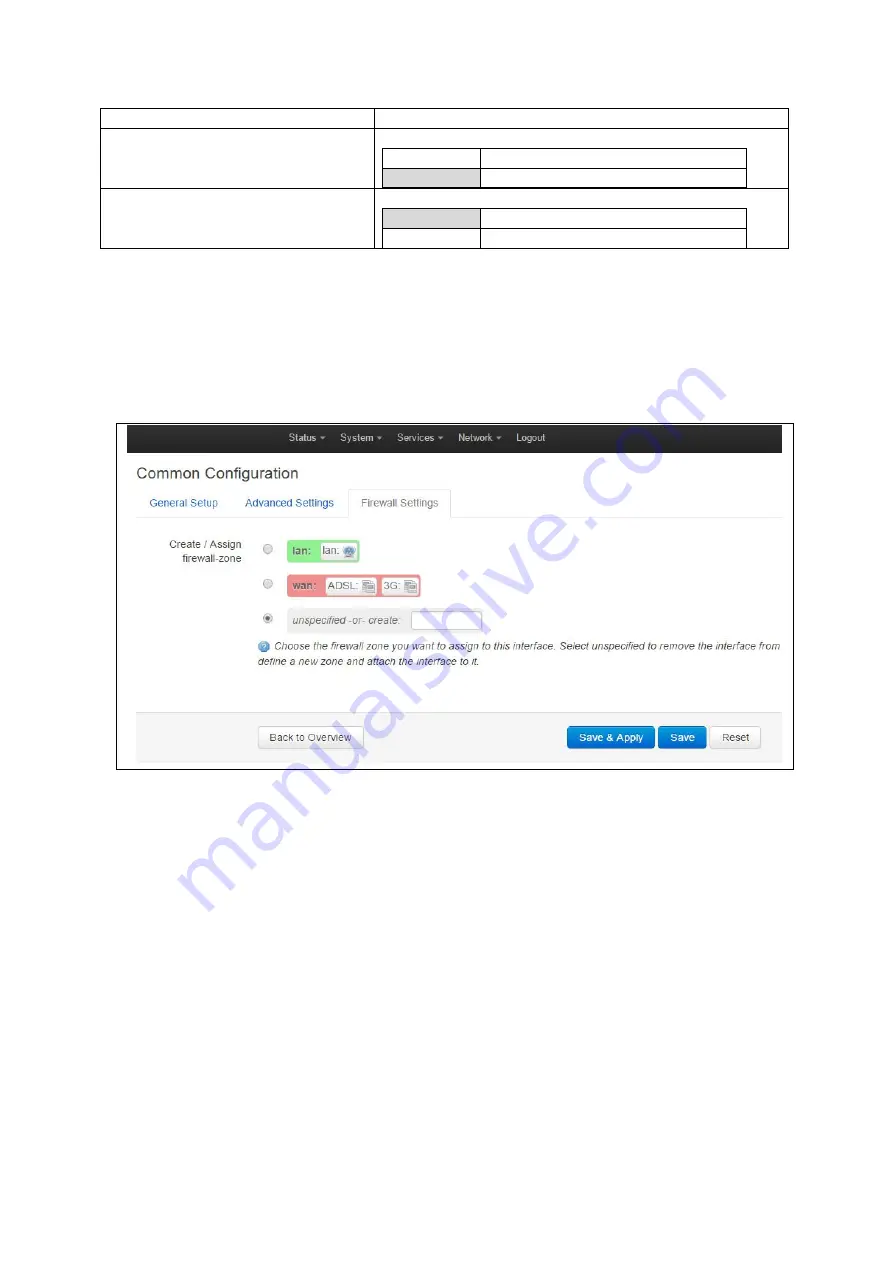
Use this section to select the firewall zone you want to assign to this interface.
Select
unspecified
to remove the interface from the associated zone or fill out the
create field to define a new zone and attach the interface to it.
Figure 154: GRE firewall settings
Click
Save and Apply
. This will save the current settings and return you to the Interface
Overview page. To configure further settings on the GRE interface select
EDIT
for the
relevant GRE interface.
33.2.4
GRE connection: adding a static route
After you have configured the GRE interface, you must configure a static route to route
the desired traffic over the GRE tunnel. To do this, browse to
Network->Static Routes
.
For more information, read the chapter ‘Configuring Static Routes’.


