4
Working current:
≤16A
Working temperature:
0~50
0
C
OPERATING
fig. 1
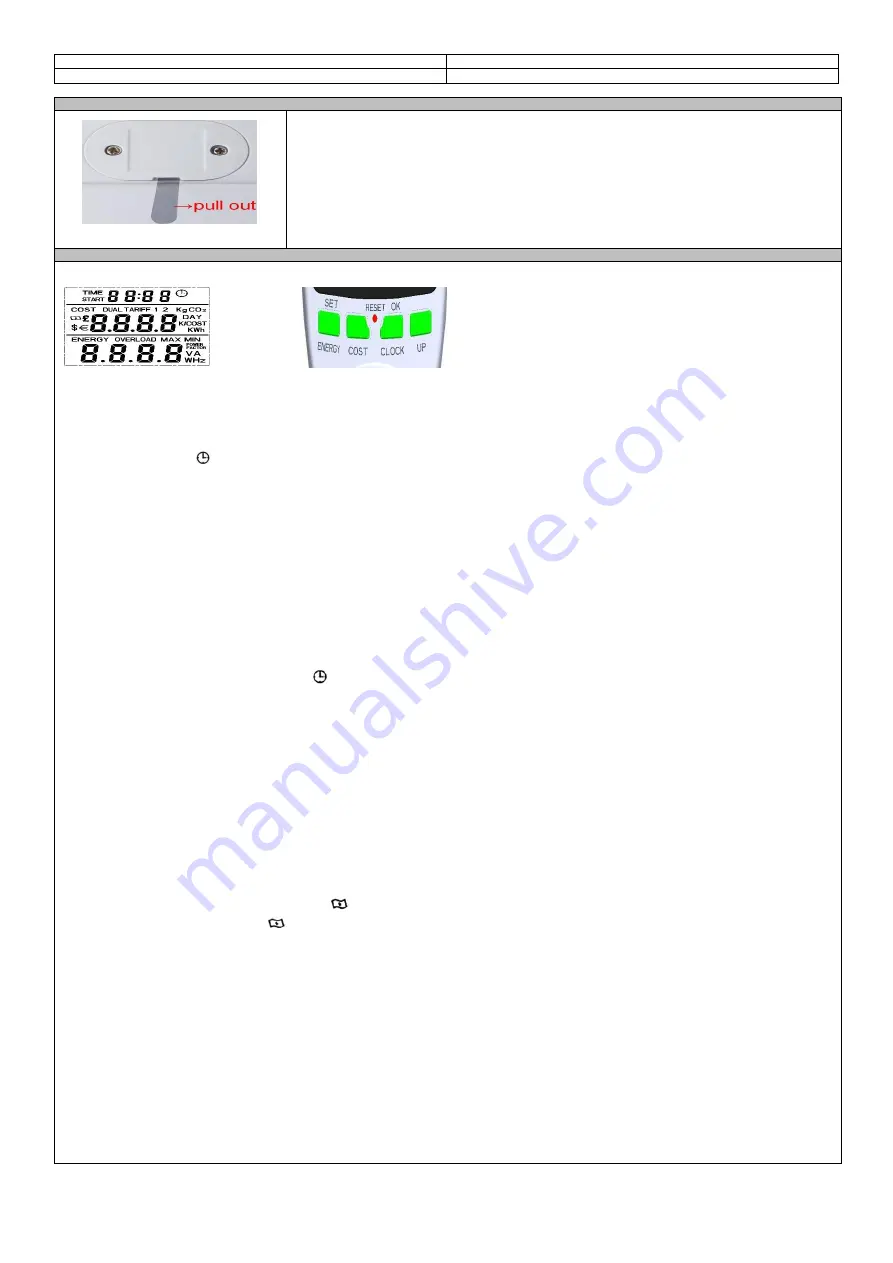
Remove the plastic lock from the battery protection cover and then connect the device to the power supply.
SETTINGS
1. DISPLAY MODE:
fig. 2 fig. 3
When the device is connected to the network, all fields of the LCD screen will light up for about 3 seconds (as in Fig.2).
2. DISPLAY AND SETTINGS:
2.1 Clock display:
The first line displays "TIME"
. The display will show 0:00. Before 60 minutes have elapsed, the first digit is minutes, after exceeding 10 minutes 2 digits are displayed),
the next two digits are seconds. After 60 minutes, the display will show 0:00, where the first number is hours (two digits are shown from 10 hours) and the next two
digits are minutes.
2.2 Clock settings:
Hold down the "CLOCK" button for more than 3 seconds to switch the device into setting mode.
The current flashing value can be confirmed by pressing the "SET" button and then "UP" to set it. To confirm, press the OK button. The system will save your setting and
display the clock time.
2.3 Cumulative time display:
If 2W load is detected by the wattmeter, it starts counting the total time; the LCD display shows 0:00. Before 60 minutes have elapsed, the first digit is minutes, after
exceeding 10 minutes 2 digits are displayed), the next two digits are seconds. After 60 minutes, the display will show 0:00, where the first number is hours (two digits
are shown from 10 hours) and the next two digits are minutes. When 24 hours are exceeded, the total time will be reset.
2.4 Changeover between clock and total time:
Recording time range: 0 sec. - 9999 days
The "CLOCK" button is used to switch between clock time and total time. For example, if you press the "CLOCK" button during the time display, the display will show
the total time. The first line shows the time and the second line shows the day (range 0.000-9999 DAY).
When the LCD displays the cumulative time, the icon
disappears.
2.5 Cost display:
The second line shows the network data. Pressing the "COST" button will alternate the display:
→
total energy charges (range: 0.000
~
9999 COST)
→
total electricity consumption (range: 0.000
~
9999 KWh)
→
CO2 emissions in kg (range: 0.000
~
9999 KgCO2, 1kWh is converted to 0.998 KgCO2)
→
electricity charge index (range: 0.000
~
9999 COST/KWh, default system value is 1.00 COST/KWh).
Note:
When the LCD screen shows the electricity charge and price, a currency symbol which the system considers to be the starting currency always appears next to it.
2.6 Cost settings:
Press "COST" button for more than 3 seconds. The device will switch to the electricity charge setting mode.
Set them as follows:
A. The device has four types of currency symbol, such as:
(currency symbol);
£
(pound);
$
(dollar); € (euro).
Press "UP" button to select desired symbol
and confirm with "OK".
B. After completing the currency settings, press "UP" to select the tariff.
The simple tariff is 'TARIFF 1' and the double tariff is 'DUAL TARIFF'. Press "UP" button to select the desired option and then confirm with "OK".
C. If you select "DUAL TARIFF", press the "SET" button to dial the flashing number (second line of the LCD) and then press the "UP" button to set the value
(range: 0.000
~
9999COST/KWh). When finished press "OK" button.
D. The display will show "start time"; press "SET" button to dial the flashing number (first LCD line) and then press "UP" button to set (range of first two digits 0-23;
range of last two digits: 0-59). When you are finished, confirm with "OK" button.
When you have finished all the settings, press the "COST" button to save all the parameters and the device will go to the standard view.
Note:
A If you choose the straight tariff "TARIFF 1", you only need to set "TARIFF 1". Press the "COST" button to set all parameters, then the device will go to standard view.
B When setting the price parameter, the currency symbol must be displayed.
C If the system operates in the 'DUAL TARIFF' mode, the end of tariff 2 means the inclusion of tariff 1; the end of tariff 1 means the inclusion of tariff 2.
2.7 Display of energy parameters and settings:
A
、
Press the "ENERGY" button; the third line will show alternately:
→
current consumption
(
range: 0.000
~
9999W)
→
current voltage
(
range: 0.000
~
9999V)


