-
16
FORCE CONTROLLED WARTHOG - USER'S MANUAL V1.0
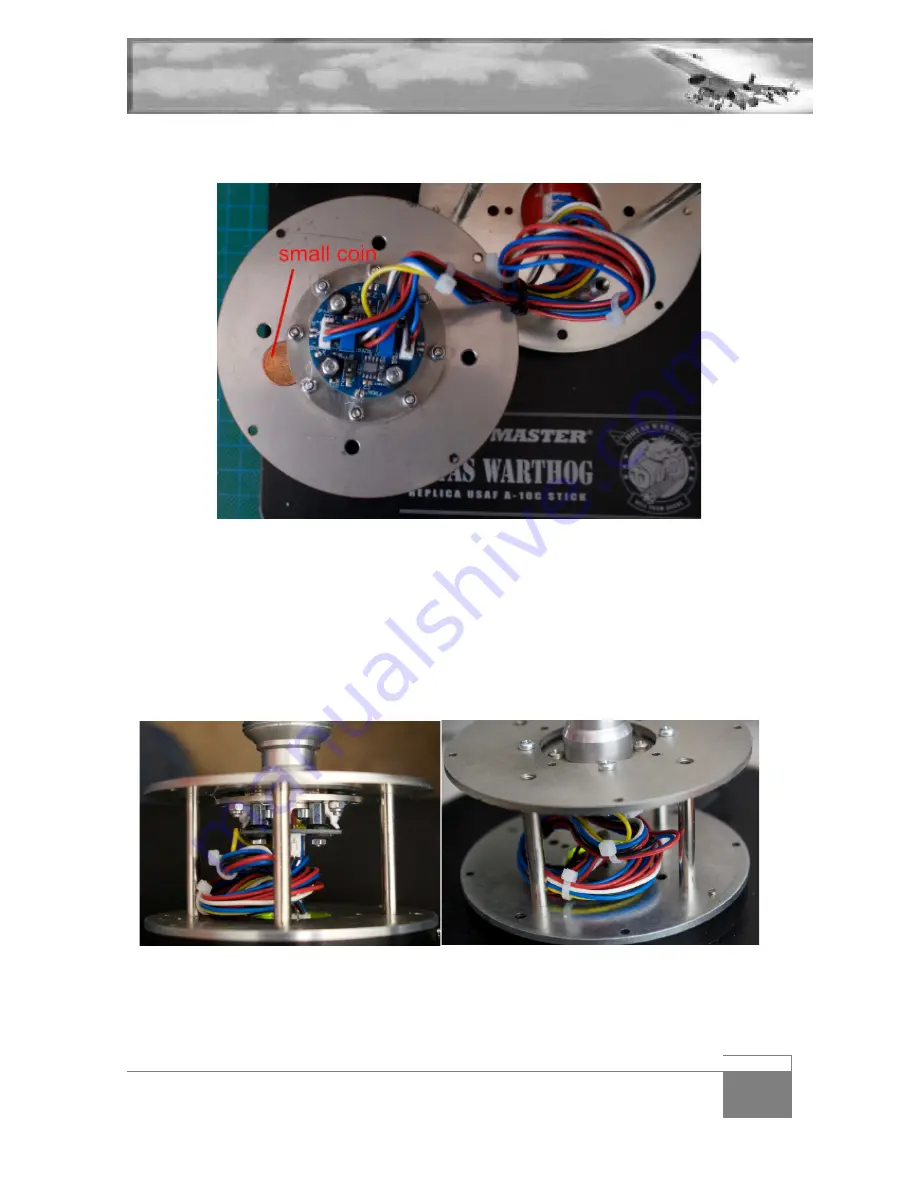
A good tip is to insert a coin between the two plates and screw the nylon bolts in. This will give a
good reference for tightening the bolts in.
The PCB is printed with the word FRONT this will be very handy in the next couple of minutes. Slide
the black cylinder casing on the base and align it with the 4 notches.
Connect the 3 connectors to the base PCB while supporting the PCB from under with your finger as
you plug them in. Make sure you match Y with Y and X with X. It’s also referenced on both PCB so if
you mess it up, it’s because you didn’t read
Secure the wires in place with the supplied cable zips, it’s important that the cables are not severed
as you screw the base closed. Here are pictures helping you see how the cables are supposed to be
placed inside the base:


