background image


MODEL: INTIPRKIT 

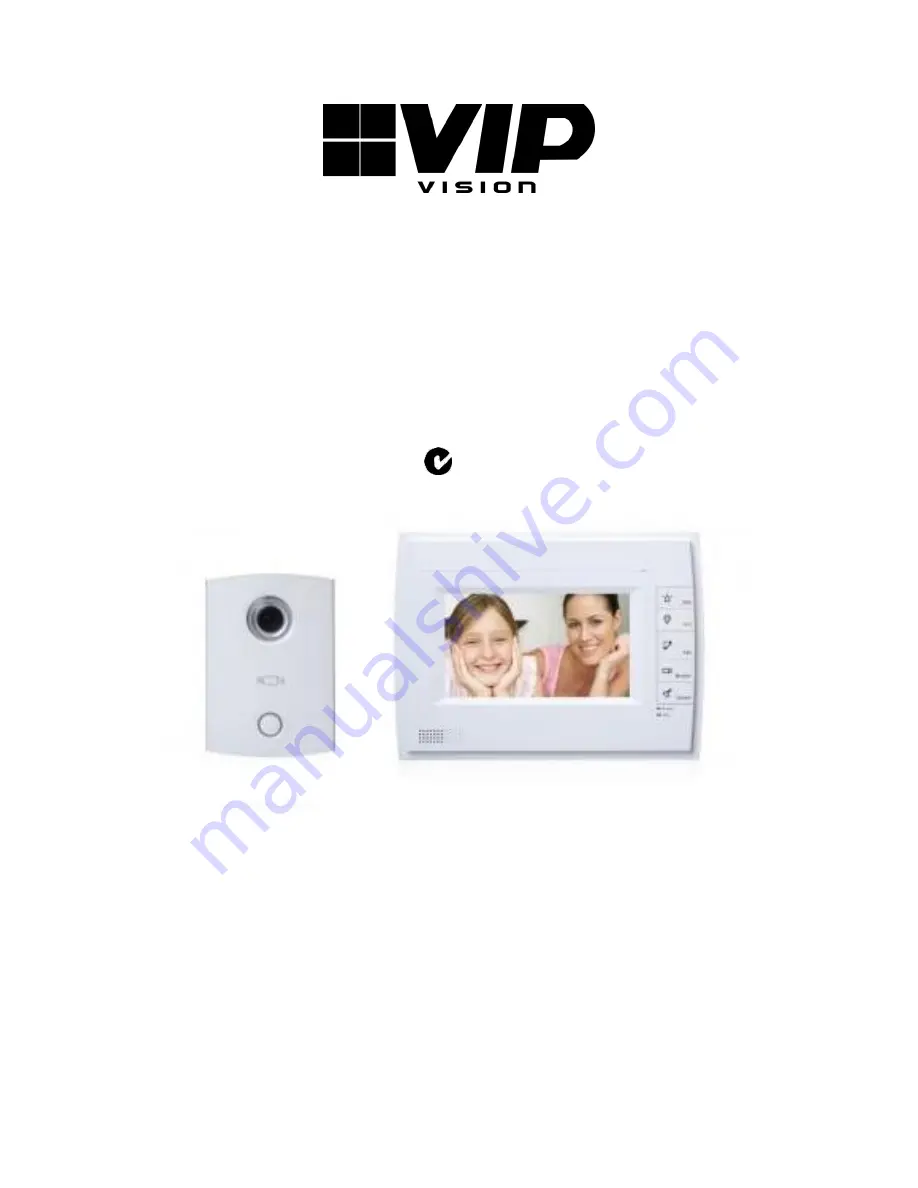
Residential IP Intercom Kit 

Includes Door station and Indoor Monitor 

„QUICK INSTALLATION GUIDE‟     


Indoor Monitor 

Door Station 

-    Advanced H.264 Video Compression Technology  - Advanced H.264 Video Compression Technology   

-    Easy to operate touch screen 

- High Quality 1.3MP CMOS Image sensor   

-    10/100Mbps Ethernet 

- 10/100Mbps Ethernet 


-    Info publish, leave message, emergency calling 

- Unlock Door Remotely 

-    4Gb Internal Storage 

- Built-in loudspeaker 

-    12v DC 

- 12v DC 


N517 

www.rhinoco.com.au 

V2.0 040314 

Содержание INTIPRKIT

Страница 1: ...d H 264 Video Compression Technology Advanced H 264 Video Compression Technology Easy to operate touch screen High Quality 1 3MP CMOS Image sensor 10 100Mbps Ethernet 10 100Mbps Ethernet Info publish...

Страница 2: ...2...

Страница 3: ...age non removable SD Card 12v DC 1 x Door Station INTIPRDSV 1 3MP HD Image Easy to Operate Loudspeaker Door Release Output 12v DC 1 x 86 Box for Door Station Assist with mounting the INTIPRDSV Door St...

Страница 4: ...ot to slot on bracket Make it against wall and push lightly downward until it fits in to slot on bracket 5 Remove Insert small screwdriver into hole on device and push device upward until removed Scre...

Страница 5: ...secure the Door Station use the ST3 0 screw included with Door Station to affix the Door Station onto wall after attachment to the 86 box as b Above 4 Attach cover onto Door Station using screws a to...

Страница 6: ...uration is more complex as you can use 2 or more Door Stations with an Indoor Monitor but you will need to change some IP addresses You will require a Cat5e network cable from each the Indoor Monitor...

Страница 7: ...Simple System Structure Plug and Play no set up required Uses a default IP Address range Each Indoor Monitor and Door Station will require their own 12vDC power supply 1 Install each unit at their res...

Страница 8: ...Uses a default IP Address range Each Indoor Monitor and Door Station will require their own 12vDC power supply Network switch required 1 Install each unit at their respective location and connect to...

Страница 9: ...s range 10 22 5 x and not changing anything or using your own LAN IP address range and changing the IP Address of each units So in this example we will be using the default IP address range 10 22 5 x...

Страница 10: ...g the IP address of the first Door Station More Complex System Structure Some IP Set Up Required Uses a default IP Address range Each Indoor Monitor and Door Station will require their own 12vDC power...

Страница 11: ...189 and ensure its Enable Status is set to ON 10 Press the Next Arrow and you will see the settings for the secondary Door Station Enter a name for your secondary door station the IP Address and set...

Страница 12: ...only changing the IP address of the first Indoor Monitor More Complex System Structure Uses 1 Master Indoor Monitor and then additional Indoor Monitors are Extensions Some IP Set Up Required Uses a d...

Страница 13: ...Door Station will be 10 22 5 189 and your PC will need to be set to an IP address that is in the same network range as the camera We recommend setting your PC to 10 22 5 100 12 Open Internet Explorer...

Страница 14: ...isting LAN You will have the option of using the default IP address range 10 22 5 x and only changing the IP Address of 1x Door Station or using your own LAN IP address range and changing the IP Addre...

Страница 15: ...the Indoor Monitor IP Address 11 Choose PROJECT INFO and set mode to Extension You can now set the Room number to the same as the Master but add 1 to show that it is the first extension such as 102 1...

Страница 16: ...e Unit Door Station IP 10 1 1 189 Enable Status ON 24 Press the Next Arrow and you will see the settings for the additional Door Stations Enter a name for your secondary door station the IP Address an...

Страница 17: ...s ok to save How to set up an Indoor Monitor as an Extension Monitor 1 Change the Indoor Monitors IP Address as above 2 On the Indoor Monitor go to SETTINGS PROJECT SETTINGS then enter the password 00...

Страница 18: ...e IP address port number subnet mask gateway and the unique MAC address information 2 Select the Door Station from the list as it should be the default address 10 22 5 189 if necessary match up the un...

Страница 19: ...tall the ActiveX control When finished you may need to close and re open Internet Explorer If you can t download the ActiveX file please check whether you have ActiveX is allowed under your Security S...

Страница 20: ...the NVR admin password with the on screen keypad 4 Then Right click to open the menu and select MAIN MENU 5 Select SETTING 6 Select GENERAL 7 Set System Time Date Format and DST Daylight Saving Time f...

Страница 21: ...ownloads rhinoco com au dvr Free_IP_Scanner zip 1 Open the Free IP Scanner Tool if it asks for registration just press skip as it is free to use 2 Begin the scan by clicking on 3 The Free IP Scanner w...

Страница 22: ...his 1 To add the IP Camera in to the Indoor Monitor Go to Settings IPC Info 2 Enter a Name IP Address and the Default factory user name of admin and password of admin The Indoor Monitor can only conne...

Страница 23: ...supply s positive output would then connect directly to the electric lock When connecting the Door Station to an Electric Door Strike The Electric Door Strike positive is connected to the 12vDc Power...

Страница 24: ...optional POE receiver WT CAT5POER with a monitor or door station the receiver must be connected directly to a POE switch via a Cat5 6 cable The POE Receiver will then need to be set to 12vDC connected...

Страница 25: ...ould then be able to test the connection to the Intercom over the internet from a different internet connection or mobile on 3G Test your Remote Access by connecting to the Intercom from the mobile ap...

Страница 26: ...ADD 2 Set Register Mode to IP DOMAIN 3 Enter in your devices NAME IP Address or DDNS and TCP Port default is 37777 4 Enter your Username Password and the set Live Preview and Playback to Extra 5 Press...

Страница 27: ...g by remote access You will also require the Paid version of the mobile app iDMSS plus for Apple iOS gDMSS plus for Android wDMSS plus for Windows Phone DMSS lite for others Configuration 1 Open the p...

Страница 28: ...on the Door Station to call all Indoor Monitors simultaneously How to answer a call using the Indoor Monitor When receiving an incoming call you can choose to answer the call or reject the call or unl...

Страница 29: ...ring a call you can take a snapshot from the Door Stations camera by pressing this image will then be stored in the Indoor Monitors internal storage You can also Auto Capture Snapshots when someone ri...

Страница 30: ...to each unit No live video Check the cameras cable and connections Check the monitors cable and connections Ensure you are not in playback mode Cannot connect to one device when it has been programme...

Страница 31: ...r implied or upon any other basis of liability whatsoever even the loss or damage is caused by its own negligence or fault Seller does not represent that the products it sells may not be compromised o...

Страница 32: ...at we will do everything possible to ensure that you are happy with your decision and that you have years of satisfaction from your INTIPRKIT We take extreme care in the research design and developmen...

Отзывы: