43
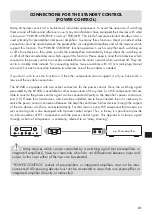
If every speaker is connected in a conventional way (a two core speaker cable for each loudspeaker) and
you own loudspeakers that are equipped with Bi-Wiring terminals (four connector screws) you have to
make sure that the metal brackets (contact pieces consisting of small metal plates or short pieces of cable
which are supplied with the speakers) are applied to the terminal and that each one connects the two
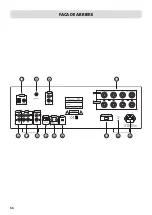
knobs of the same polarity (e.g. both connectors marked “+”). The connector screw labelled “+” and “R” at
the amplifier‘s backside must be connected to one of the bridged, labelled “+” connectors of the loudspe-
aker assigned to the right stereo channel. Accordingly, the connector screw labelled “–” and “R” at the
amplifier‘s backside must be connected to one of the bridged, labelled “–” connectors of the loudspeaker
assigned to the right stereo channel. Connect the left side loudspeaker in the corresponding way.
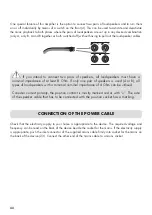
If you are using ready made loudspeaker cables with 4 mm banana plugs, all you need to do is connect
the two plugs on each loudspeaker cable end to the two associated speaker connectors. Turn the connector
screws clockwise to fasten them.
If you want to use speaker cables equipped with spade lug connectors, every connector screw must be
opened by turning counter clockwise. After that, the lug must be moved under the screw head. Then, turn
the screw clockwise to fasten the lug to the connector. To avoid damages to the amplifier, make sure the
connection is tight and no bare metal from the cable lug connector makes contact with the rear panel or
with another terminal.
If no connector is to be used, remove approximately 1 cm length of insulation from each end of the speaker
wire. Twist the braid in order to avoid short circuits. Turn the fastener on the loudspeaker terminal counter
clockwise to loosen it and introduce the bare wire end into the exposed connector hole. Then turn the
fastener clockwise so that the wire is firmly clamped. Make sure the connection is pretty tight.


